Quick links
- How to create spring or curled data cable
- How to create green transparent glass
- How to create maps, posters, or newspapers for diorama
- How to create shiny metal surface
- How to create a bottle or Panzerfaust
- How to create corrugated iron
- How to create transparent cockpit canopy
- How to build a plastic model (1) - Introduction
- How to build a plastic model (2) - Model selection and equipment
- How to build a plastic model (3) - Starting model construction
- How to build a plastic model (4) - Construction of fuselage and wings
- How to build a plastic model (5) - Painting
- How to build a plastic model (6) - Water-slide decals
- How to build a plastic model (7) - Final adjustments and weathering
- Respirators and protective masks
- Electric mini hobby drill
- The Nazi swastika on scale models
- Masking fluid - graphigum
- Review of new Revell Battlestar Galactica model kits
Newer articles | Older articles
Wednesday, 12th December 2012Review of new Revell Battlestar Galactica model kits

Difficulty: 
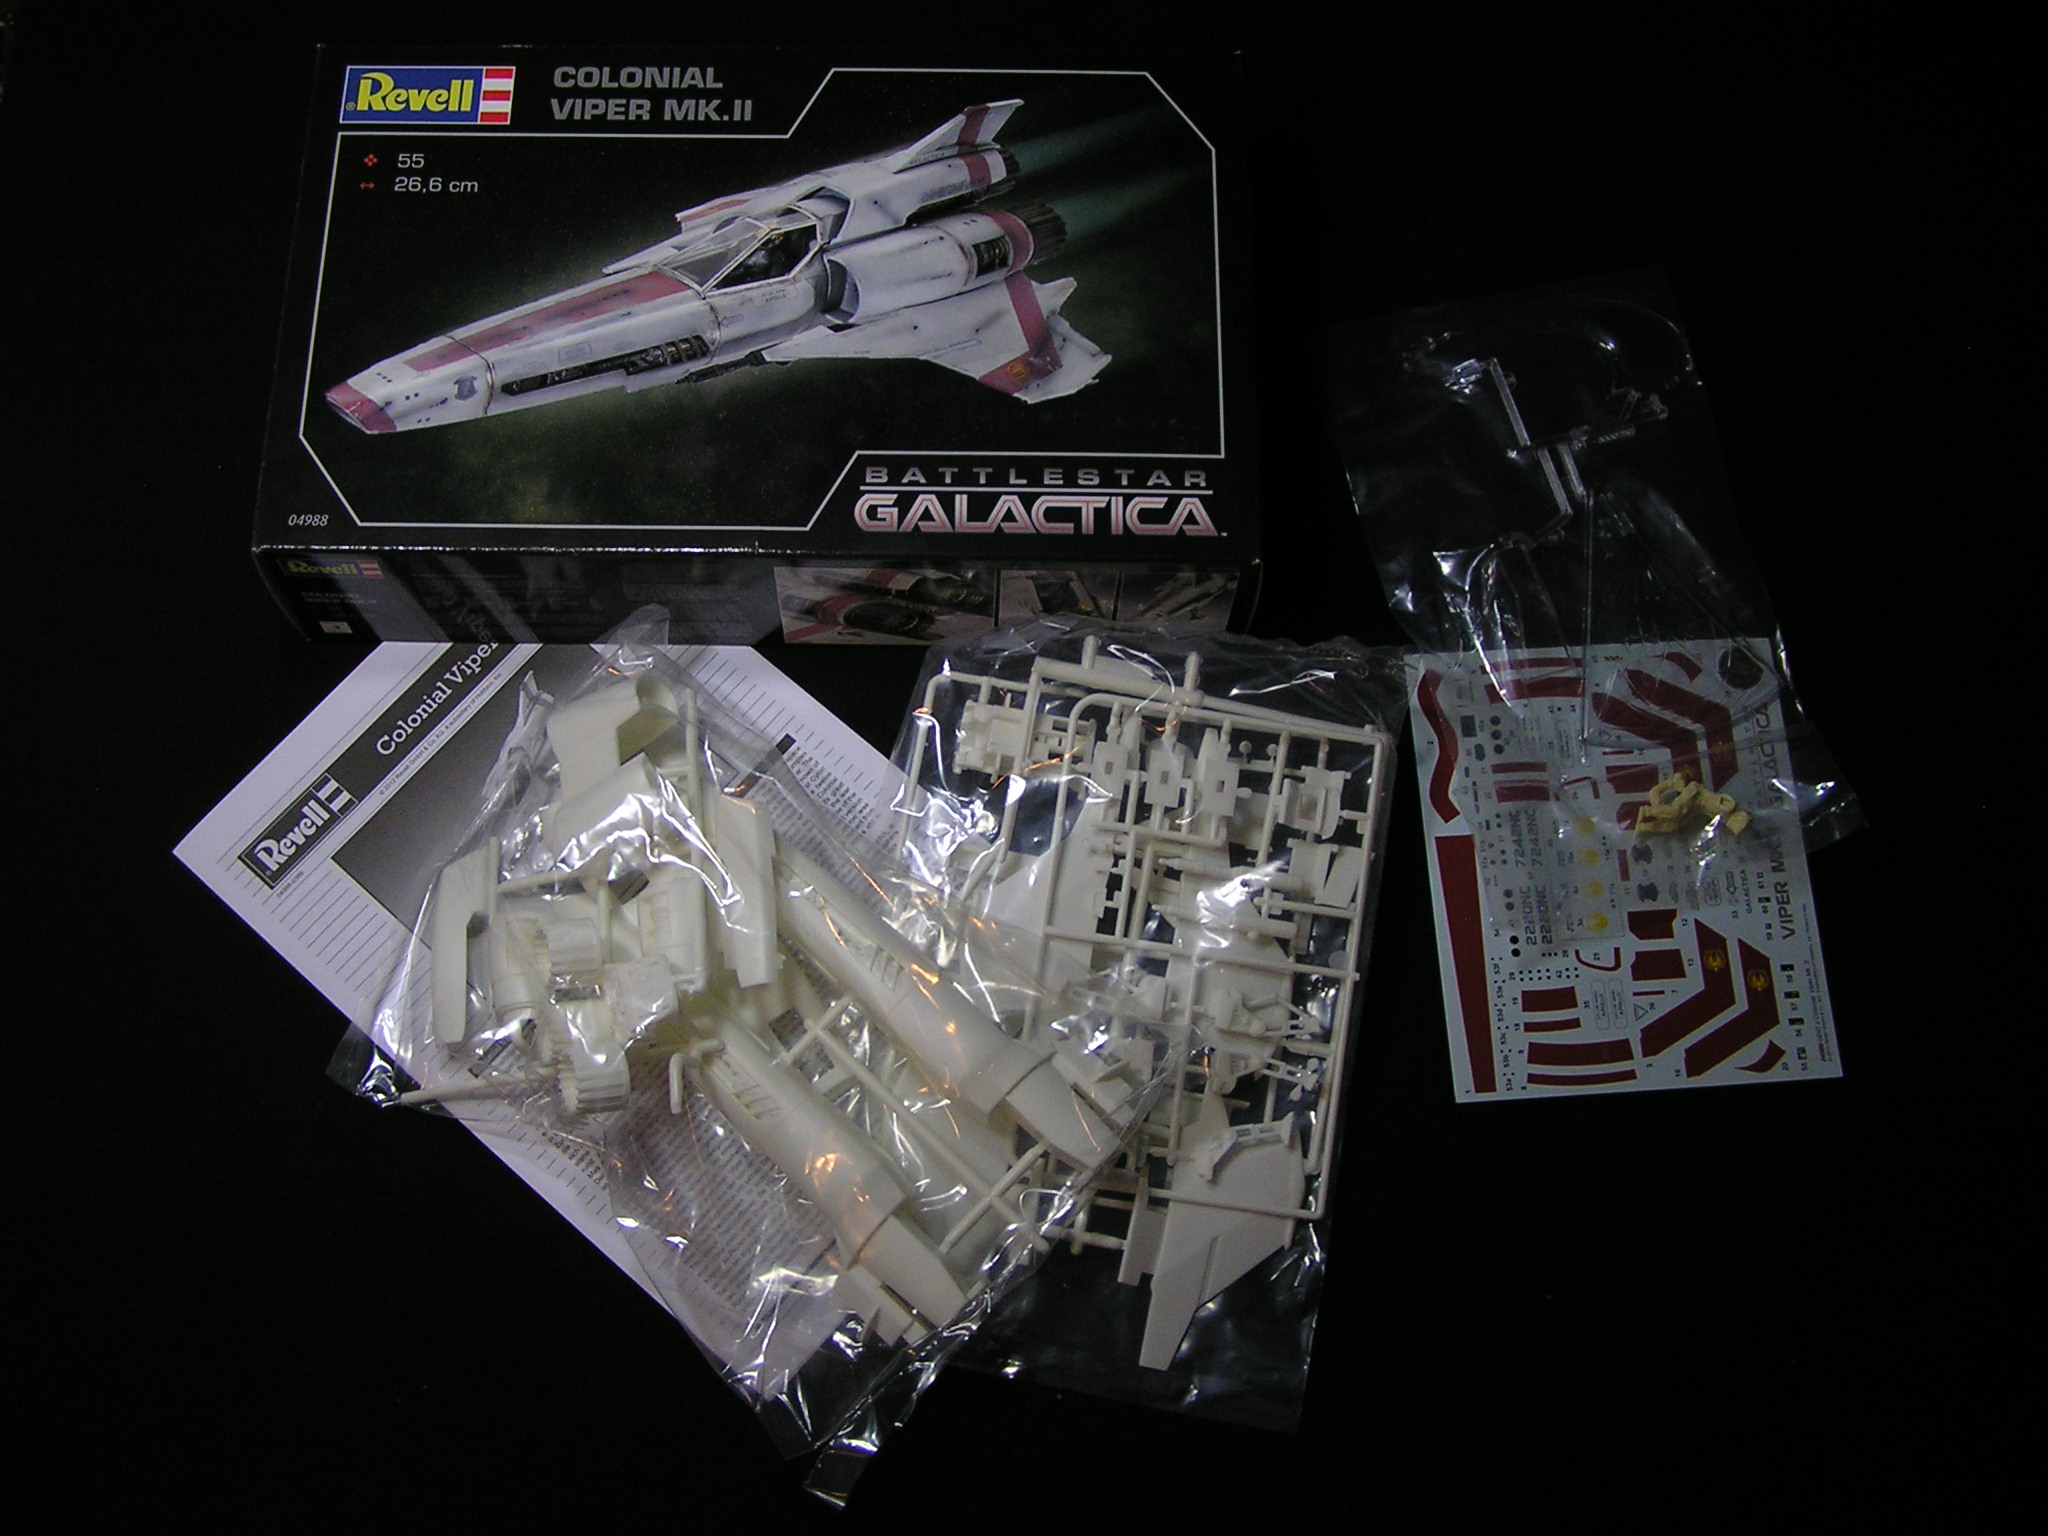
As a big fan of the Battlestar Galactica series, I always wanted to have models such as legendary Colonial Viper Mk II or Battlestar Galactica battleship. The only producer so far was an American company Moebius, which sells all these models, but it is difficult to get them in Europe. That's why I was very happy, when Revell introduced three new models in its catalog. These three models are single-seated starfighters Colonial Viper Mk II and Colonial Viper Mk VII and also the battleship Battlestar Galactica. I made some photos and added comments about the new model kits.


These kits are not the same as Moebius kits, so I do not know if they are simply repacked or Revell bought the molds. Anyway, the price is much lower compared to Moebius. Revell prices are around 17€ and Moebius around 30€ and higher for one model.
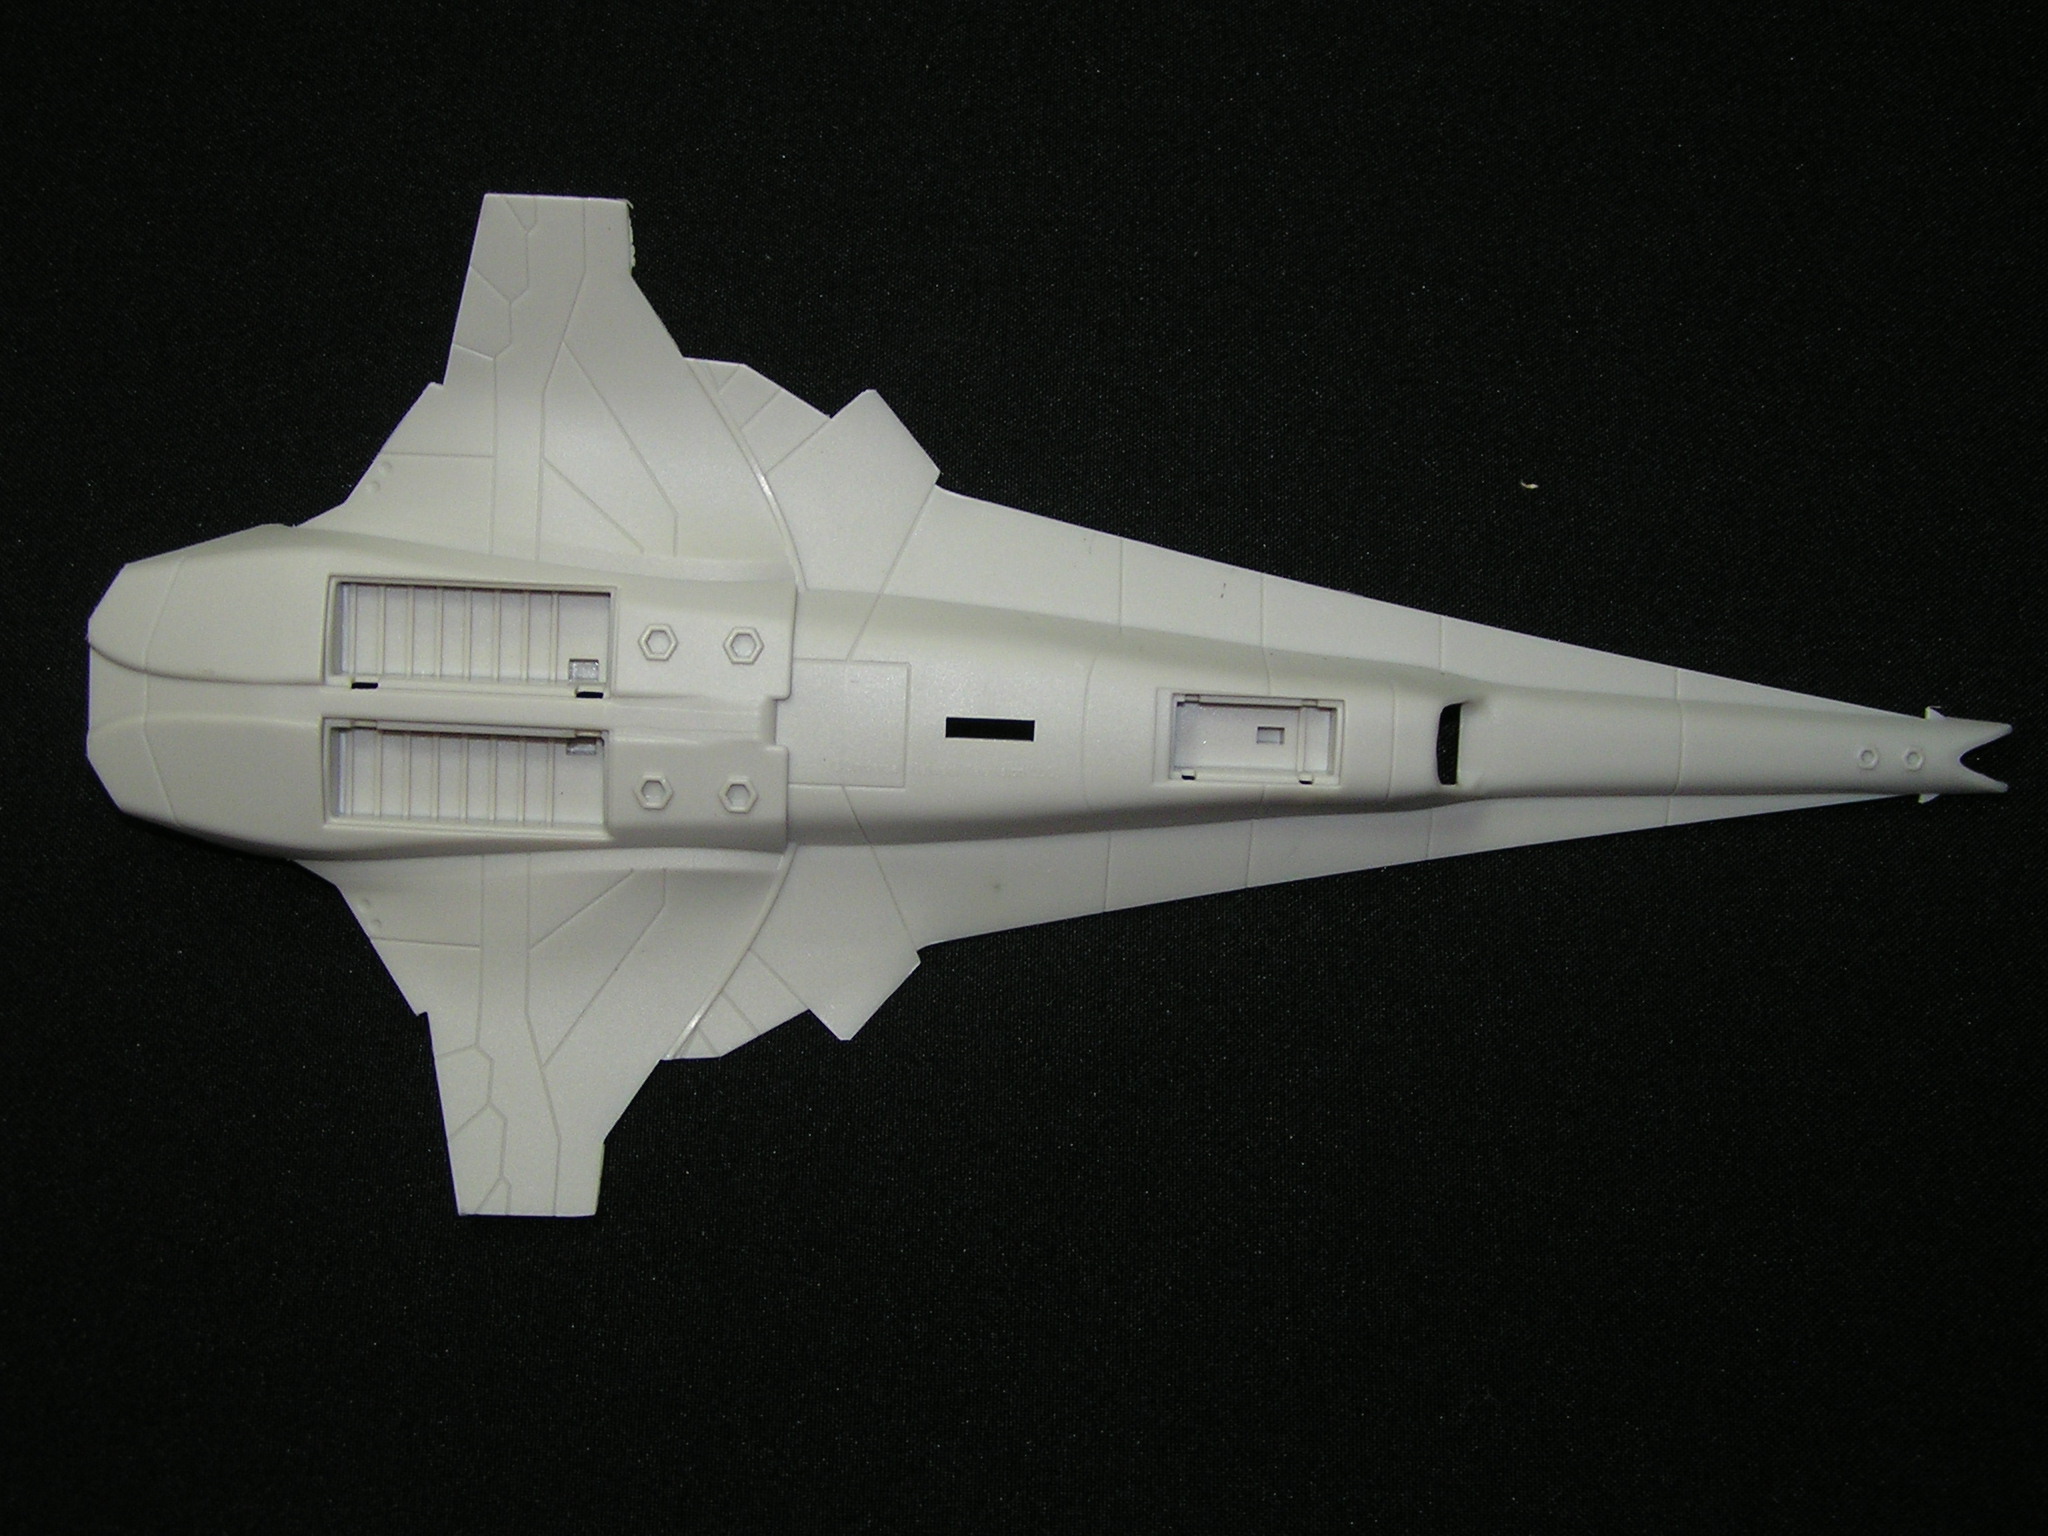
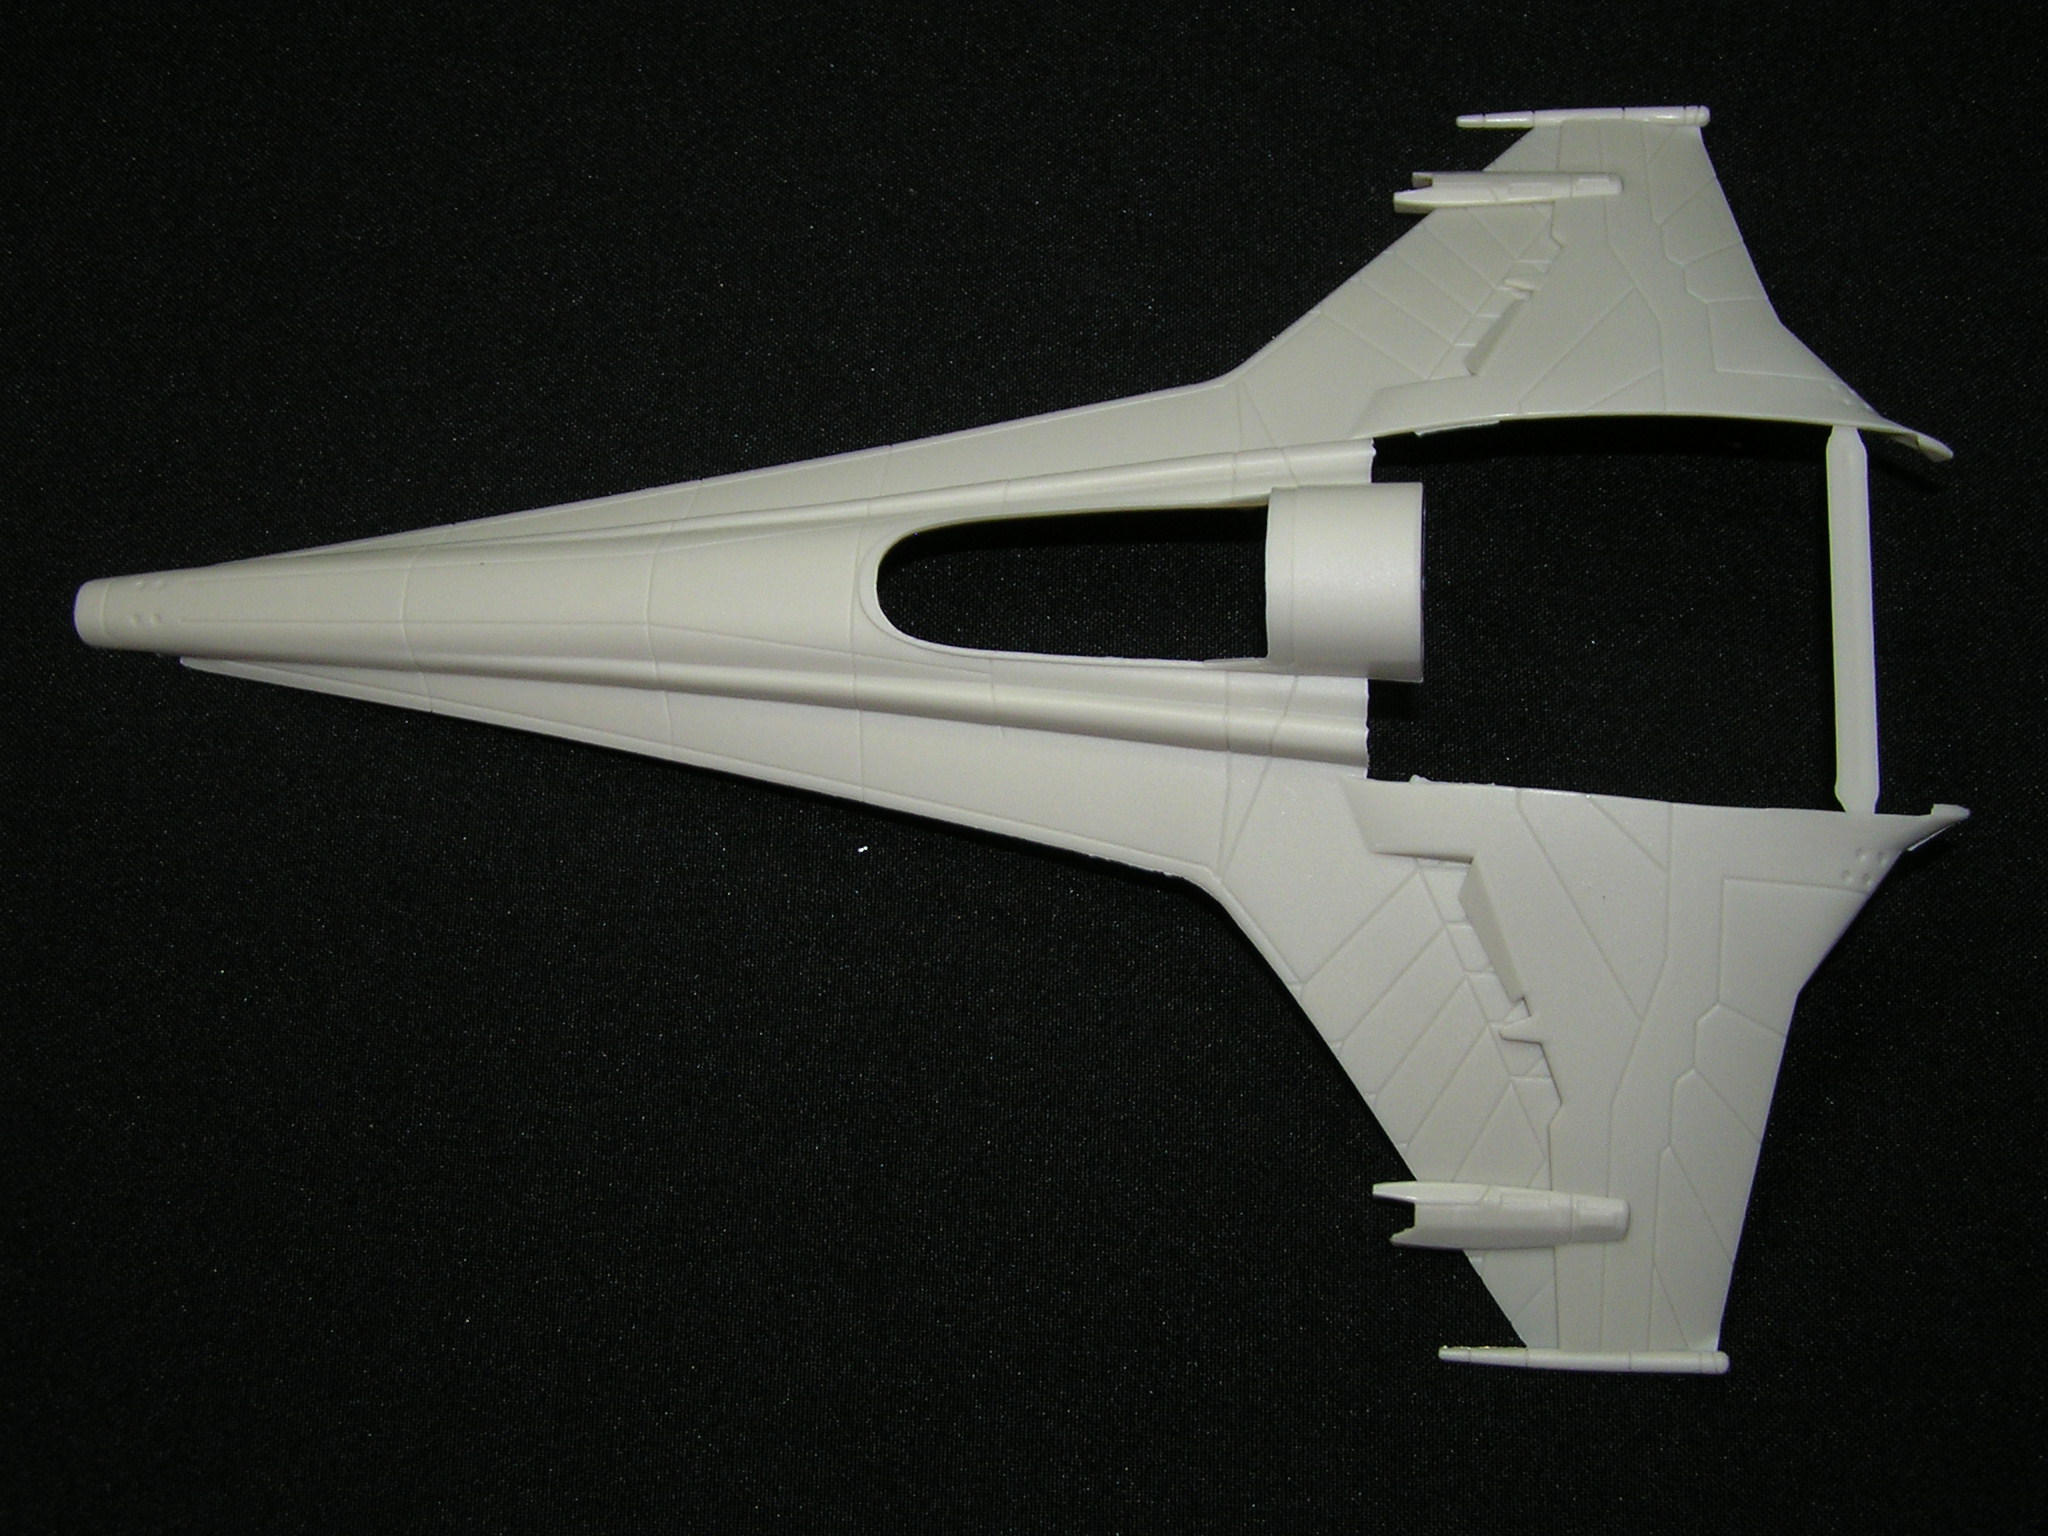
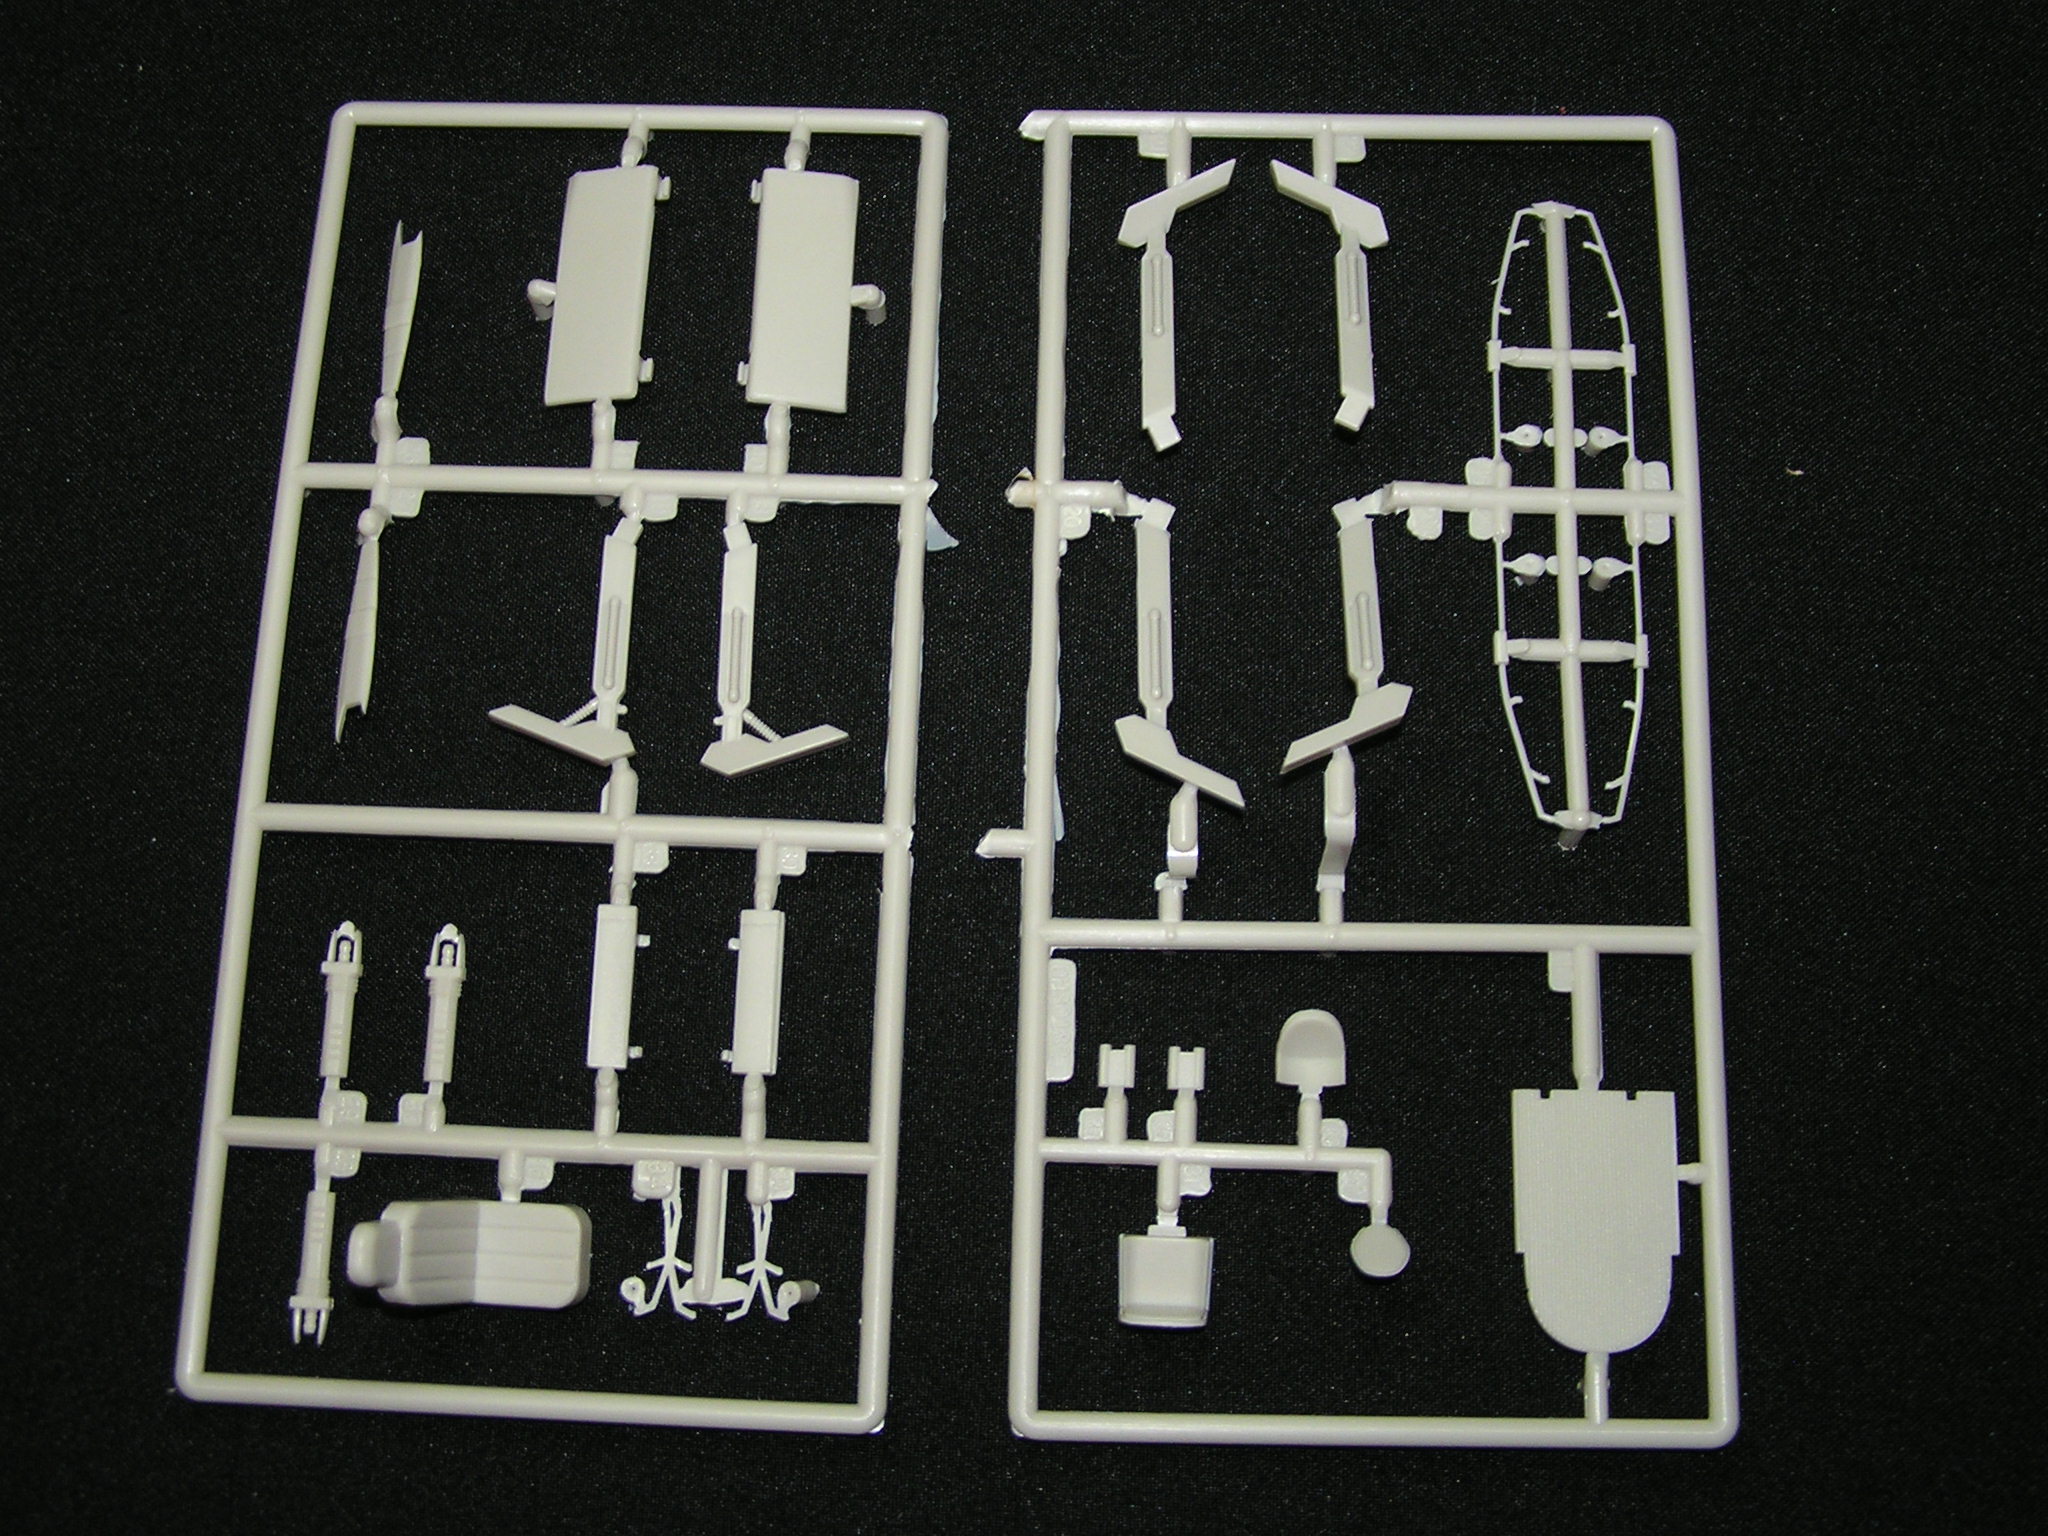
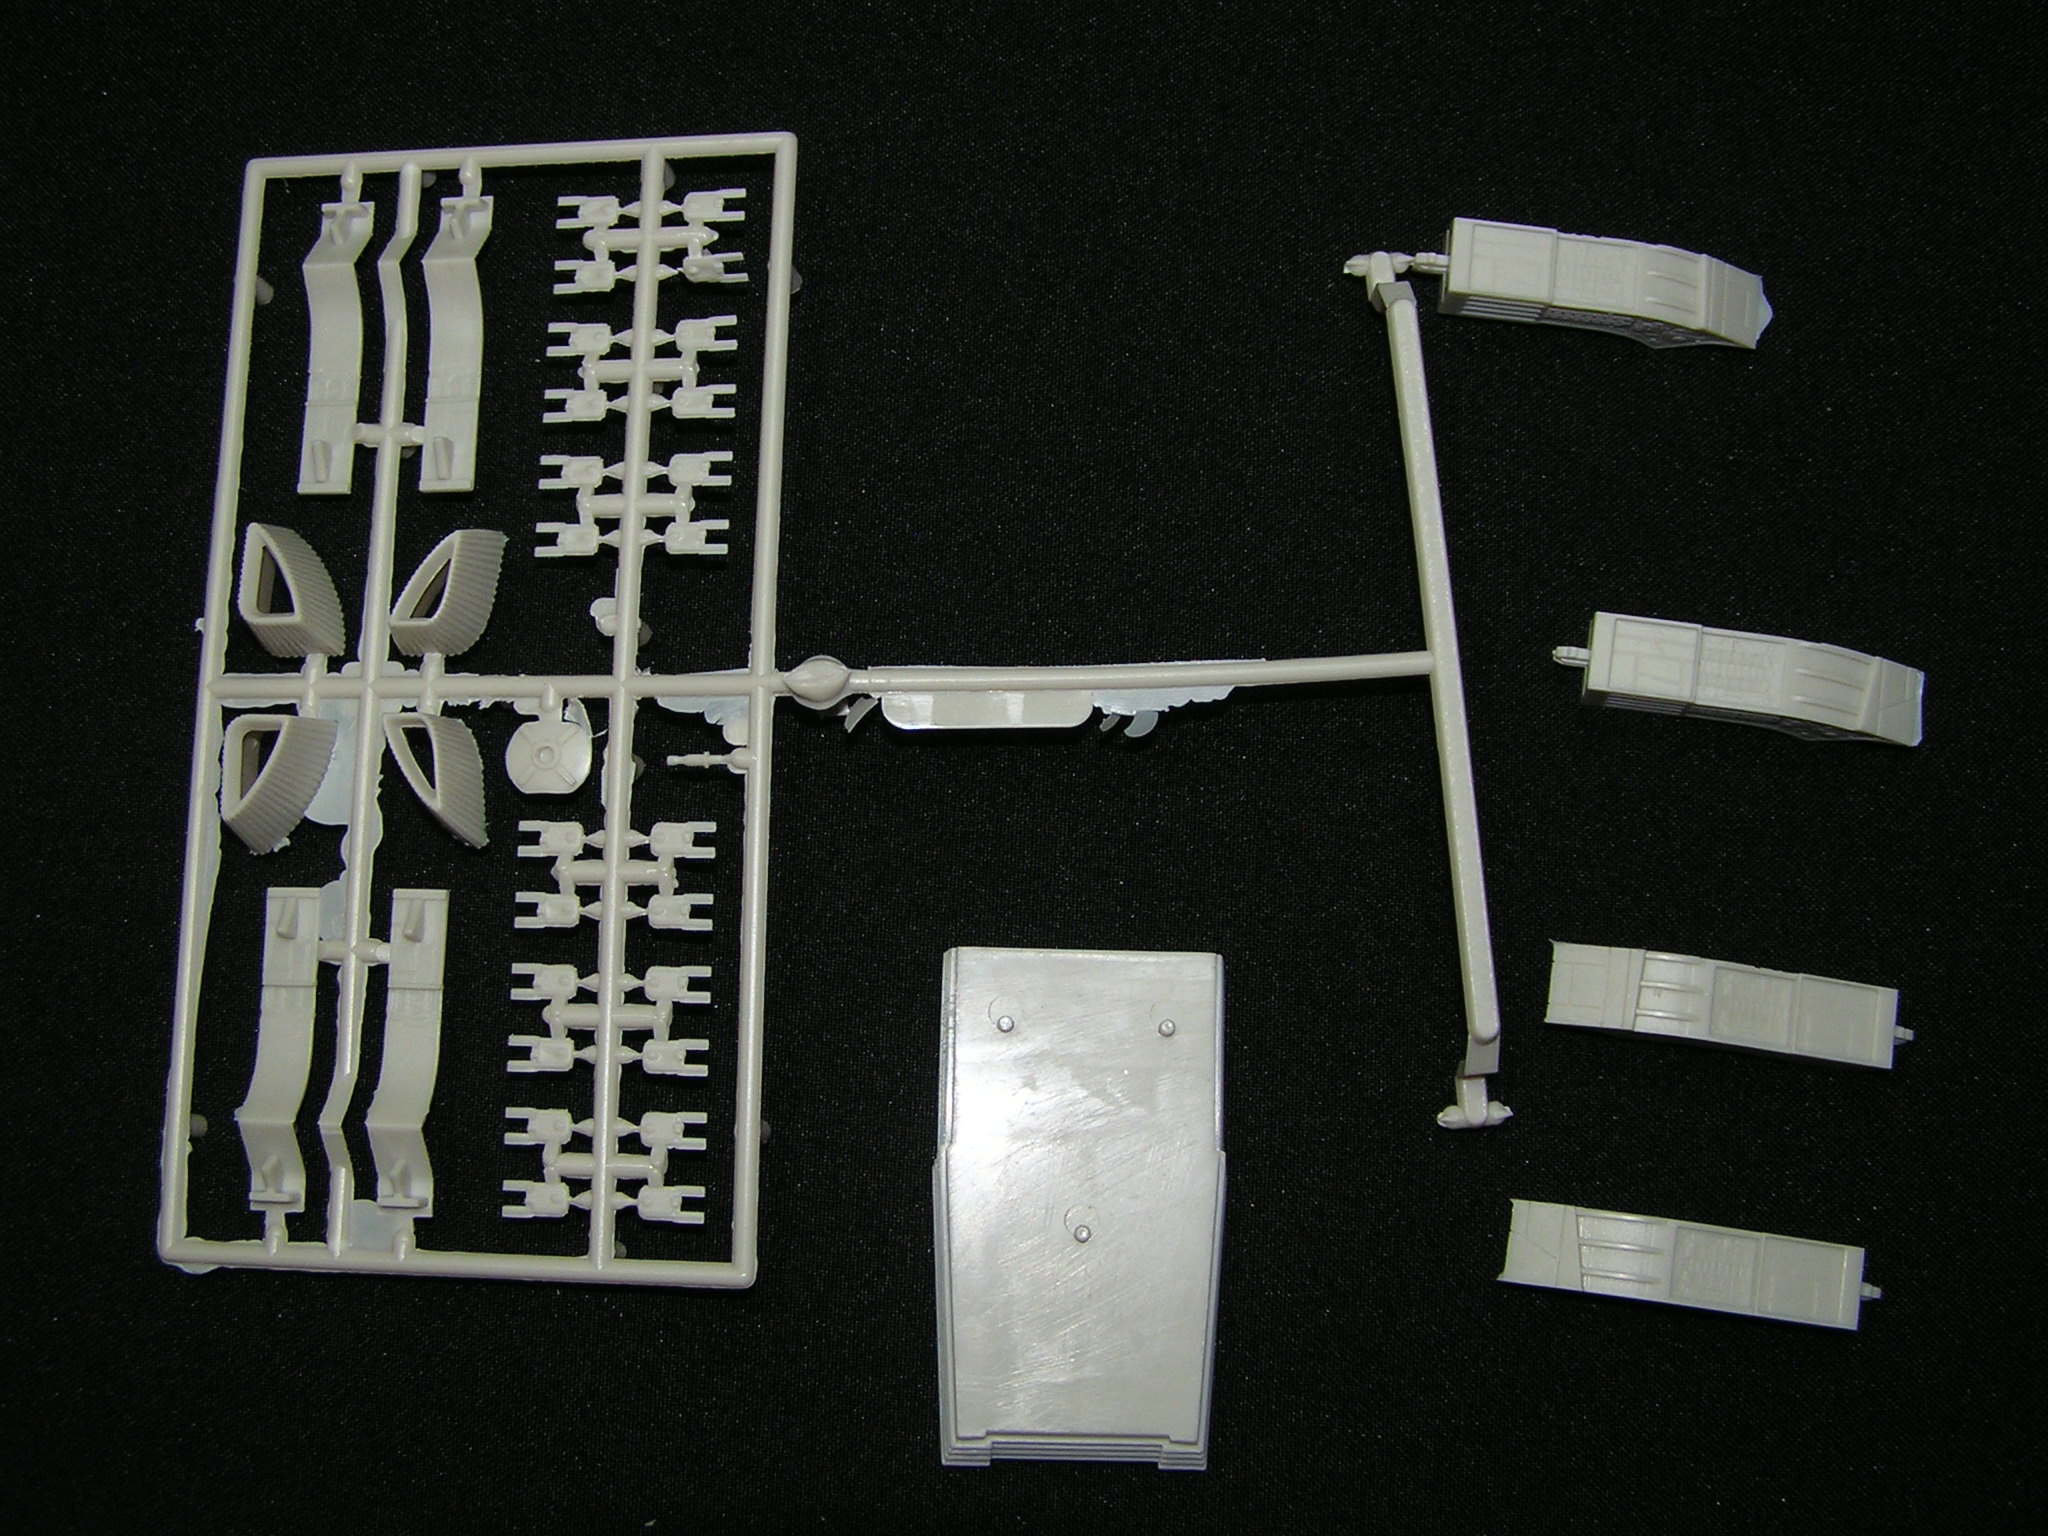
Colonial Viper Mk II
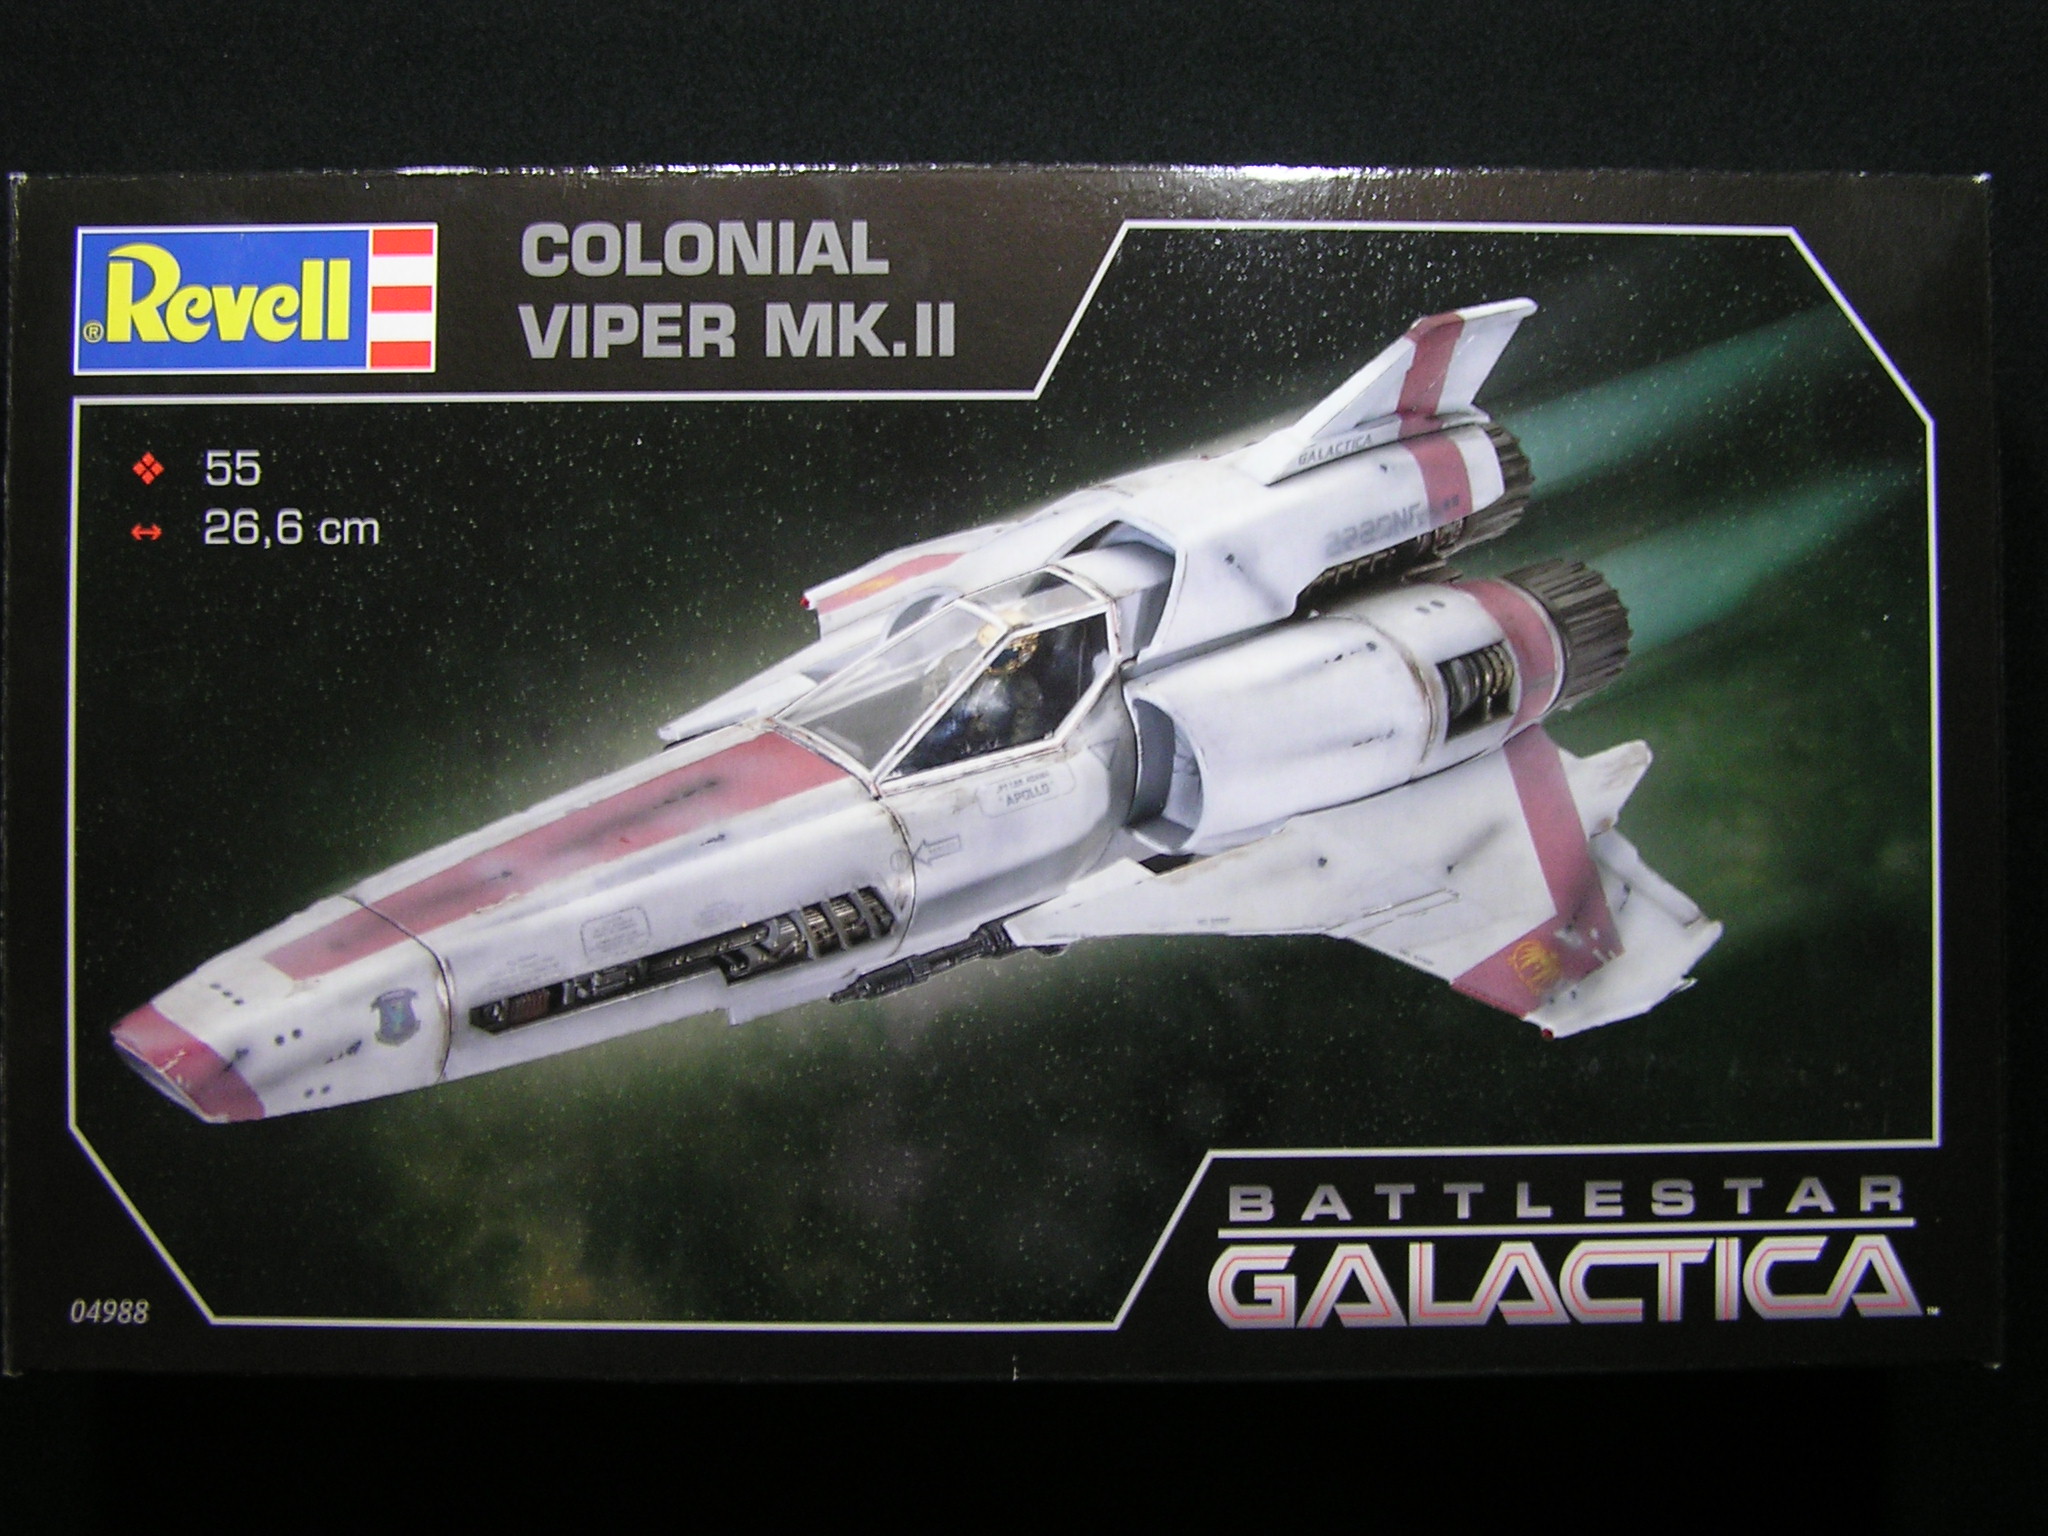

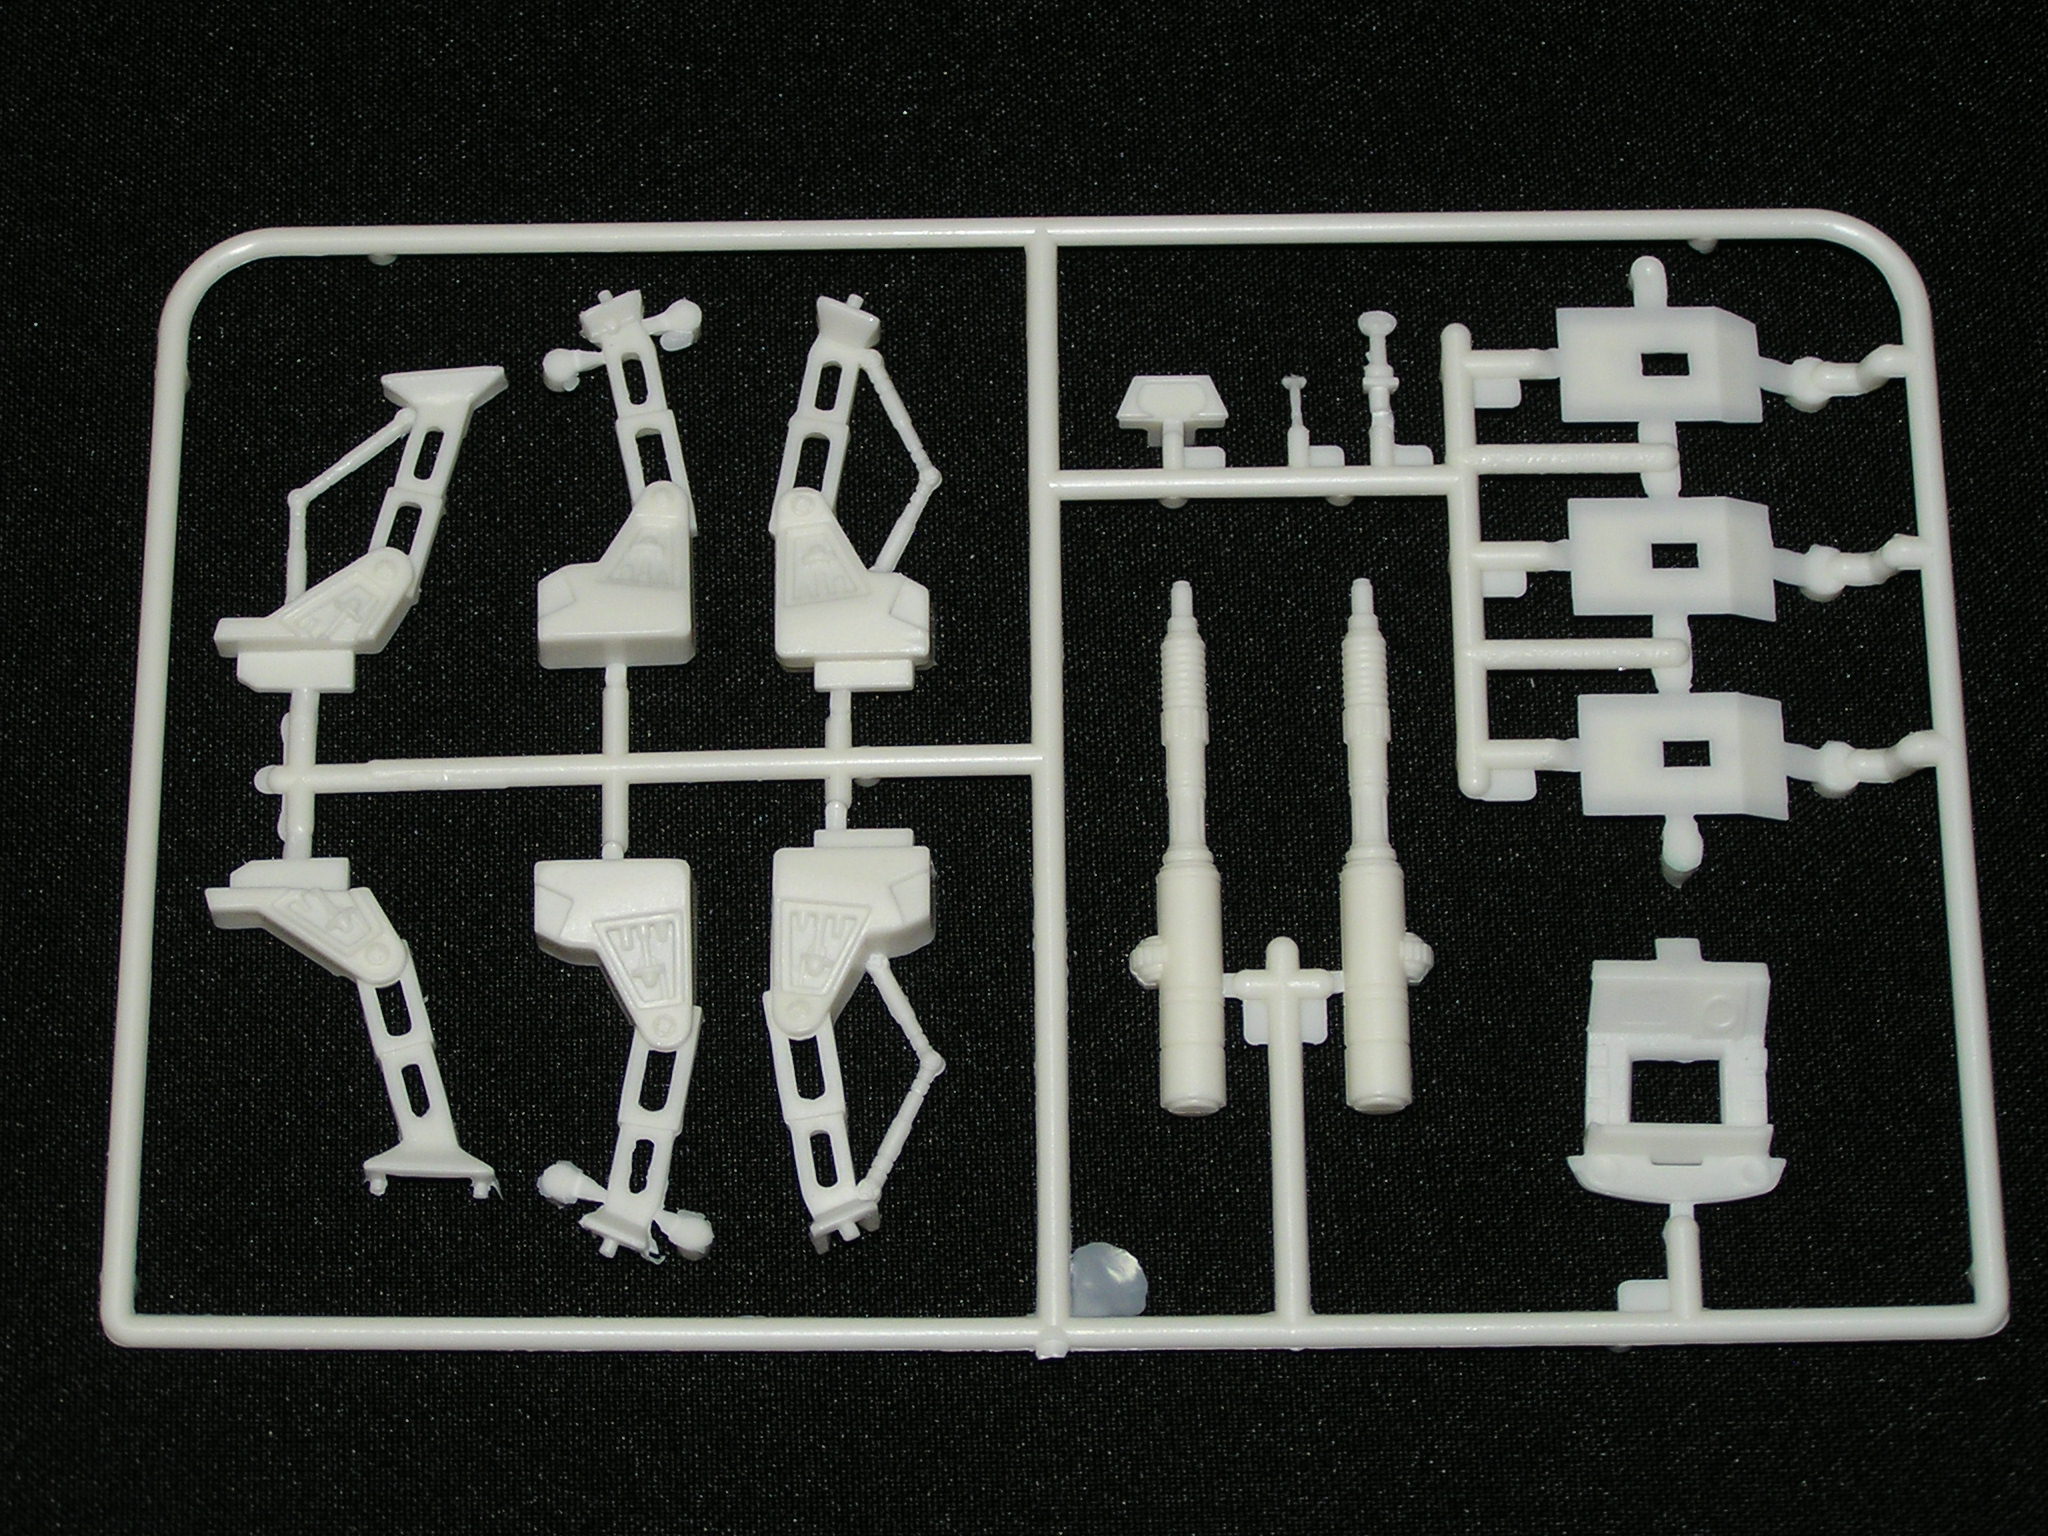


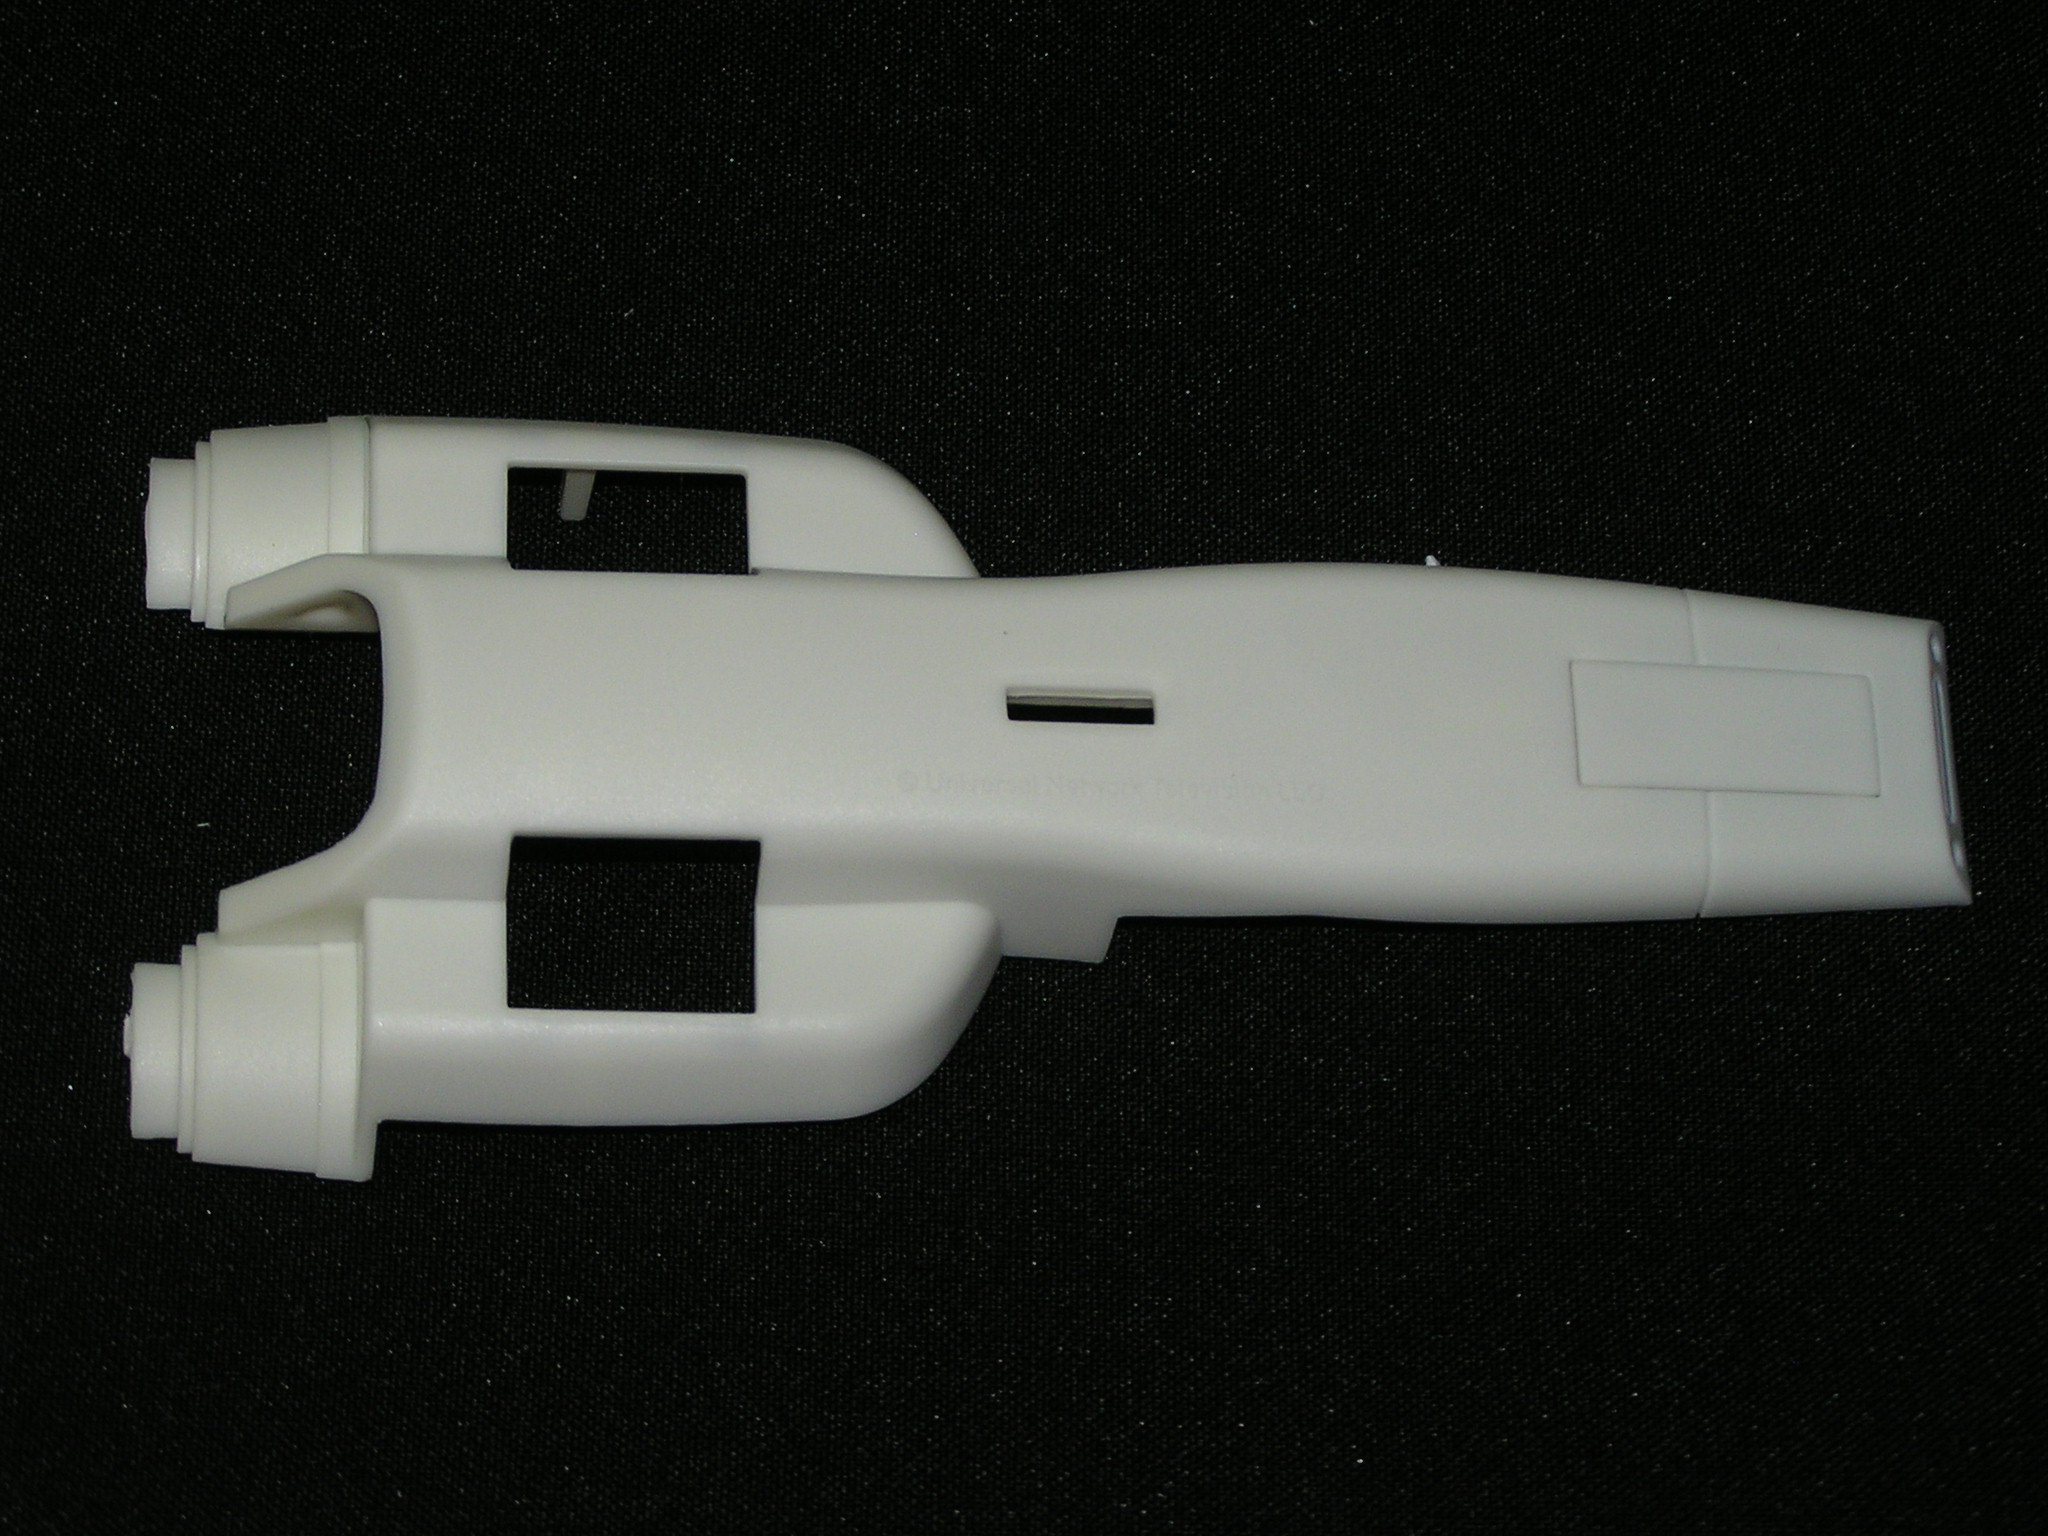
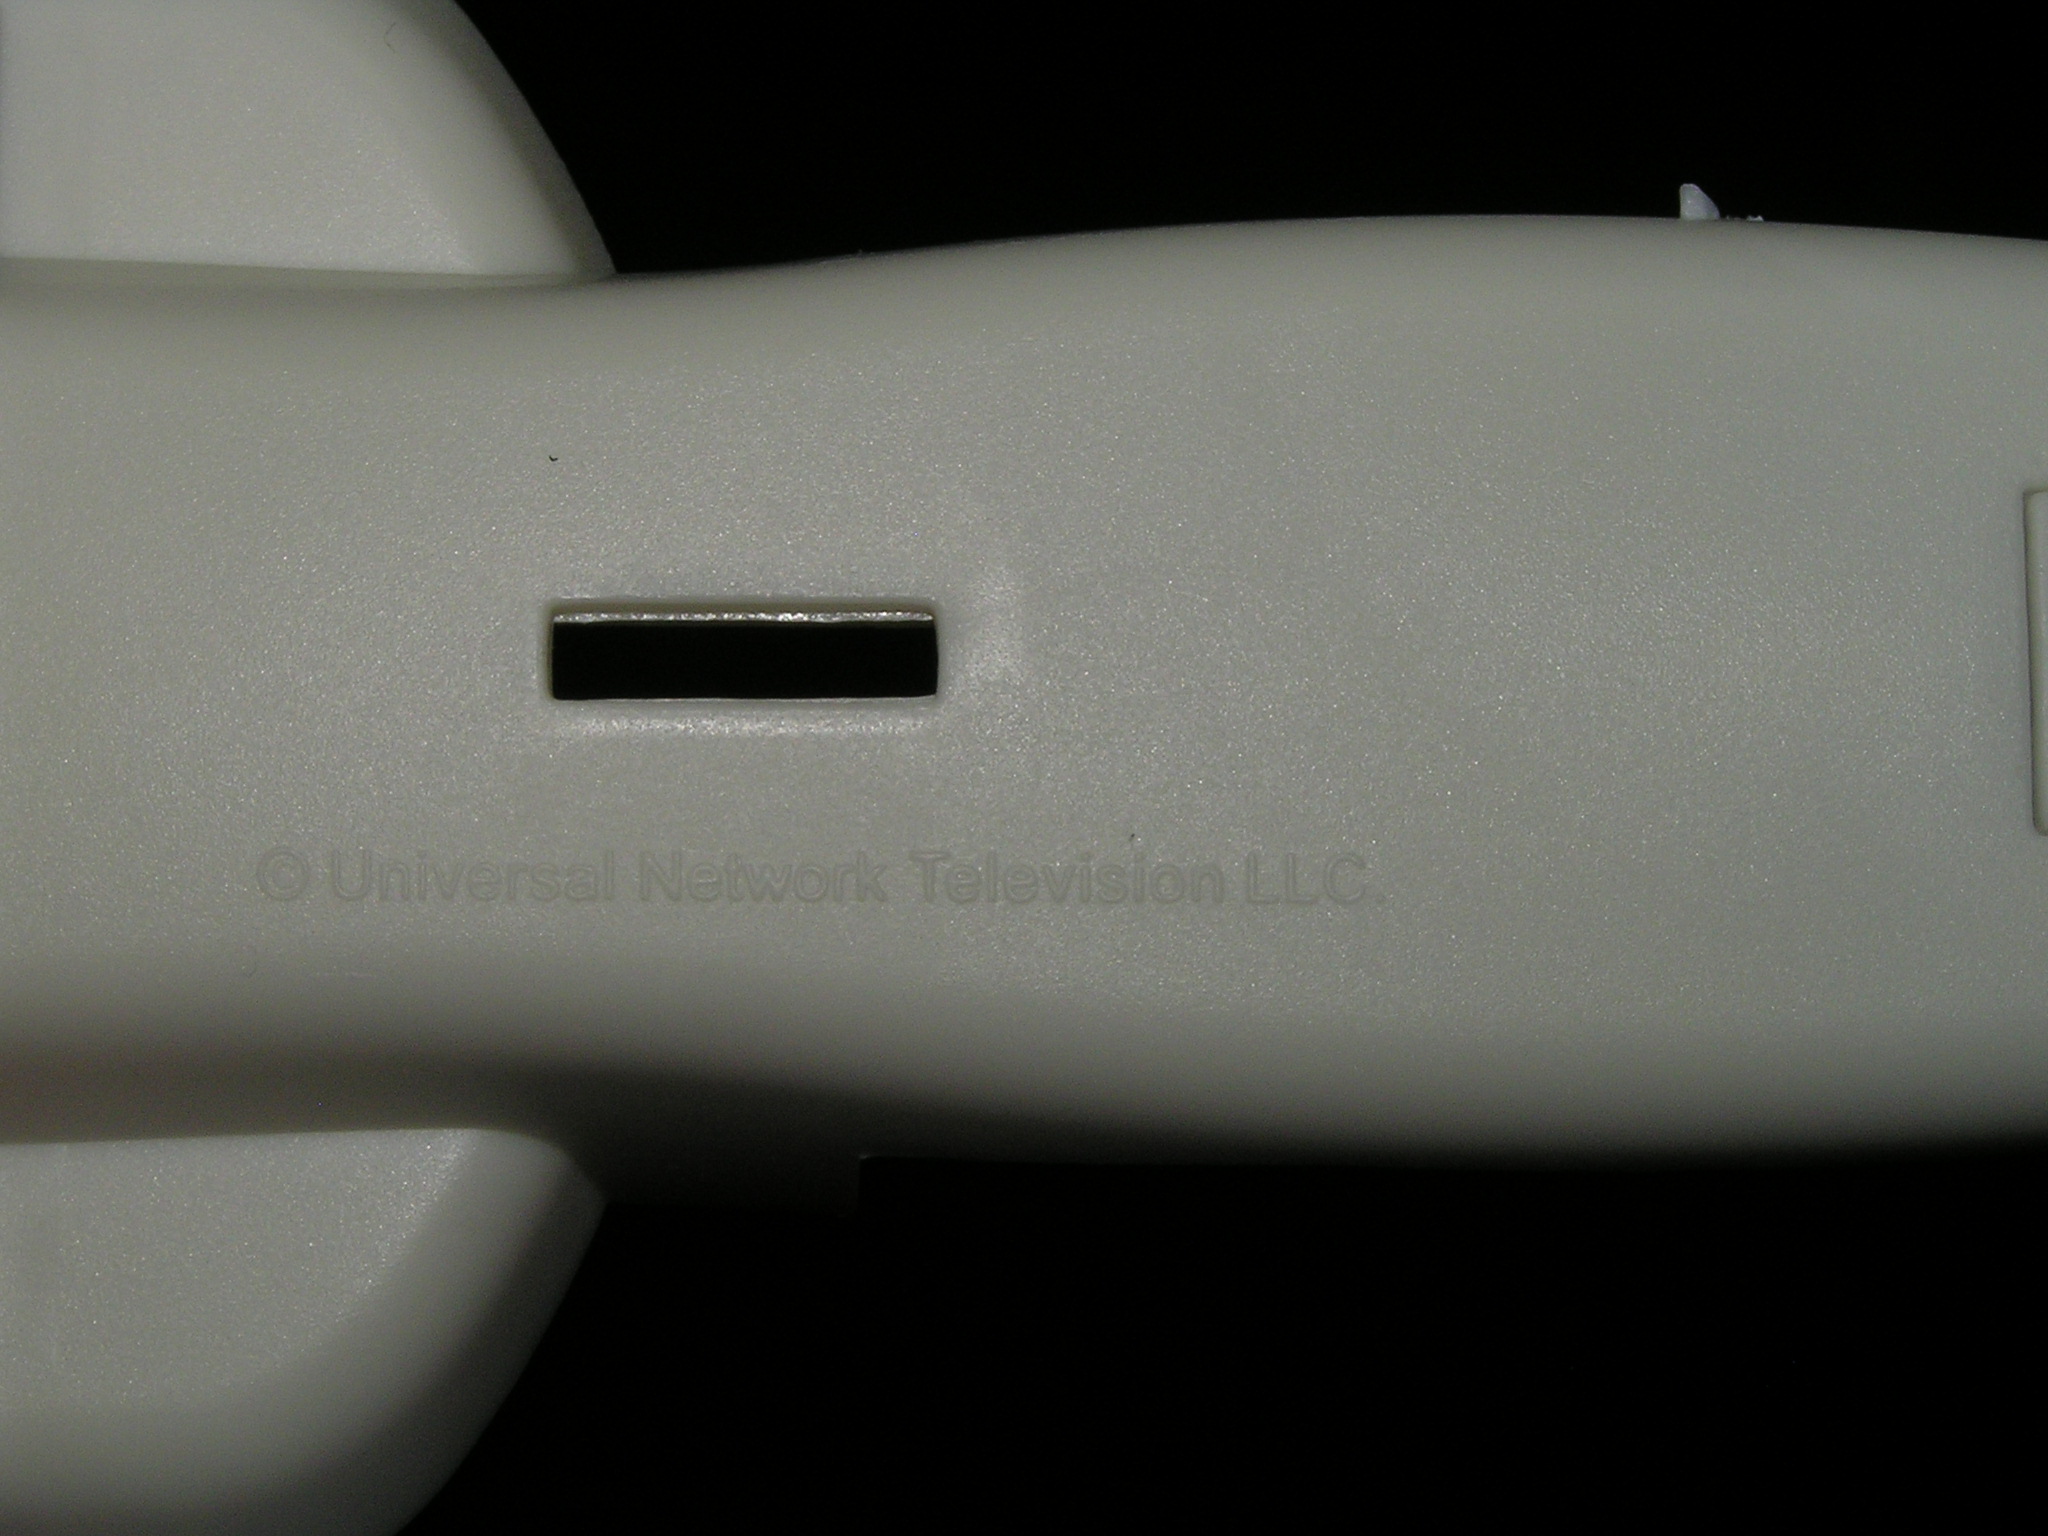


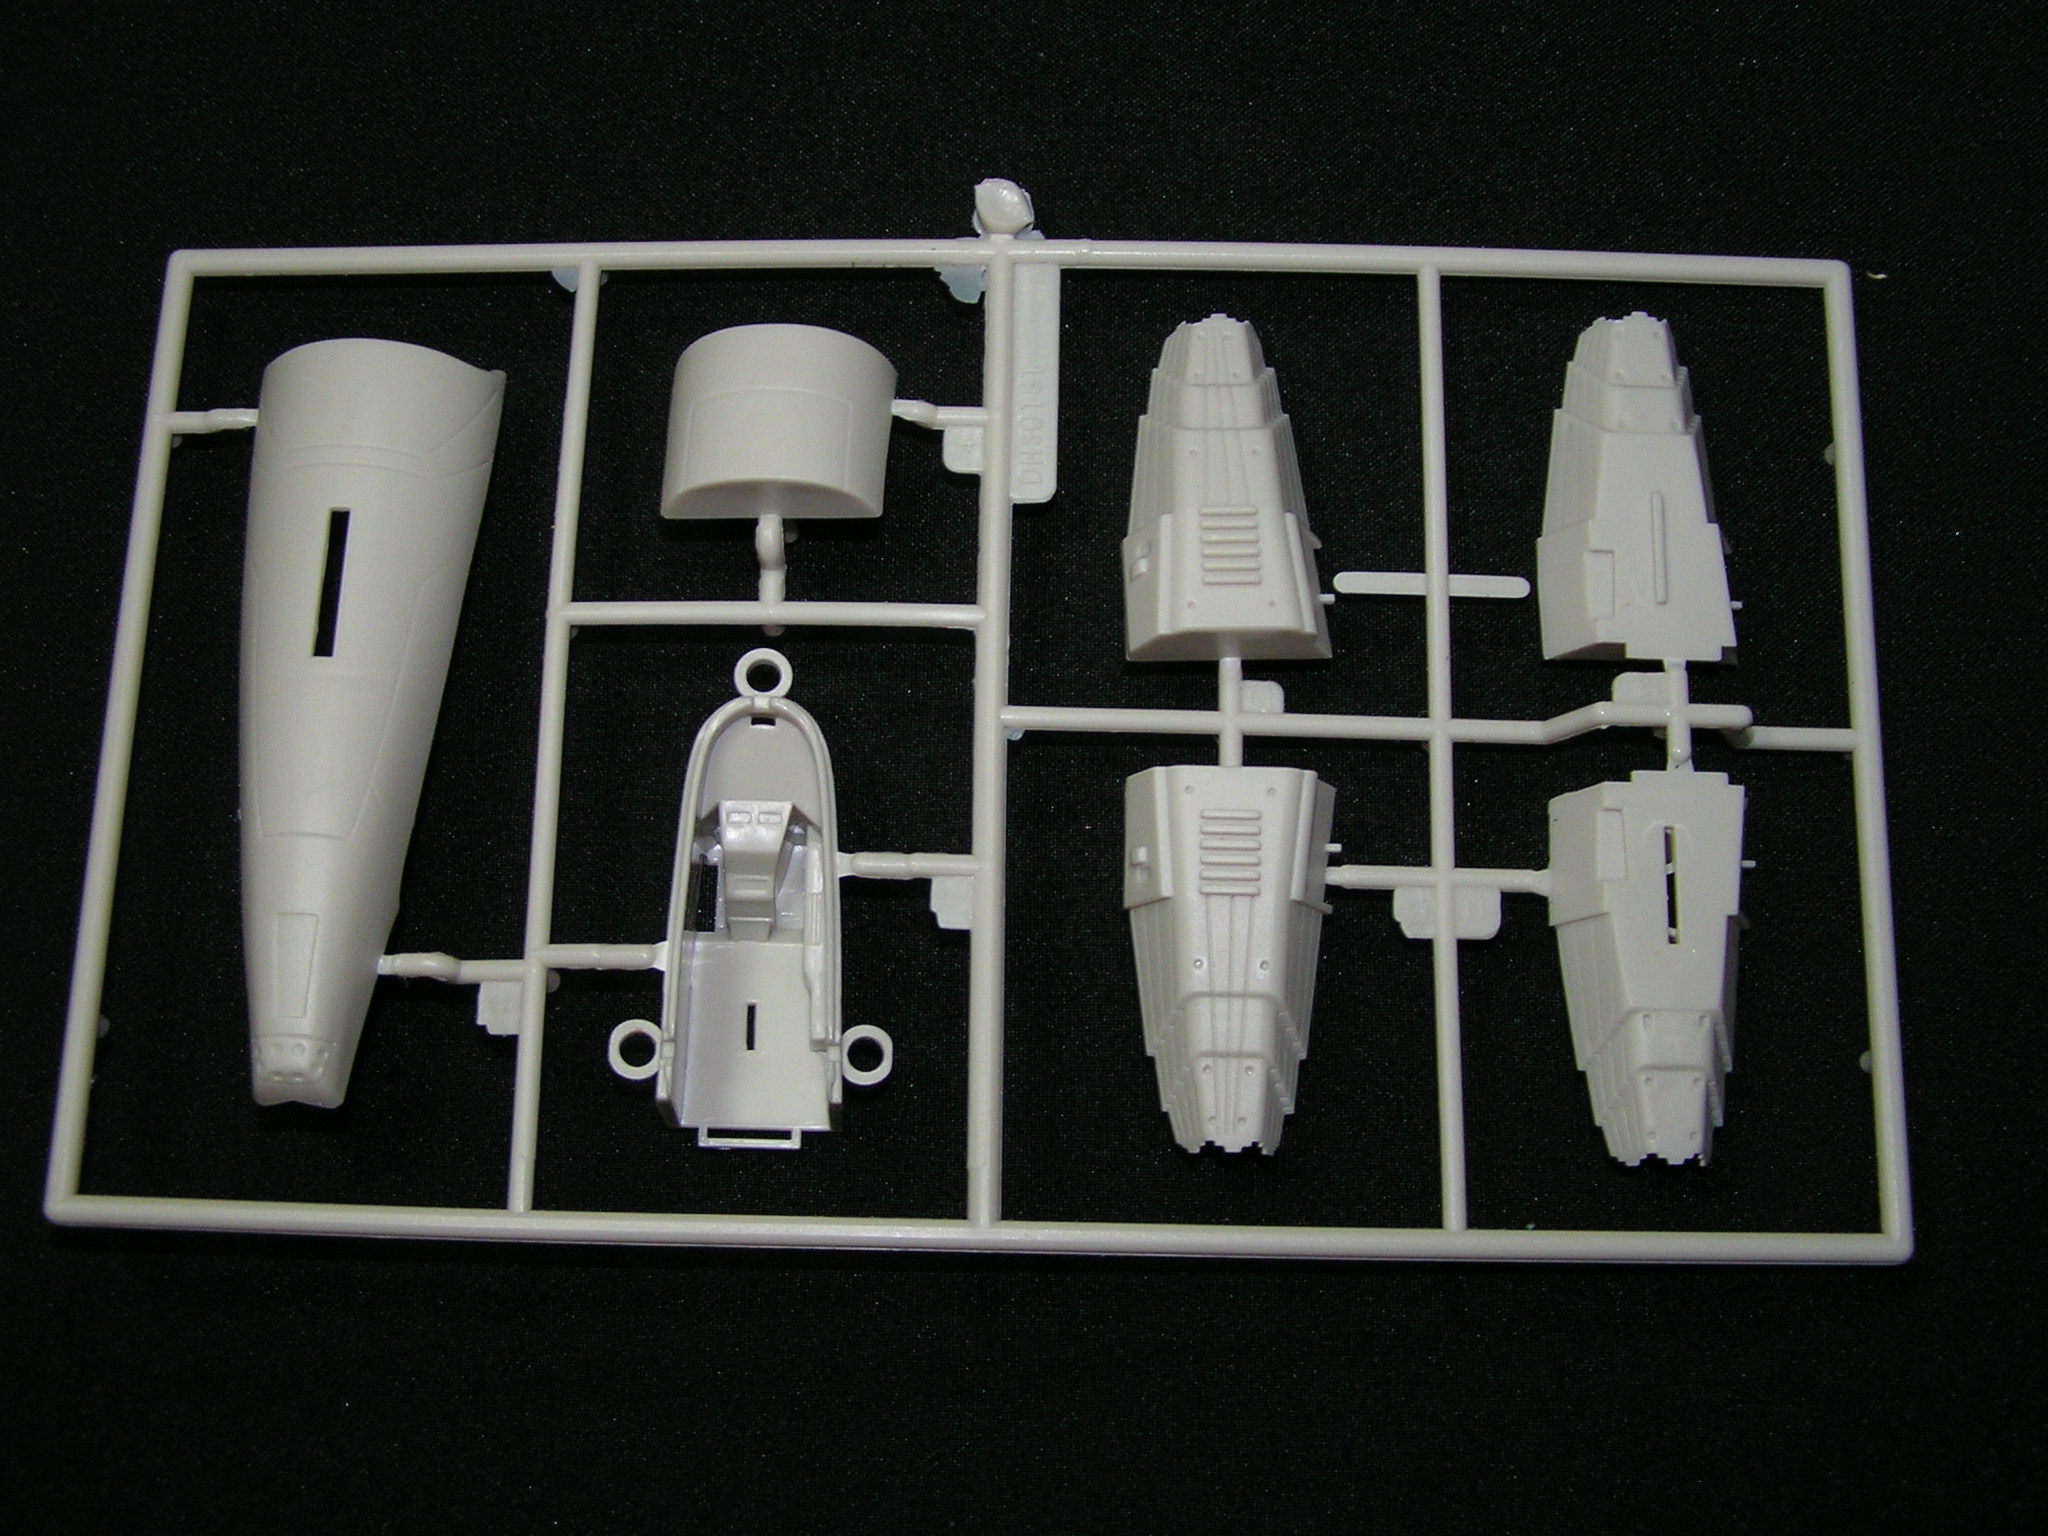
The parts are molded from a beige plastic thick around 2 mm. I have thoroughly examined the parts and I haven't found any depressions or other flaws. The only problem I can see is that the plastic parts are covered with fine powder, but this can be fixed with fine grit sandpaper (1000 or 1500). The cockpit is much more sophisticated than in case of Viper Mk VII. Parts fit nicely together without larger gaps. Nonetheless, it is necessary to use putty.
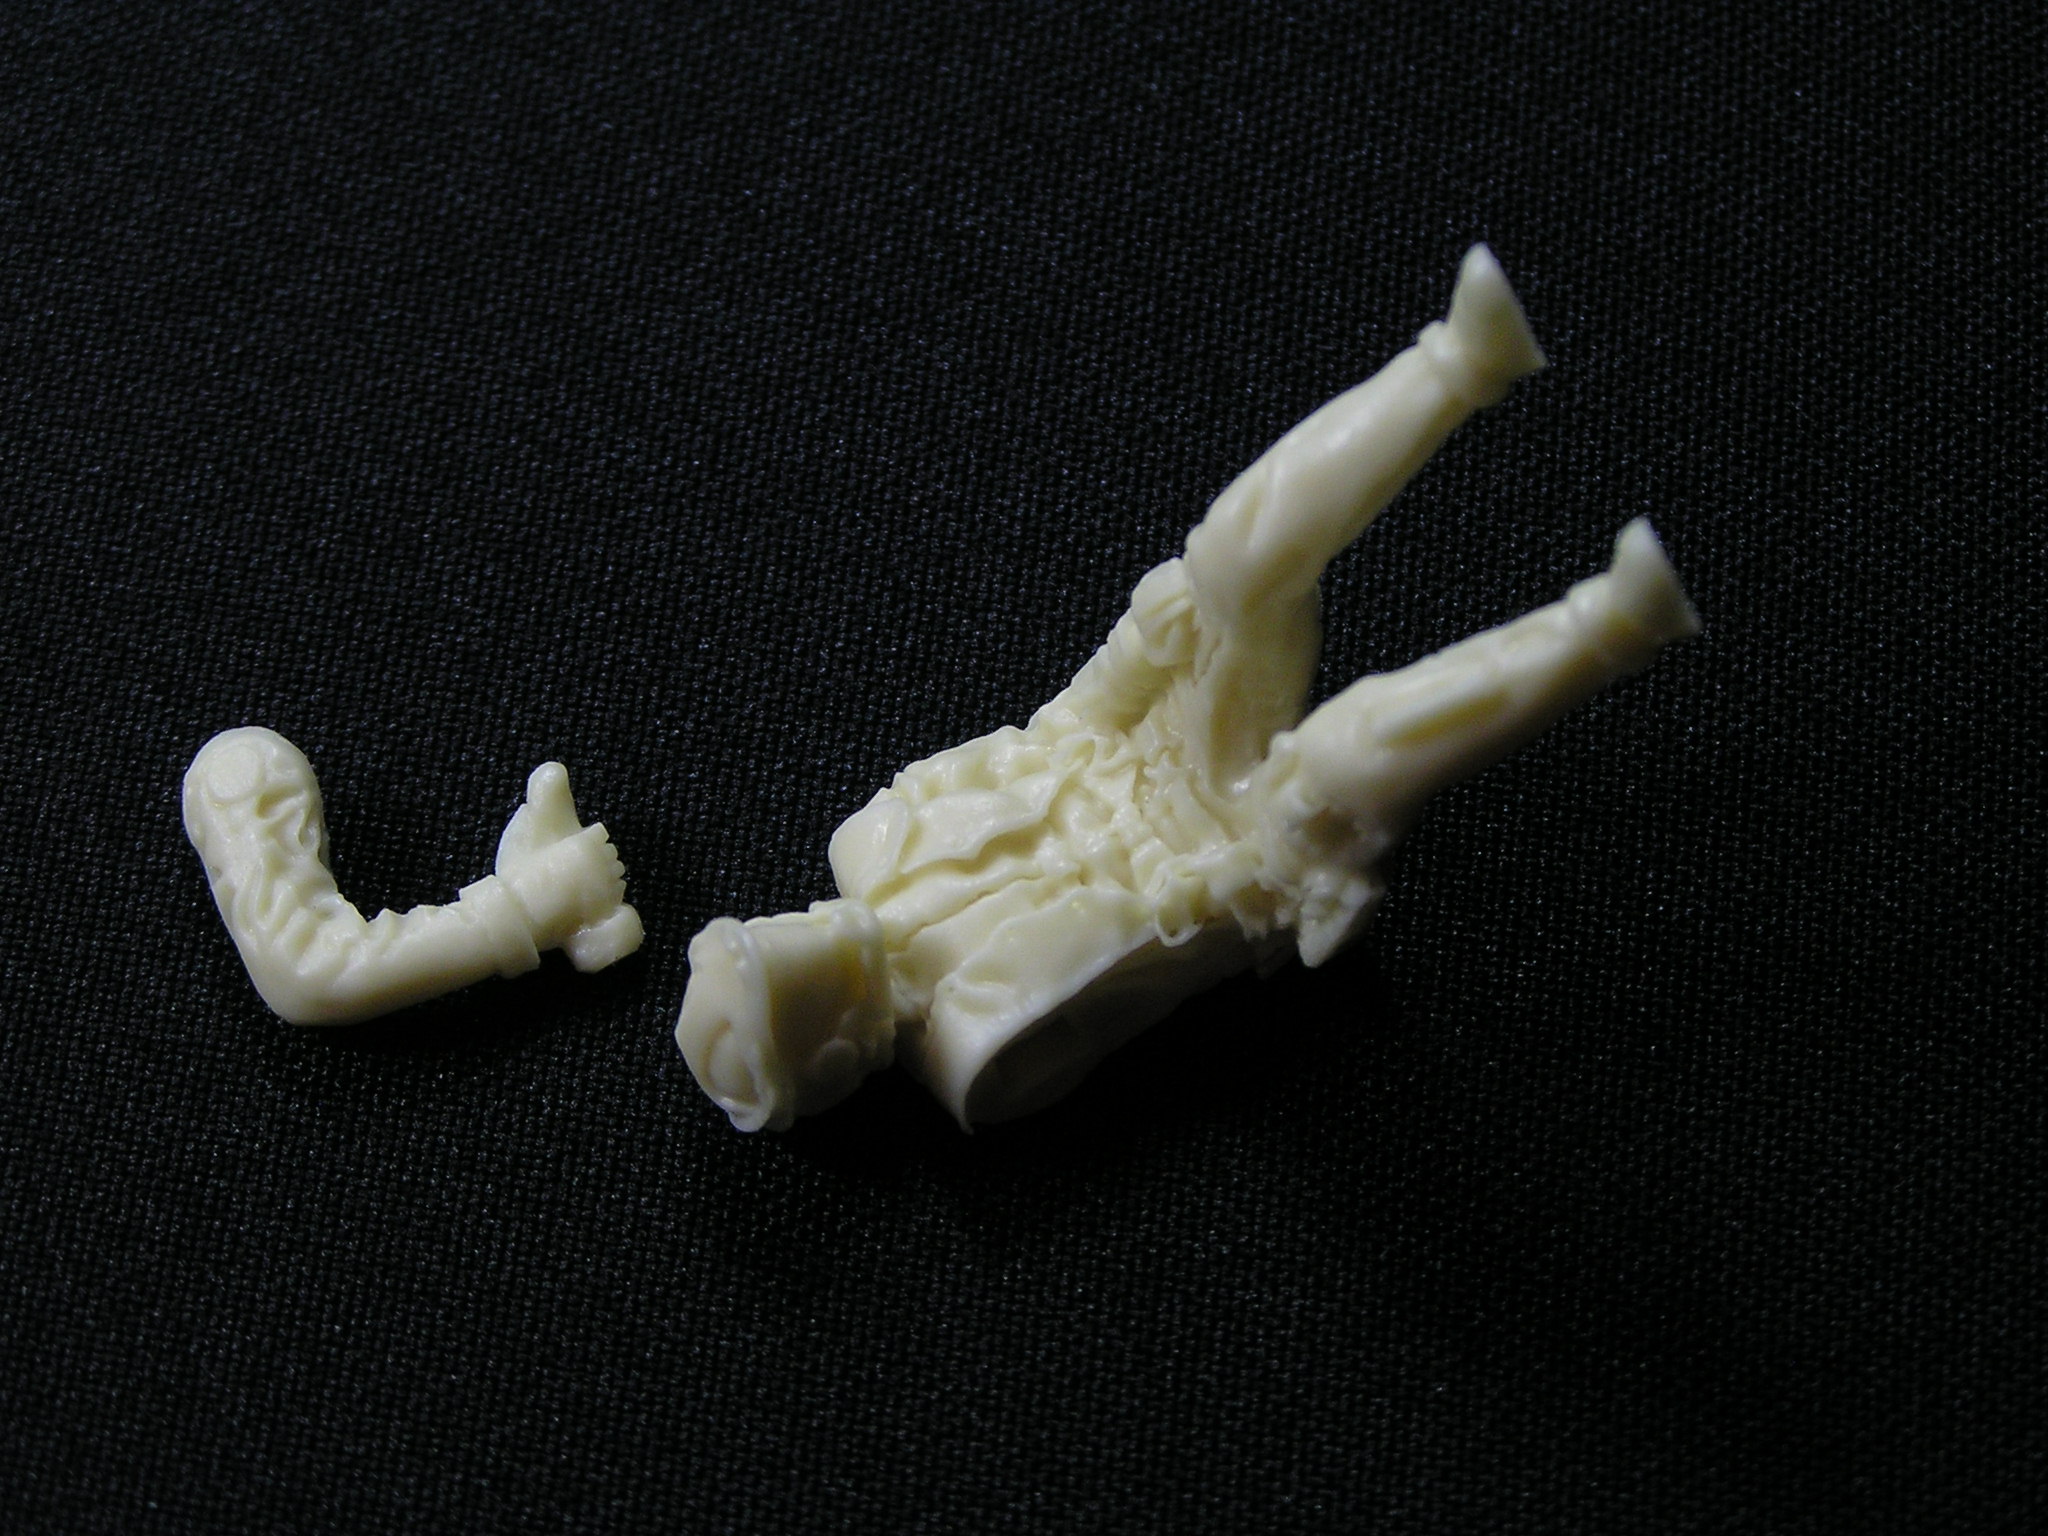
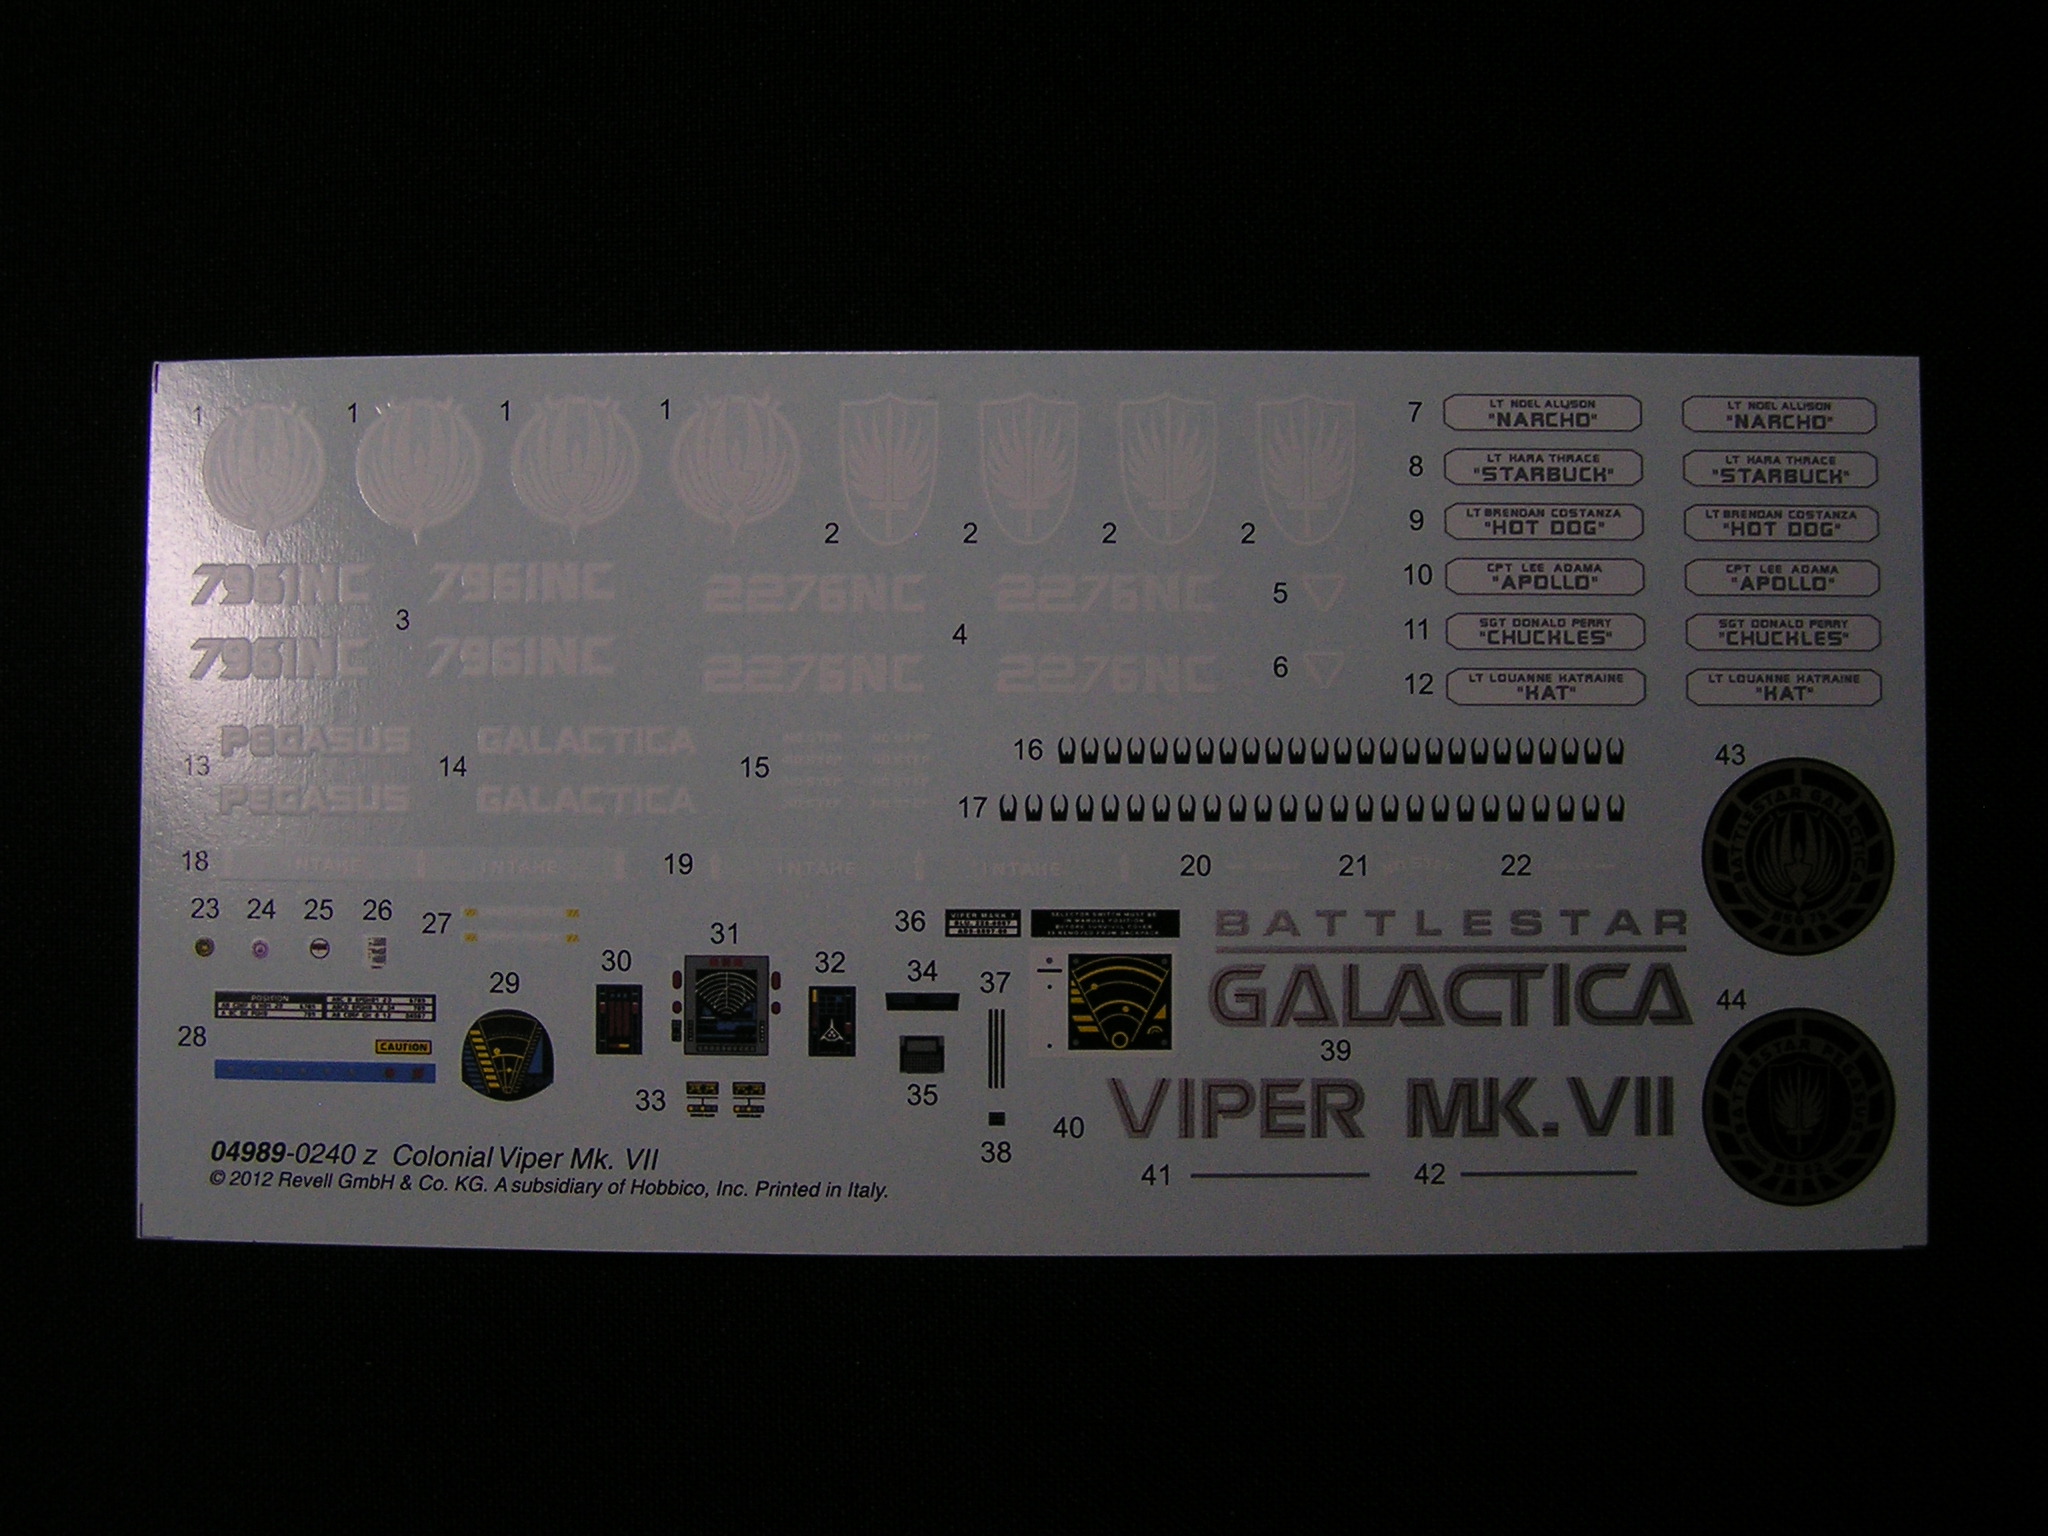
Among the best parts of the kit belongs included resin pilot figurine, which is very detailed. The only thing I could complain about are poorly created undercarriage shafts. To be more precise, in fact there are none. Decal sheet offers options for beginners. We can simply stick the red parts and thus save a lot of time with masking. The assembled model can be placed on a pedestal made of clear plastic. Construction instructions are very clear and distinct.
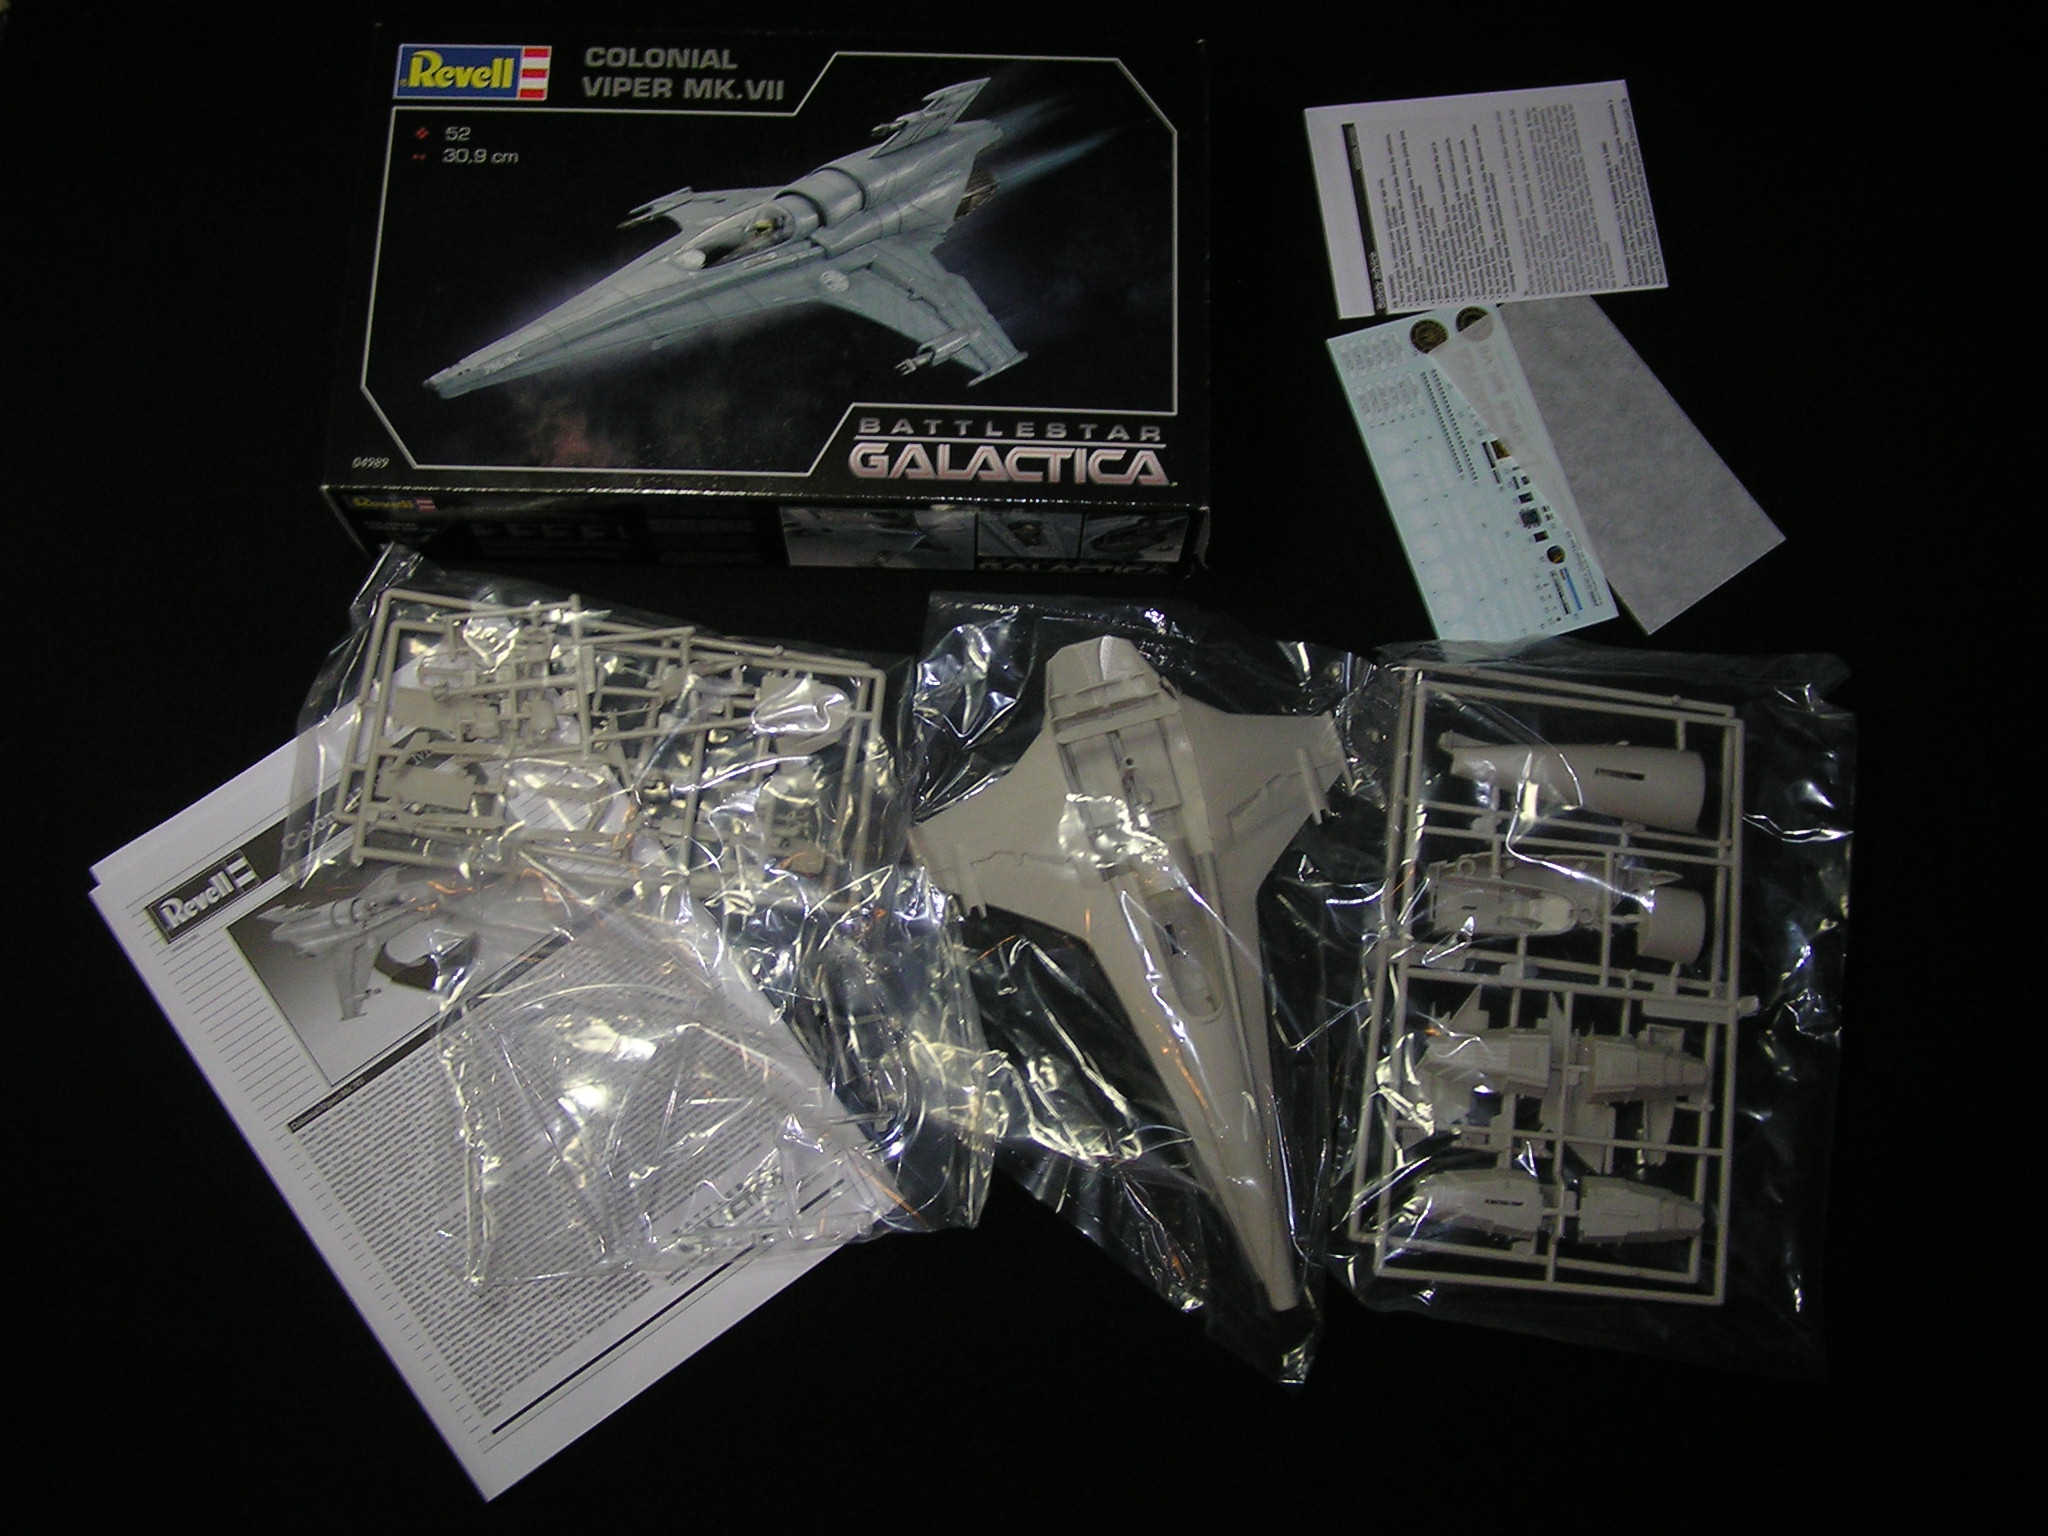
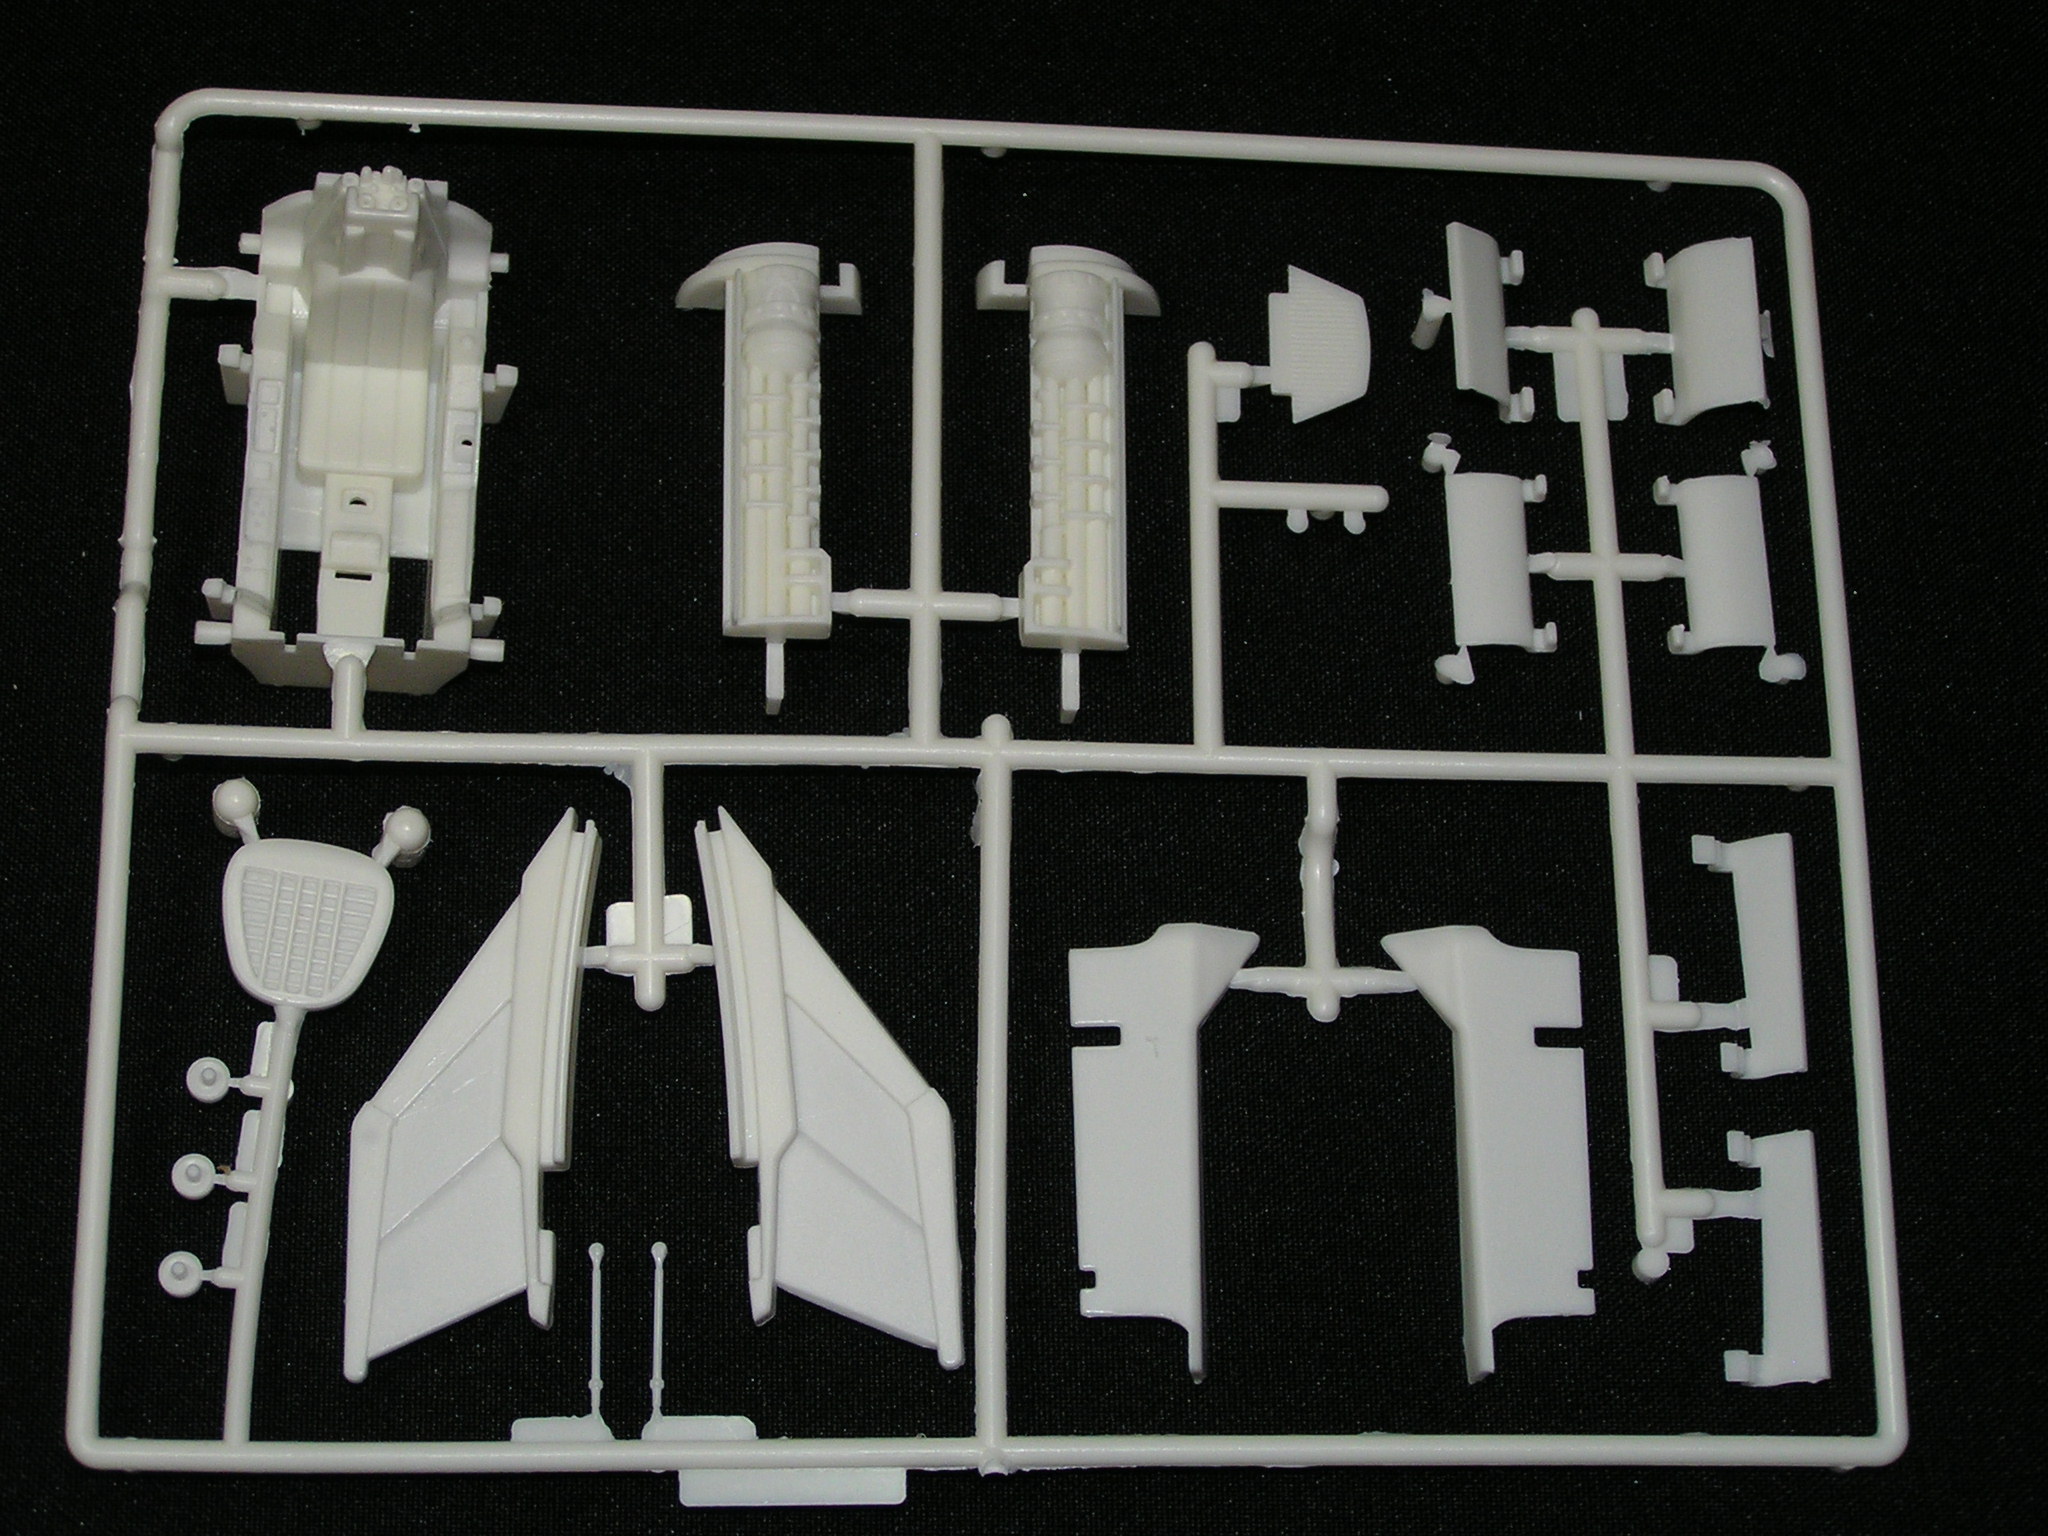
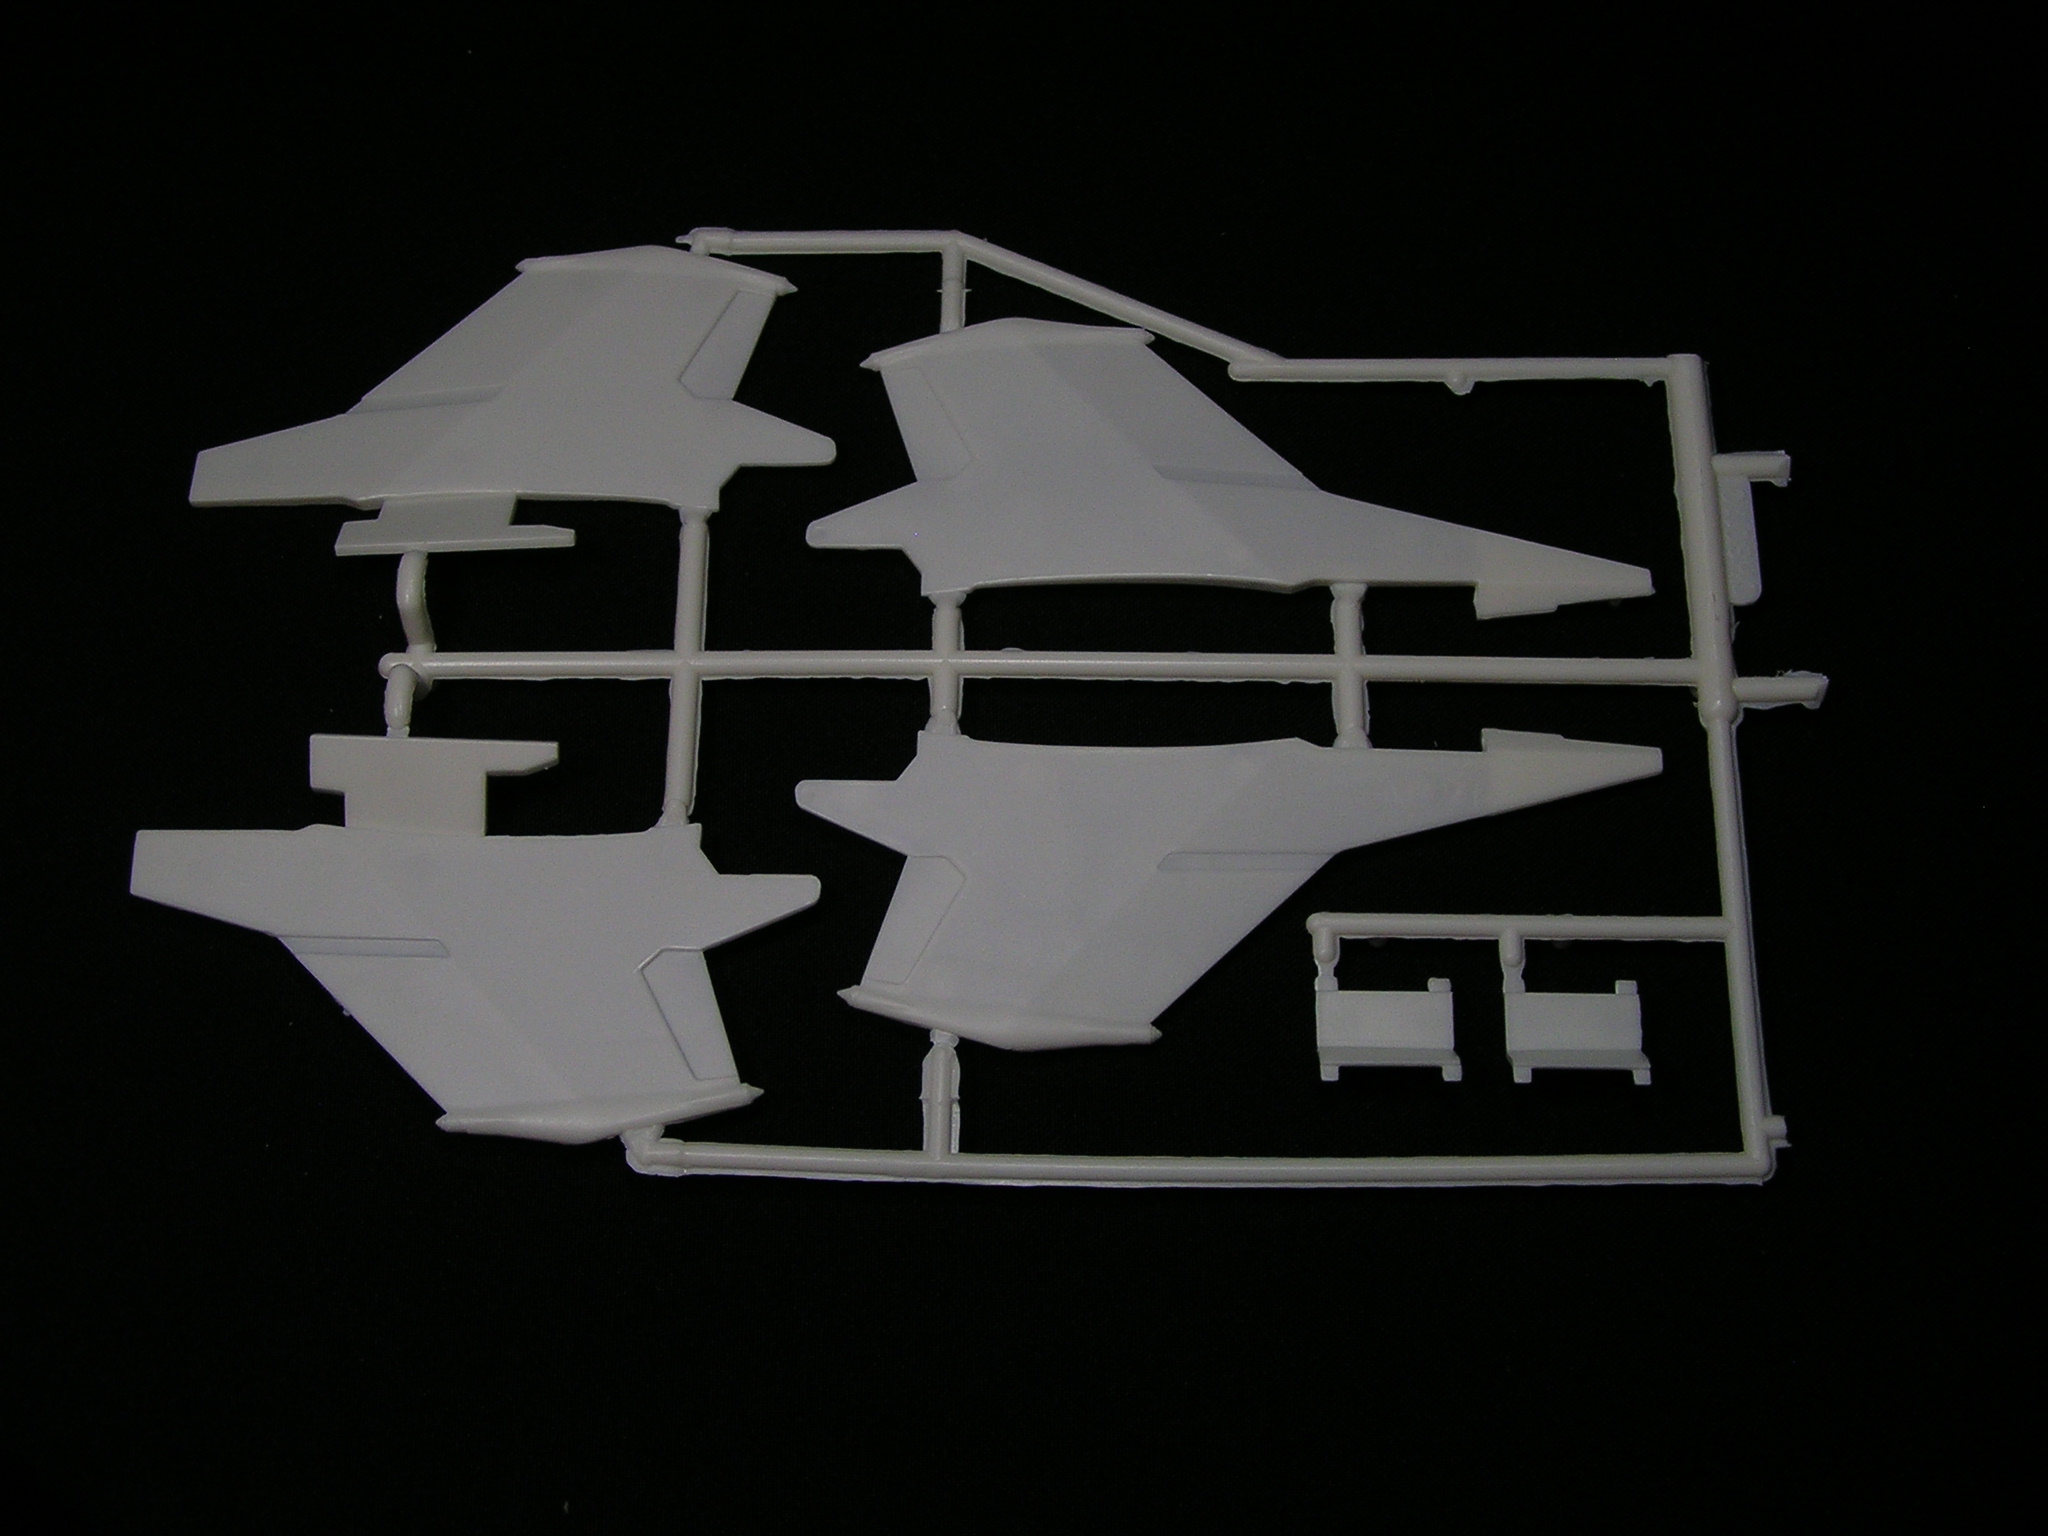
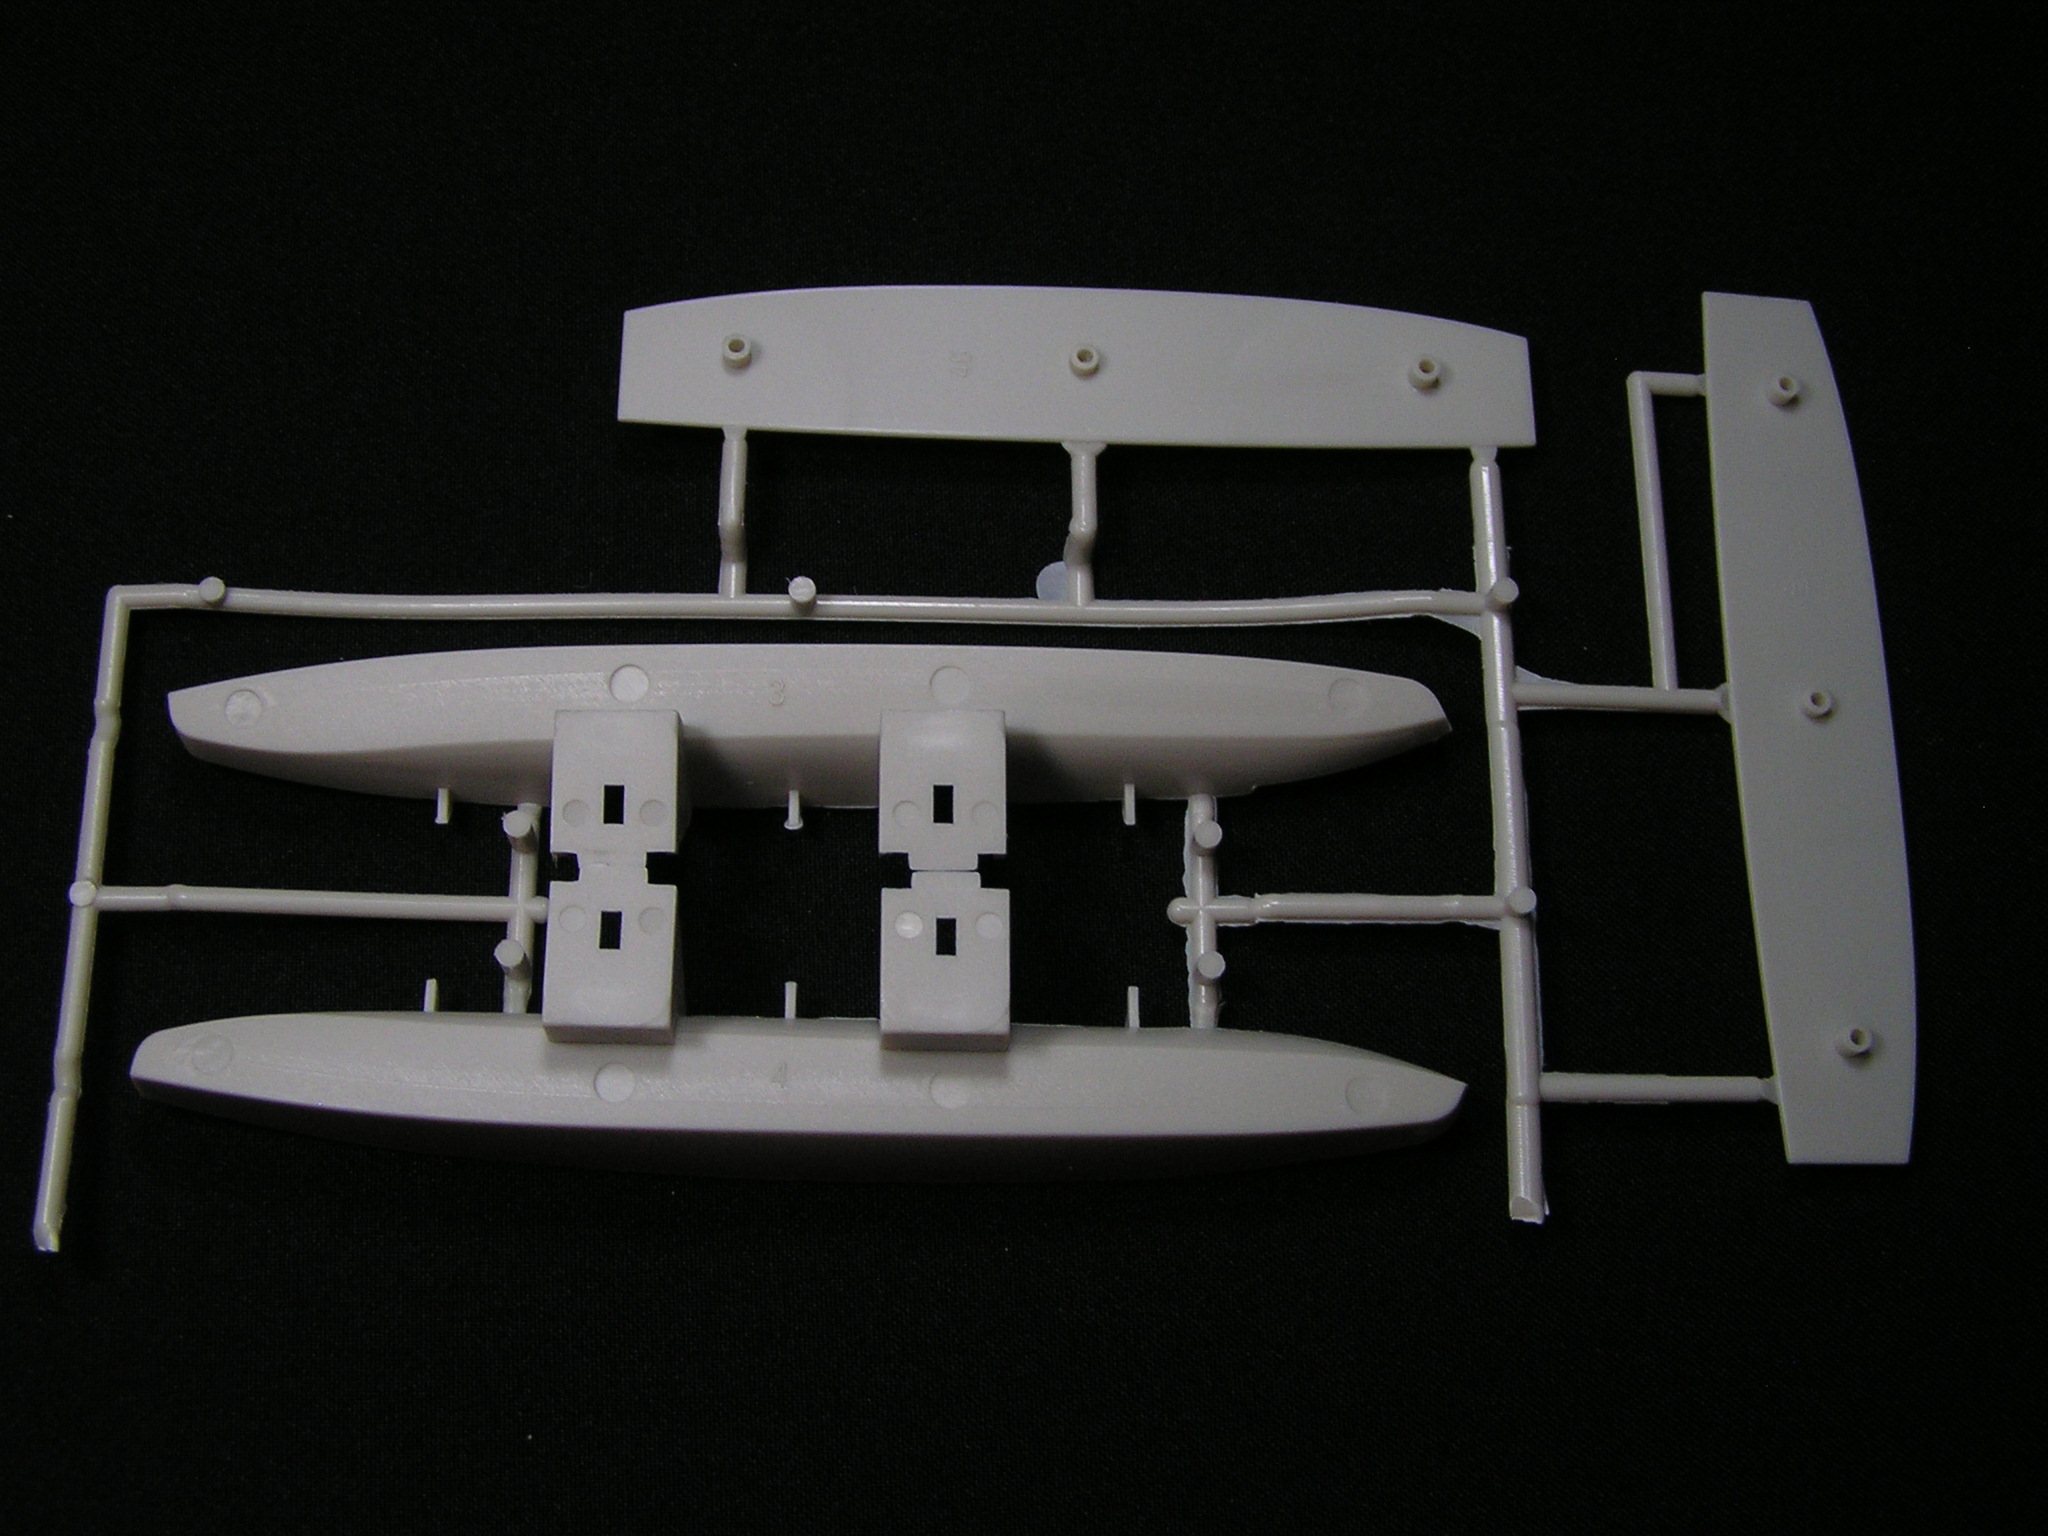
Colonial Viper Mk VII

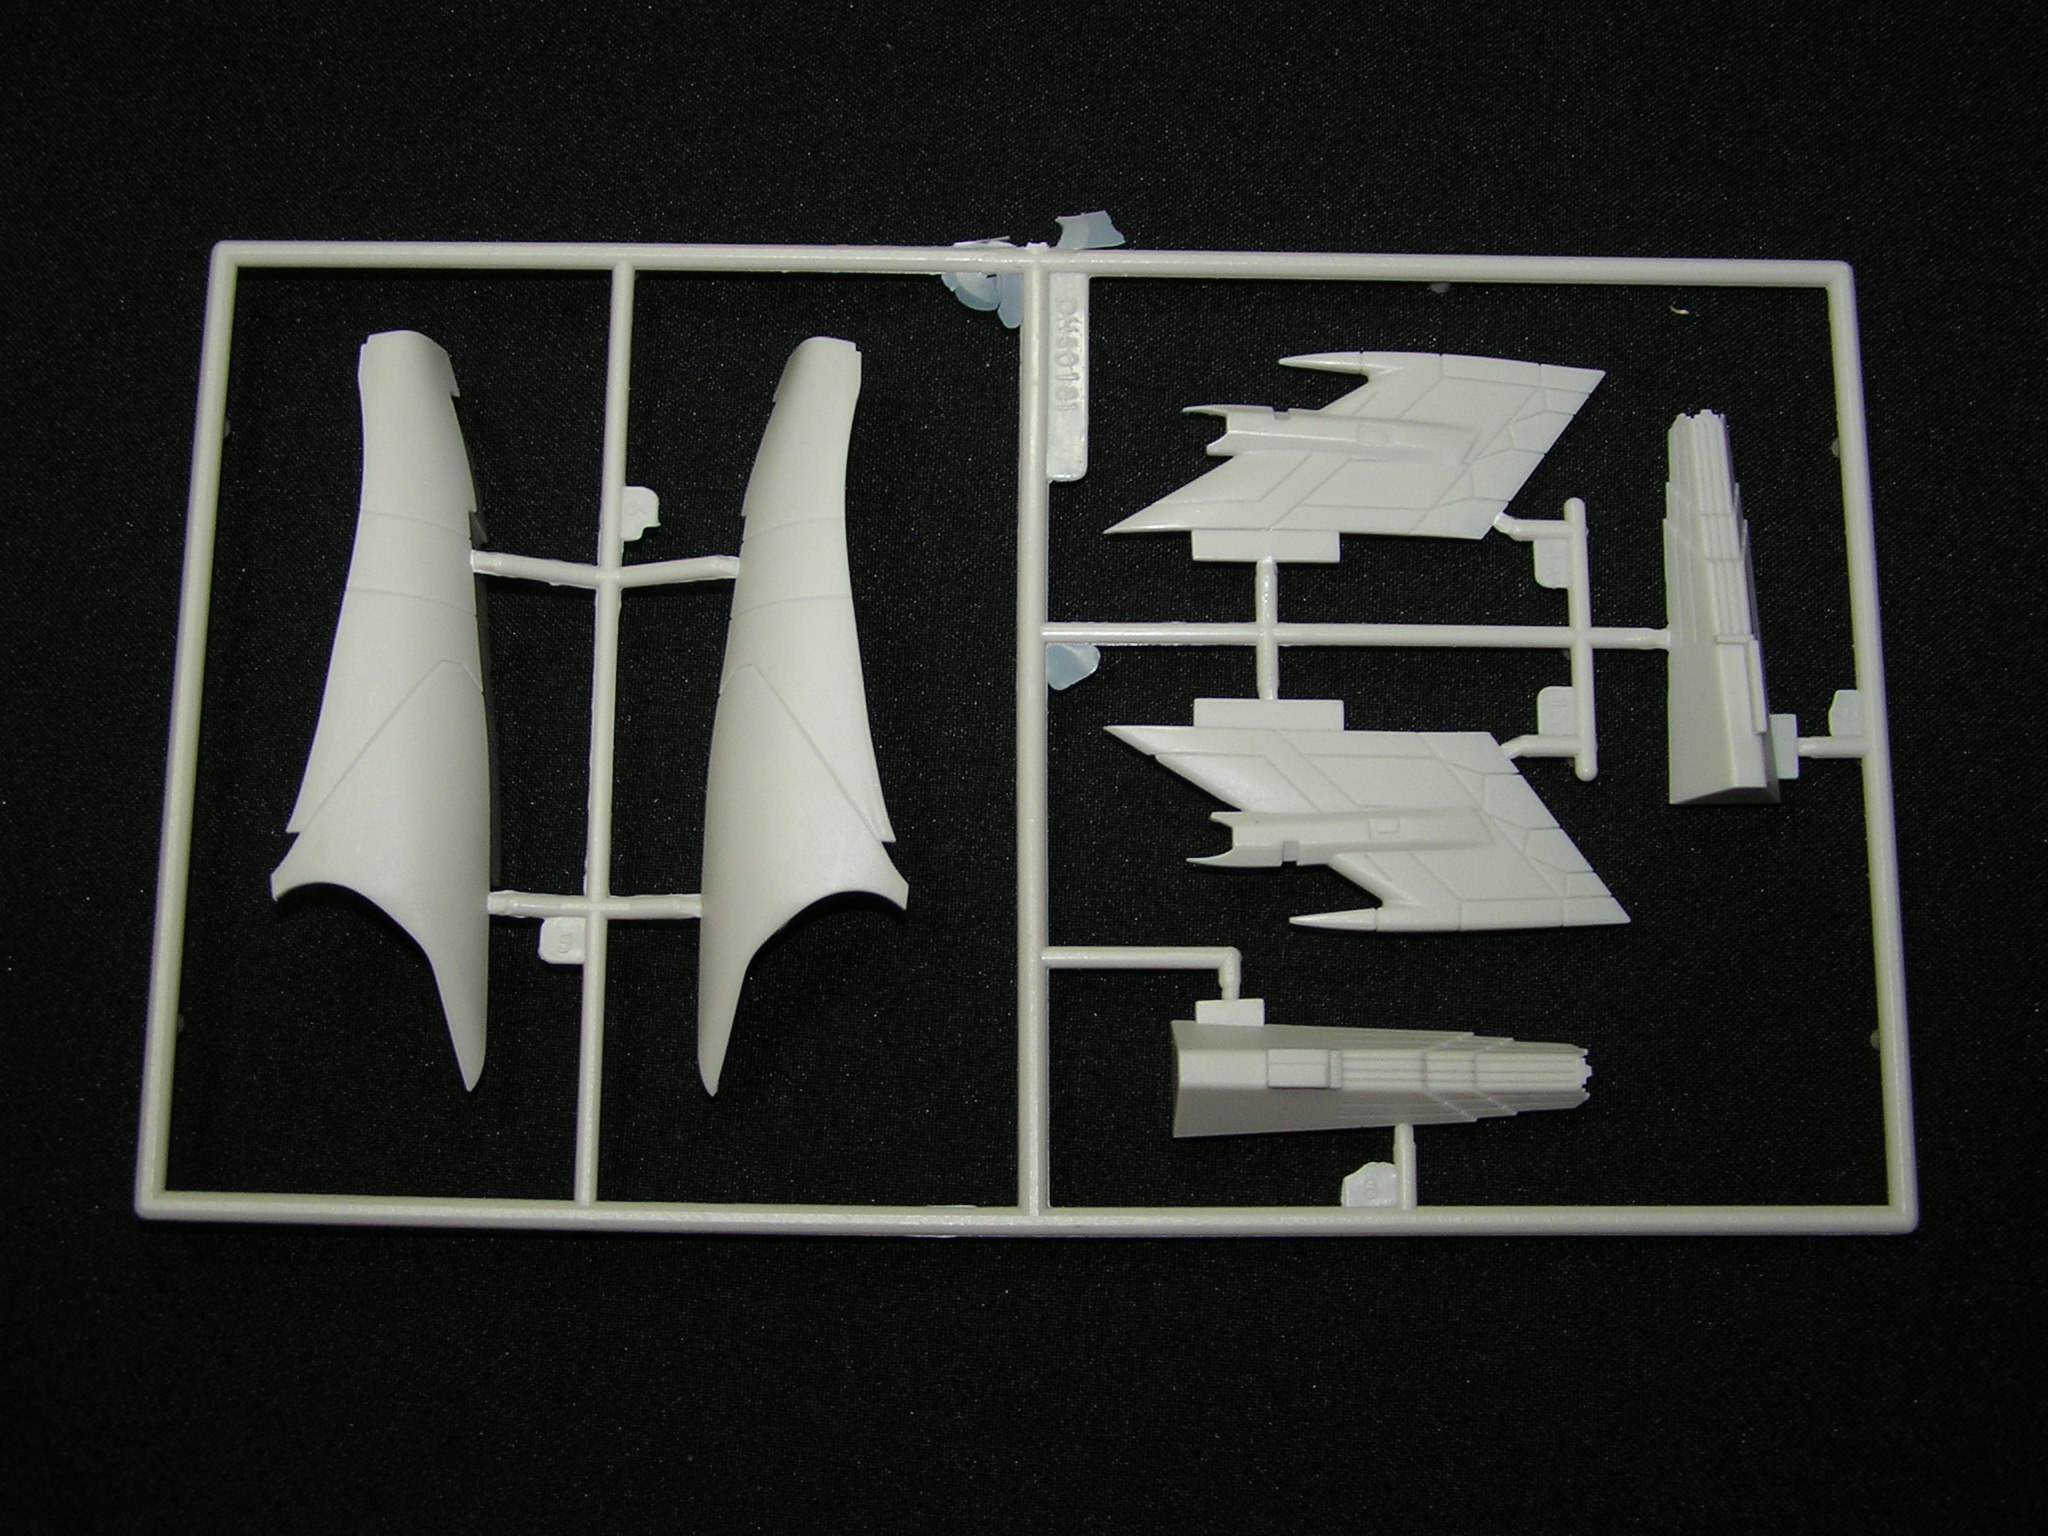
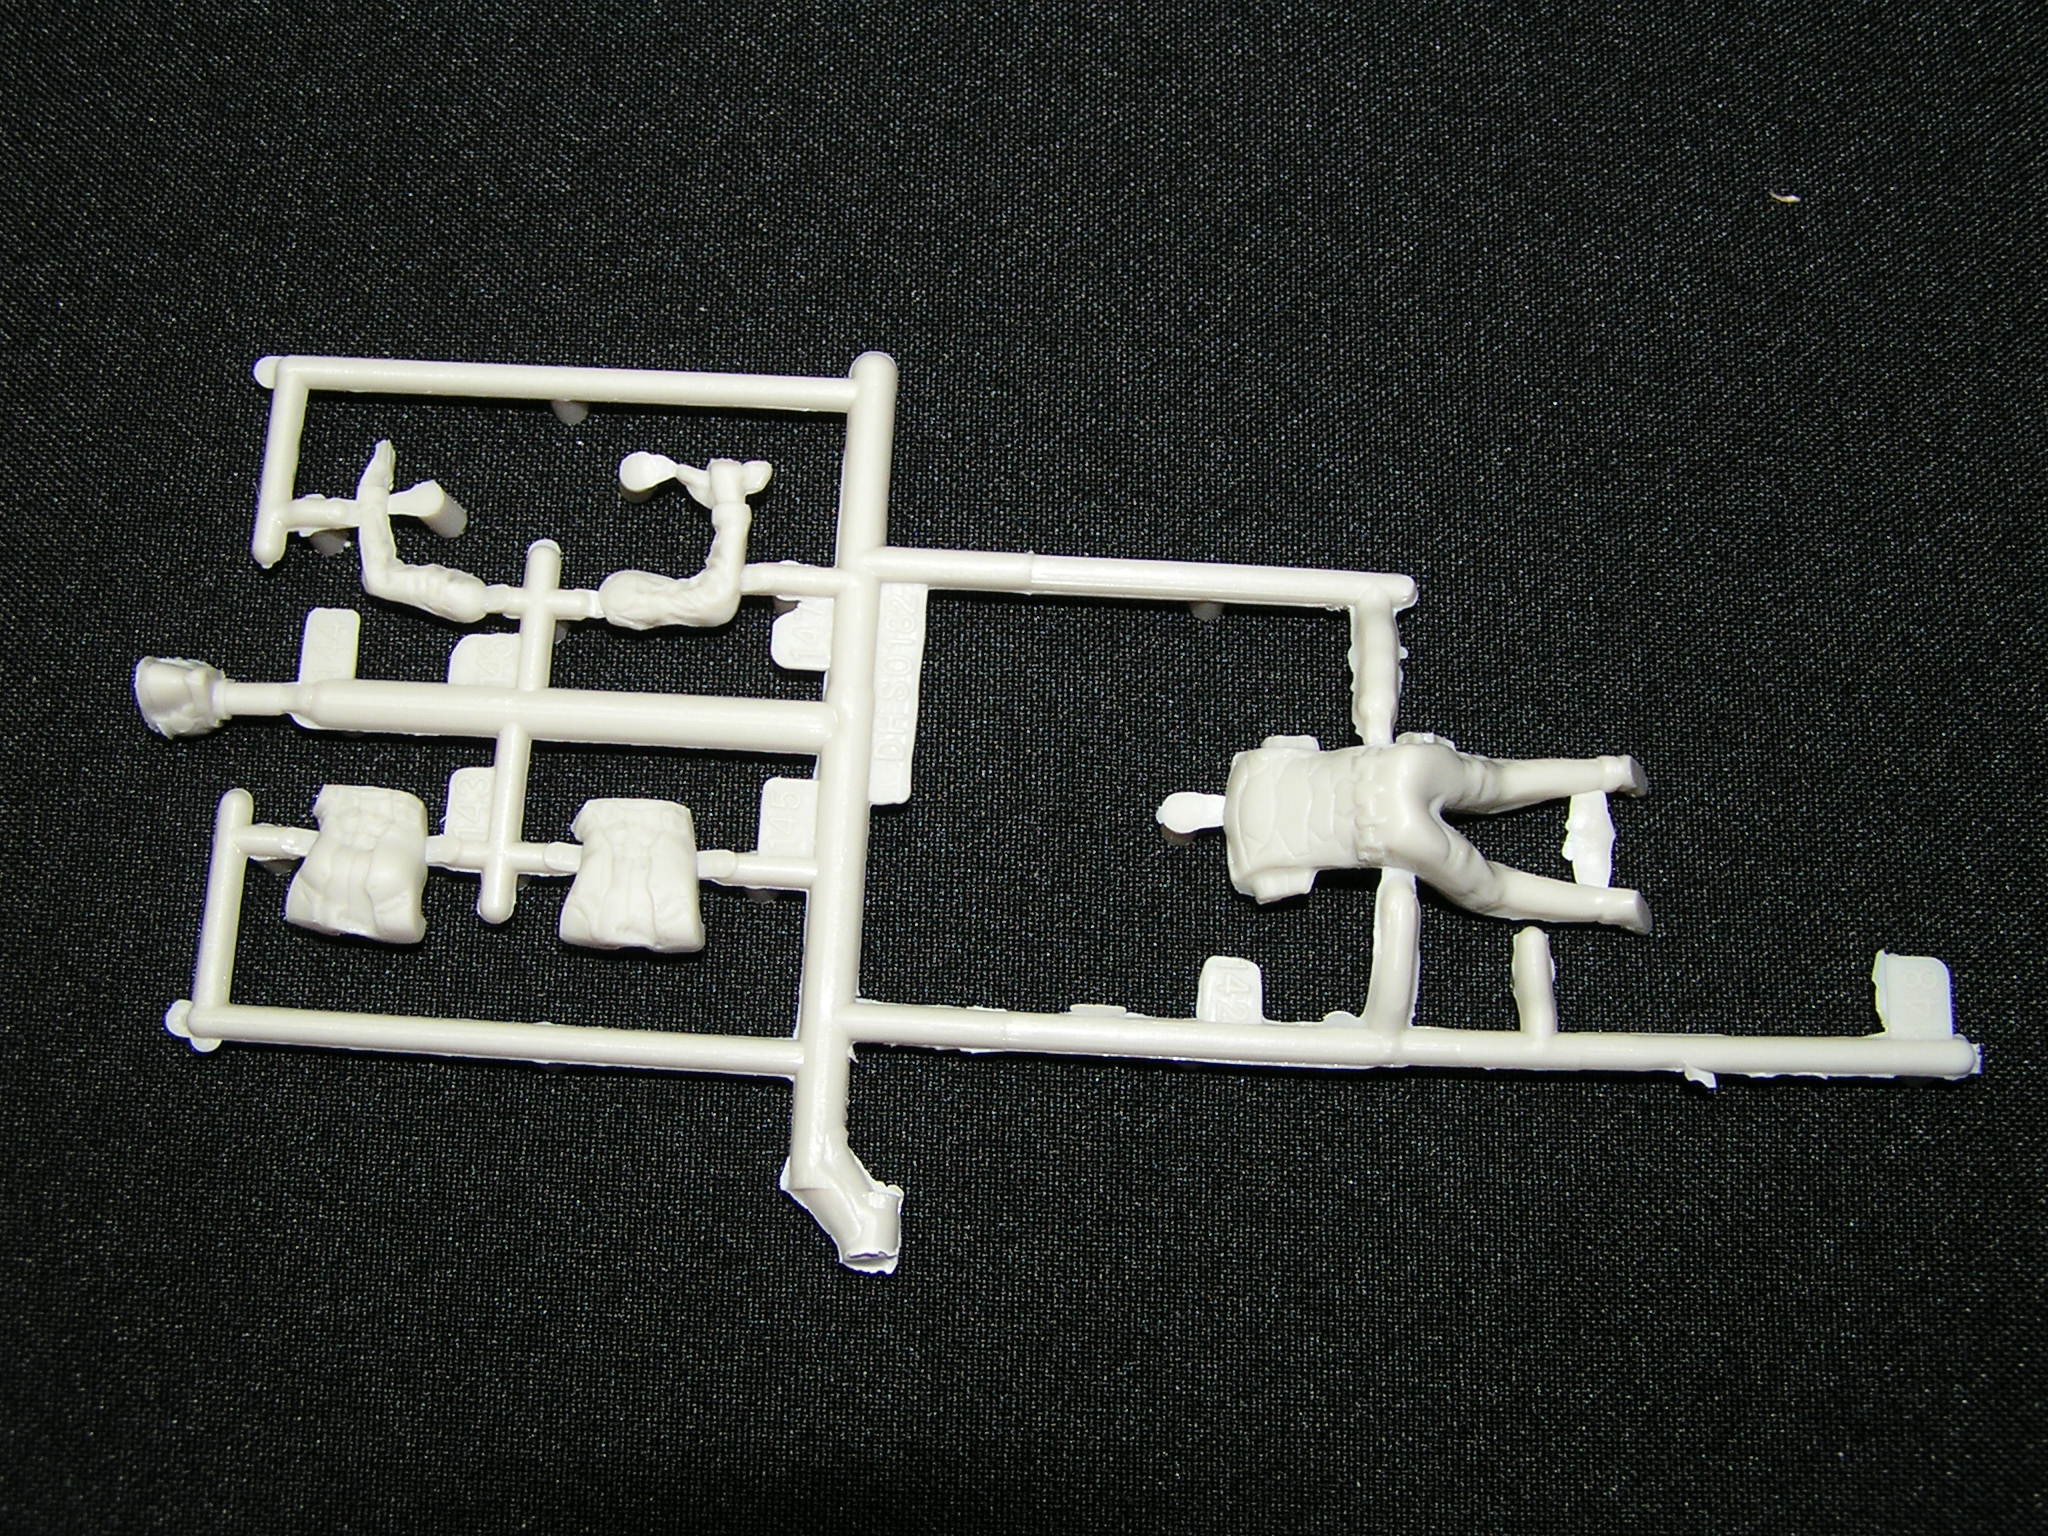

Regarding the parts, it is similar to the Viper Mk II. There is a plastic pilot figurine instead of the resin one. Cockpit lacks details of devices. Overall construction is much easier, but this time it has undercarriage shafts.
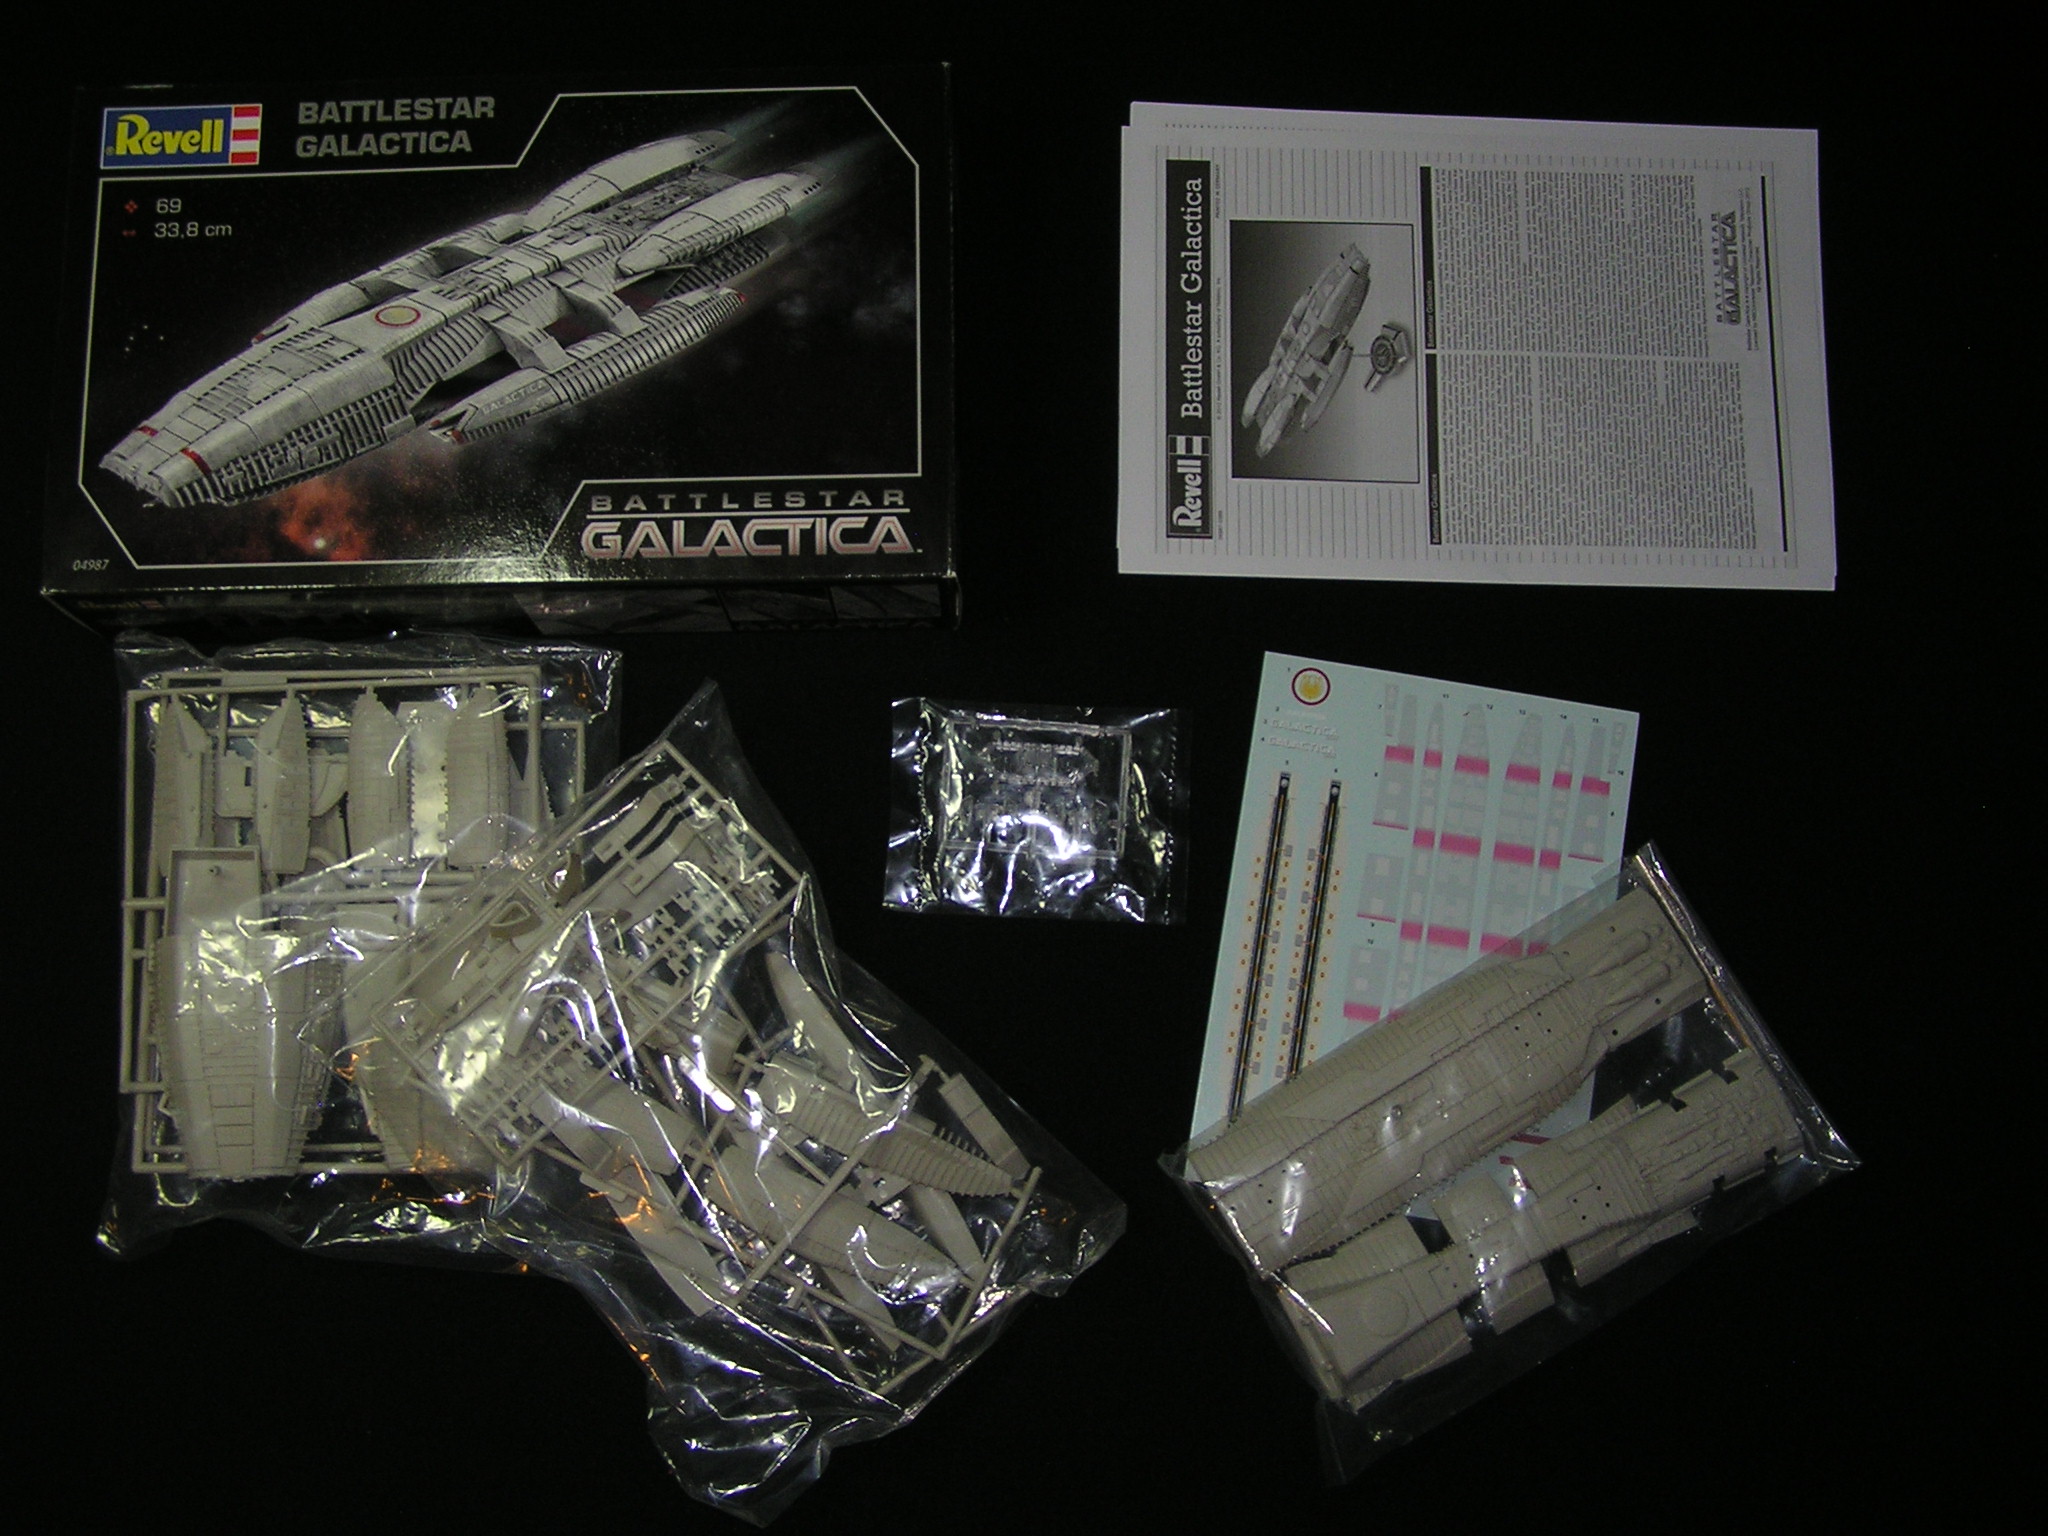
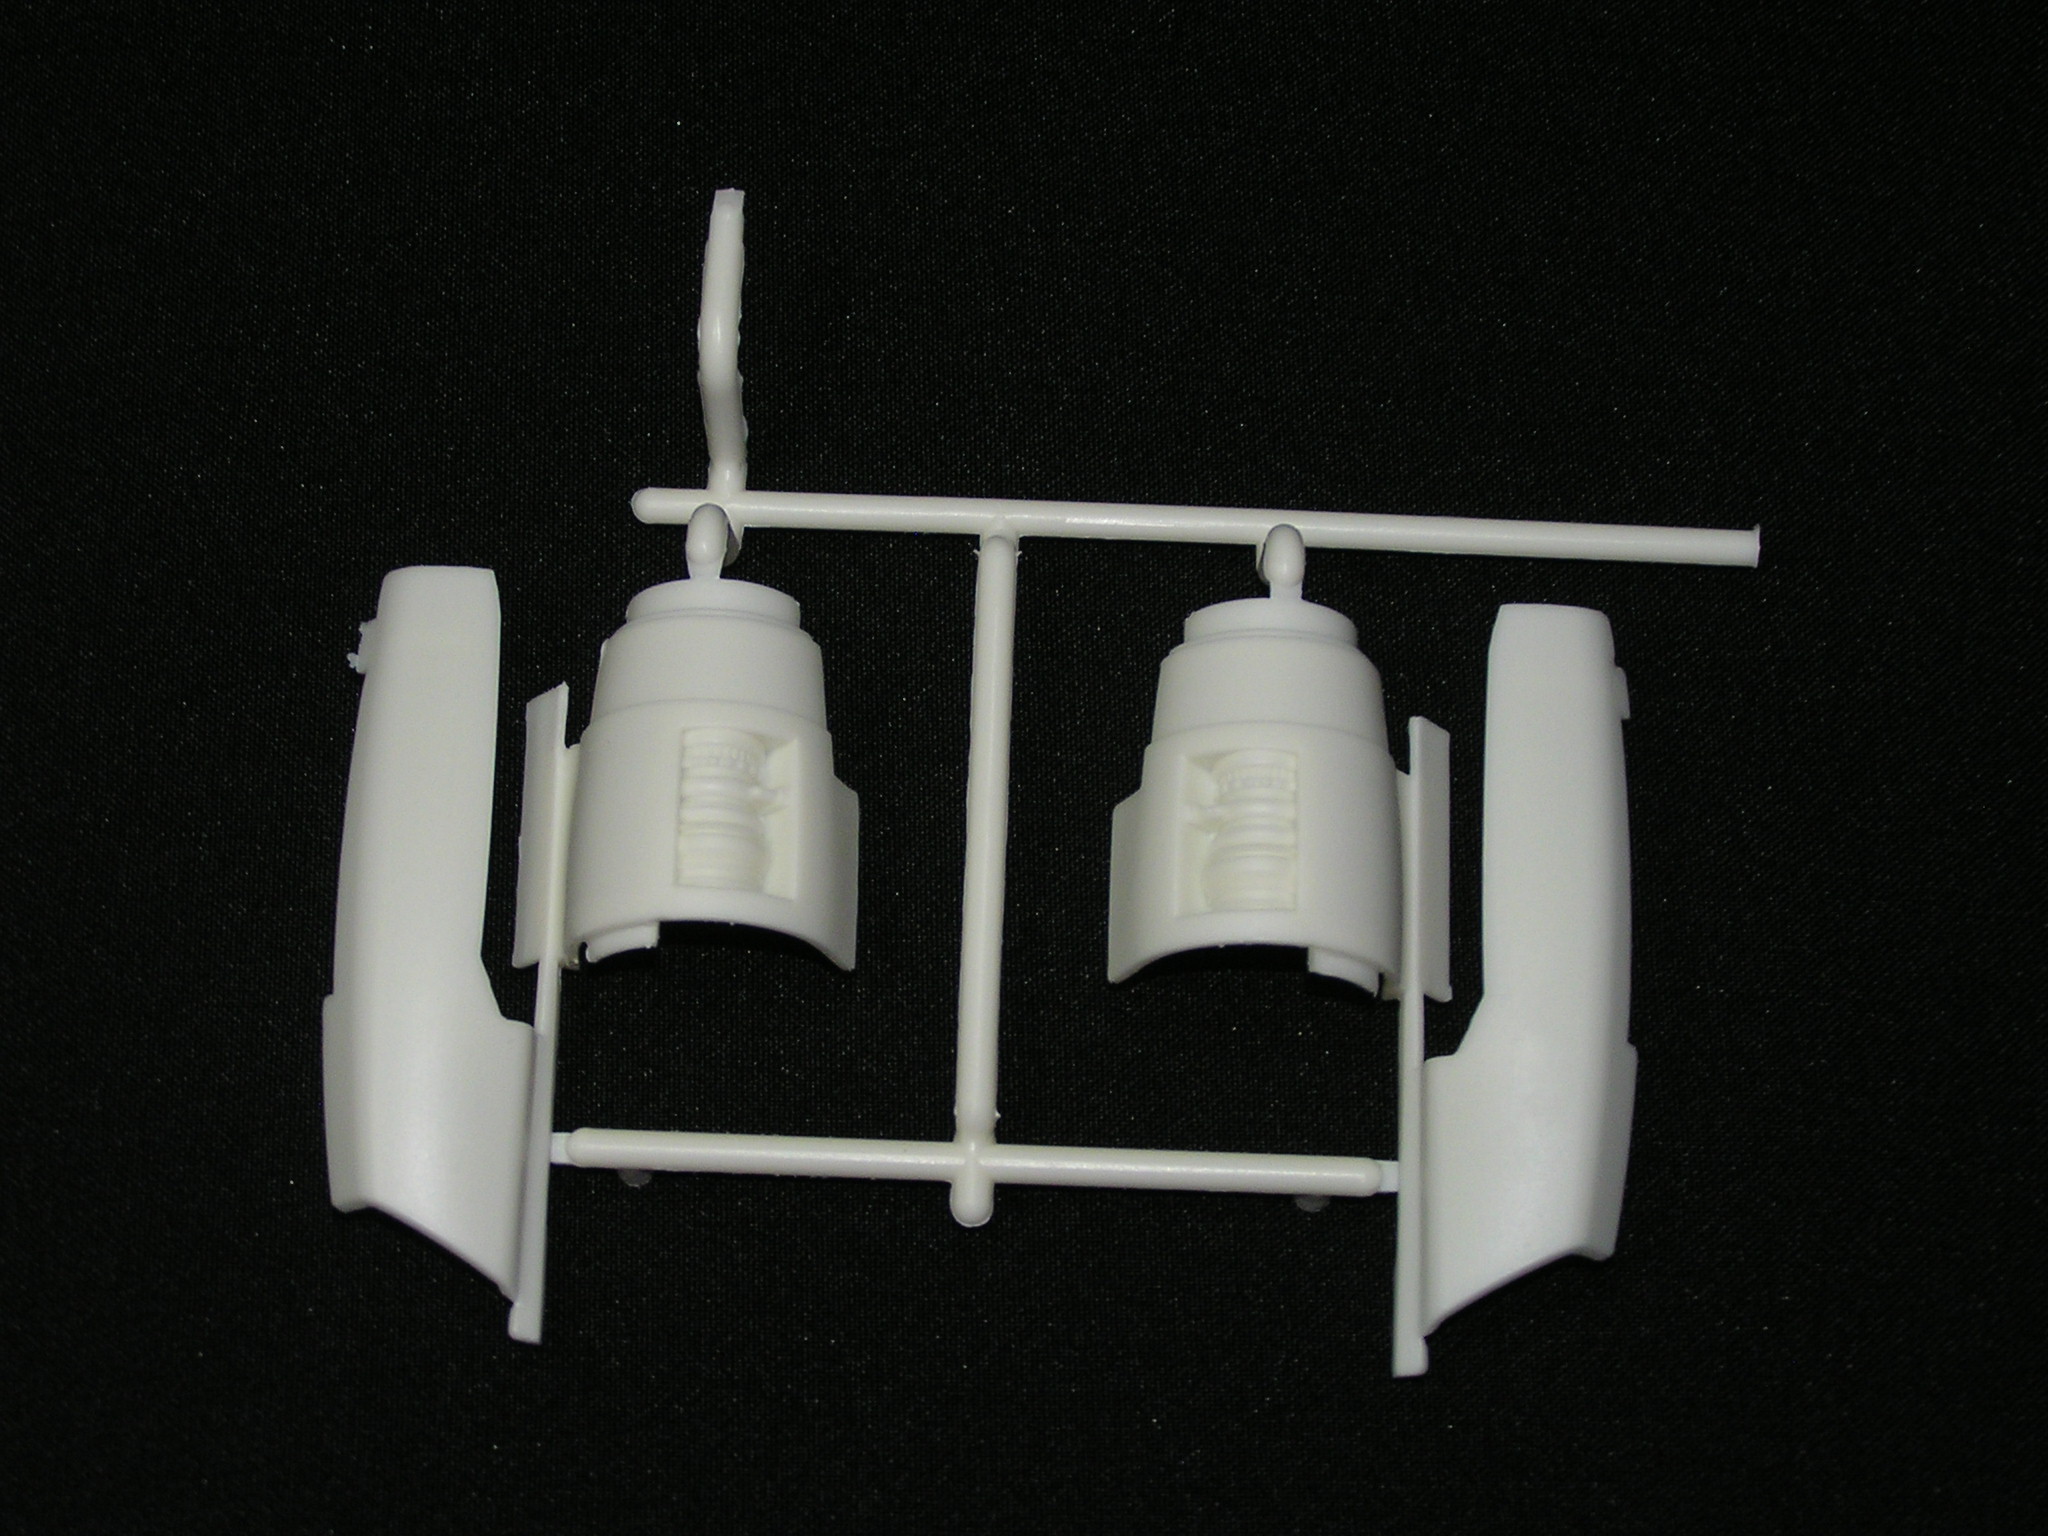
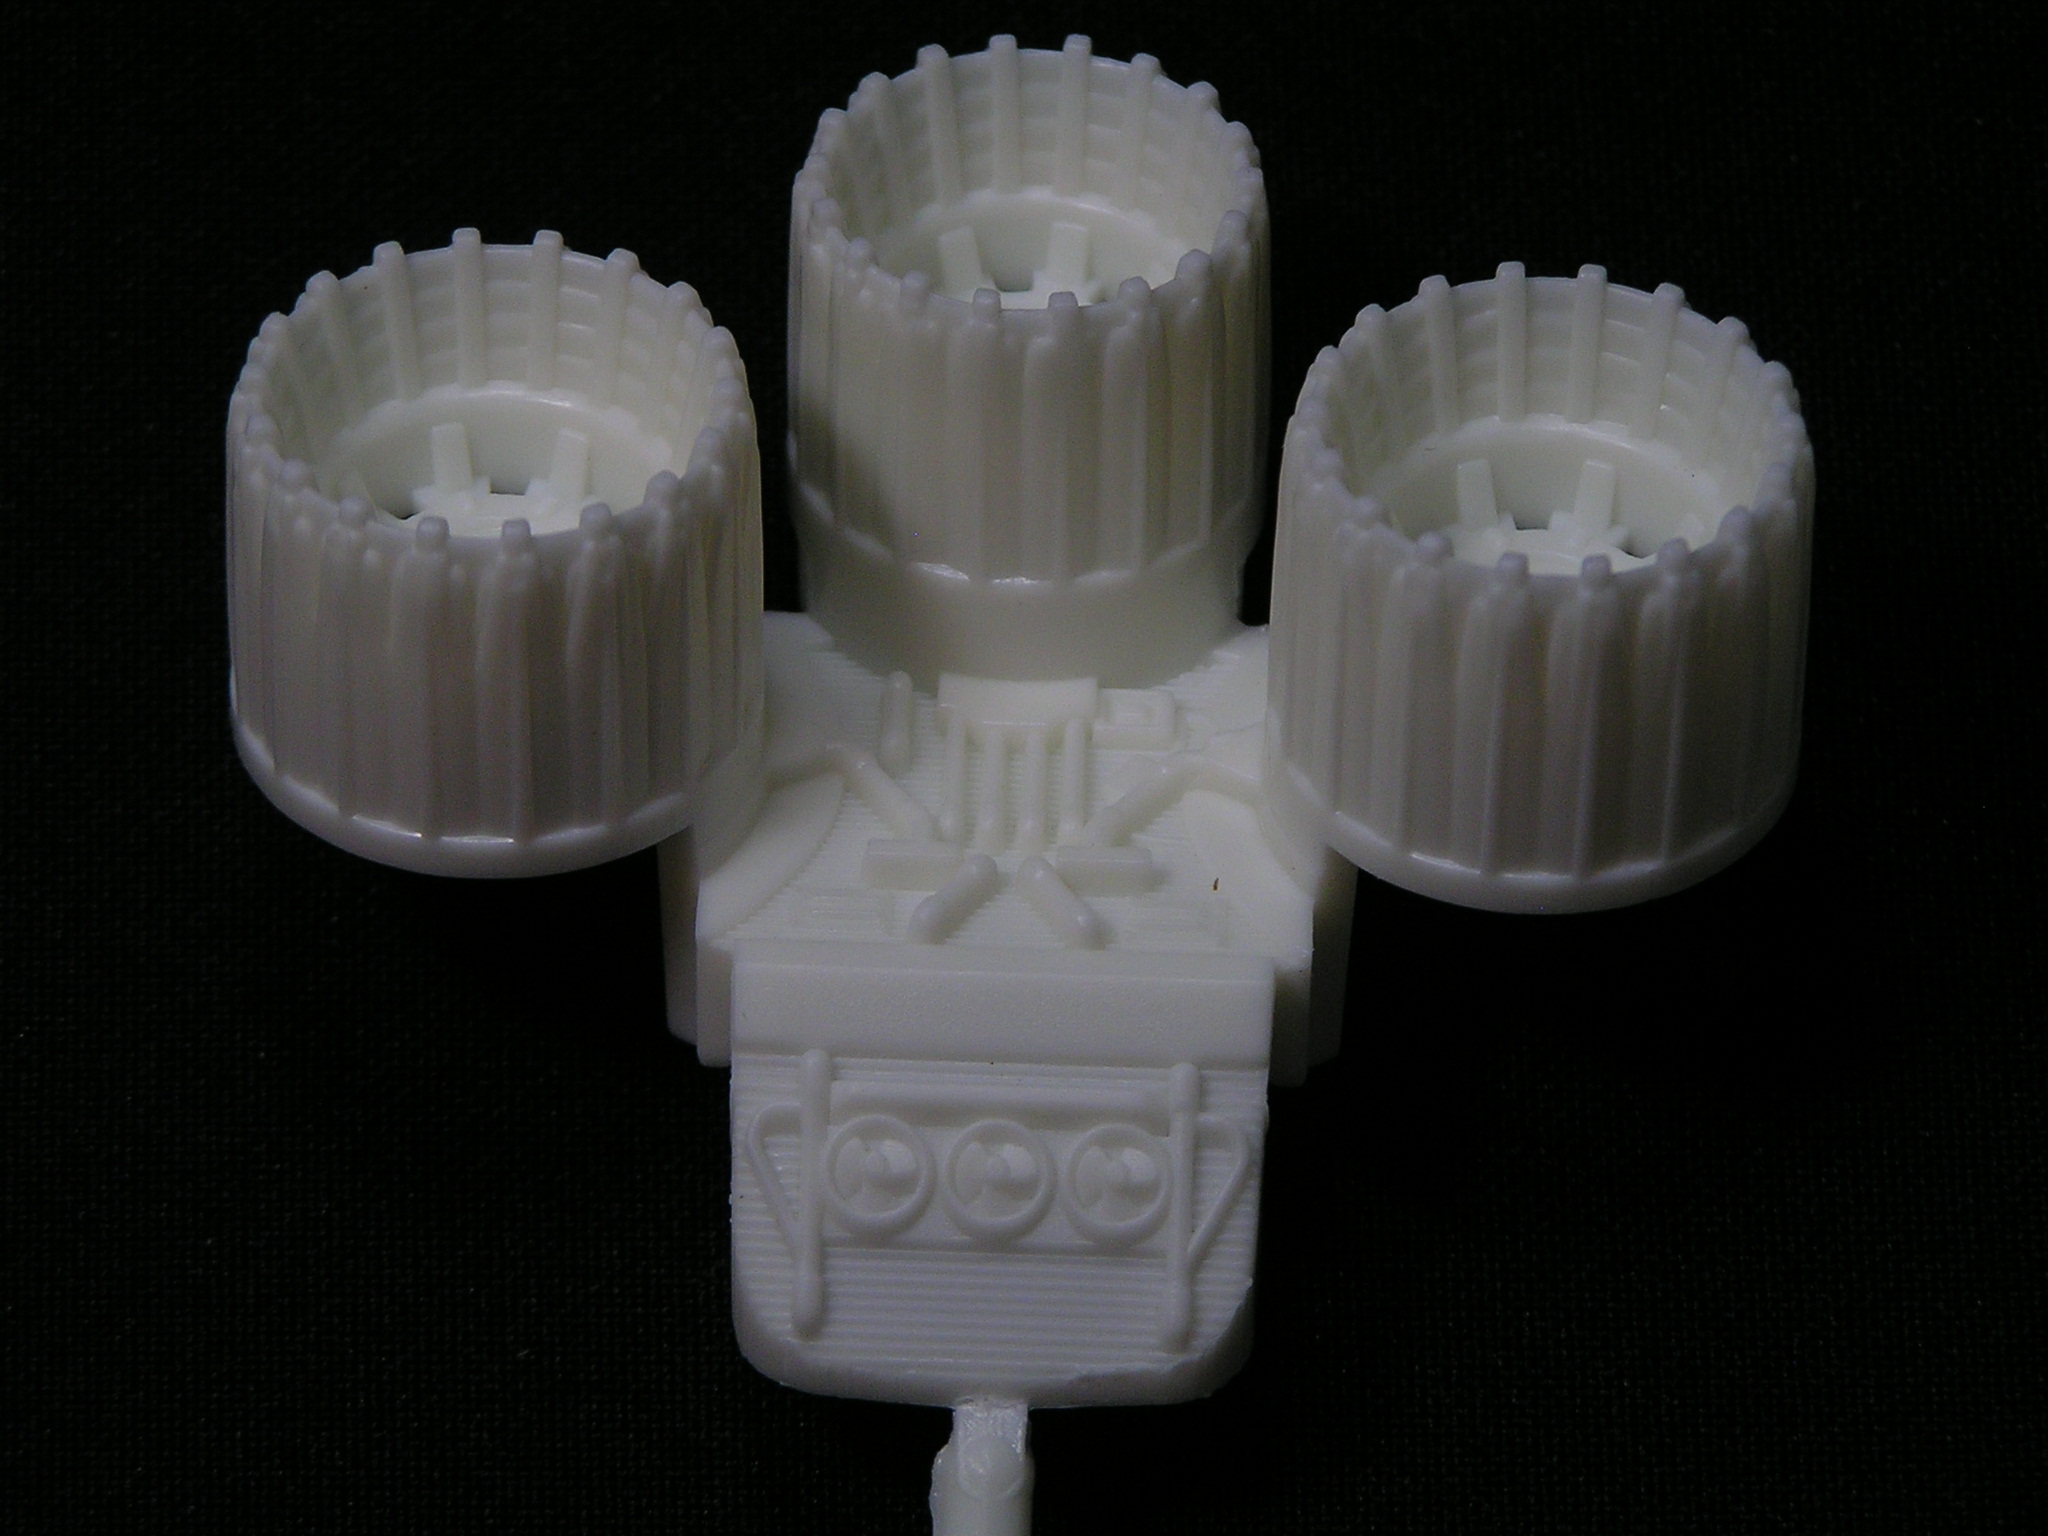
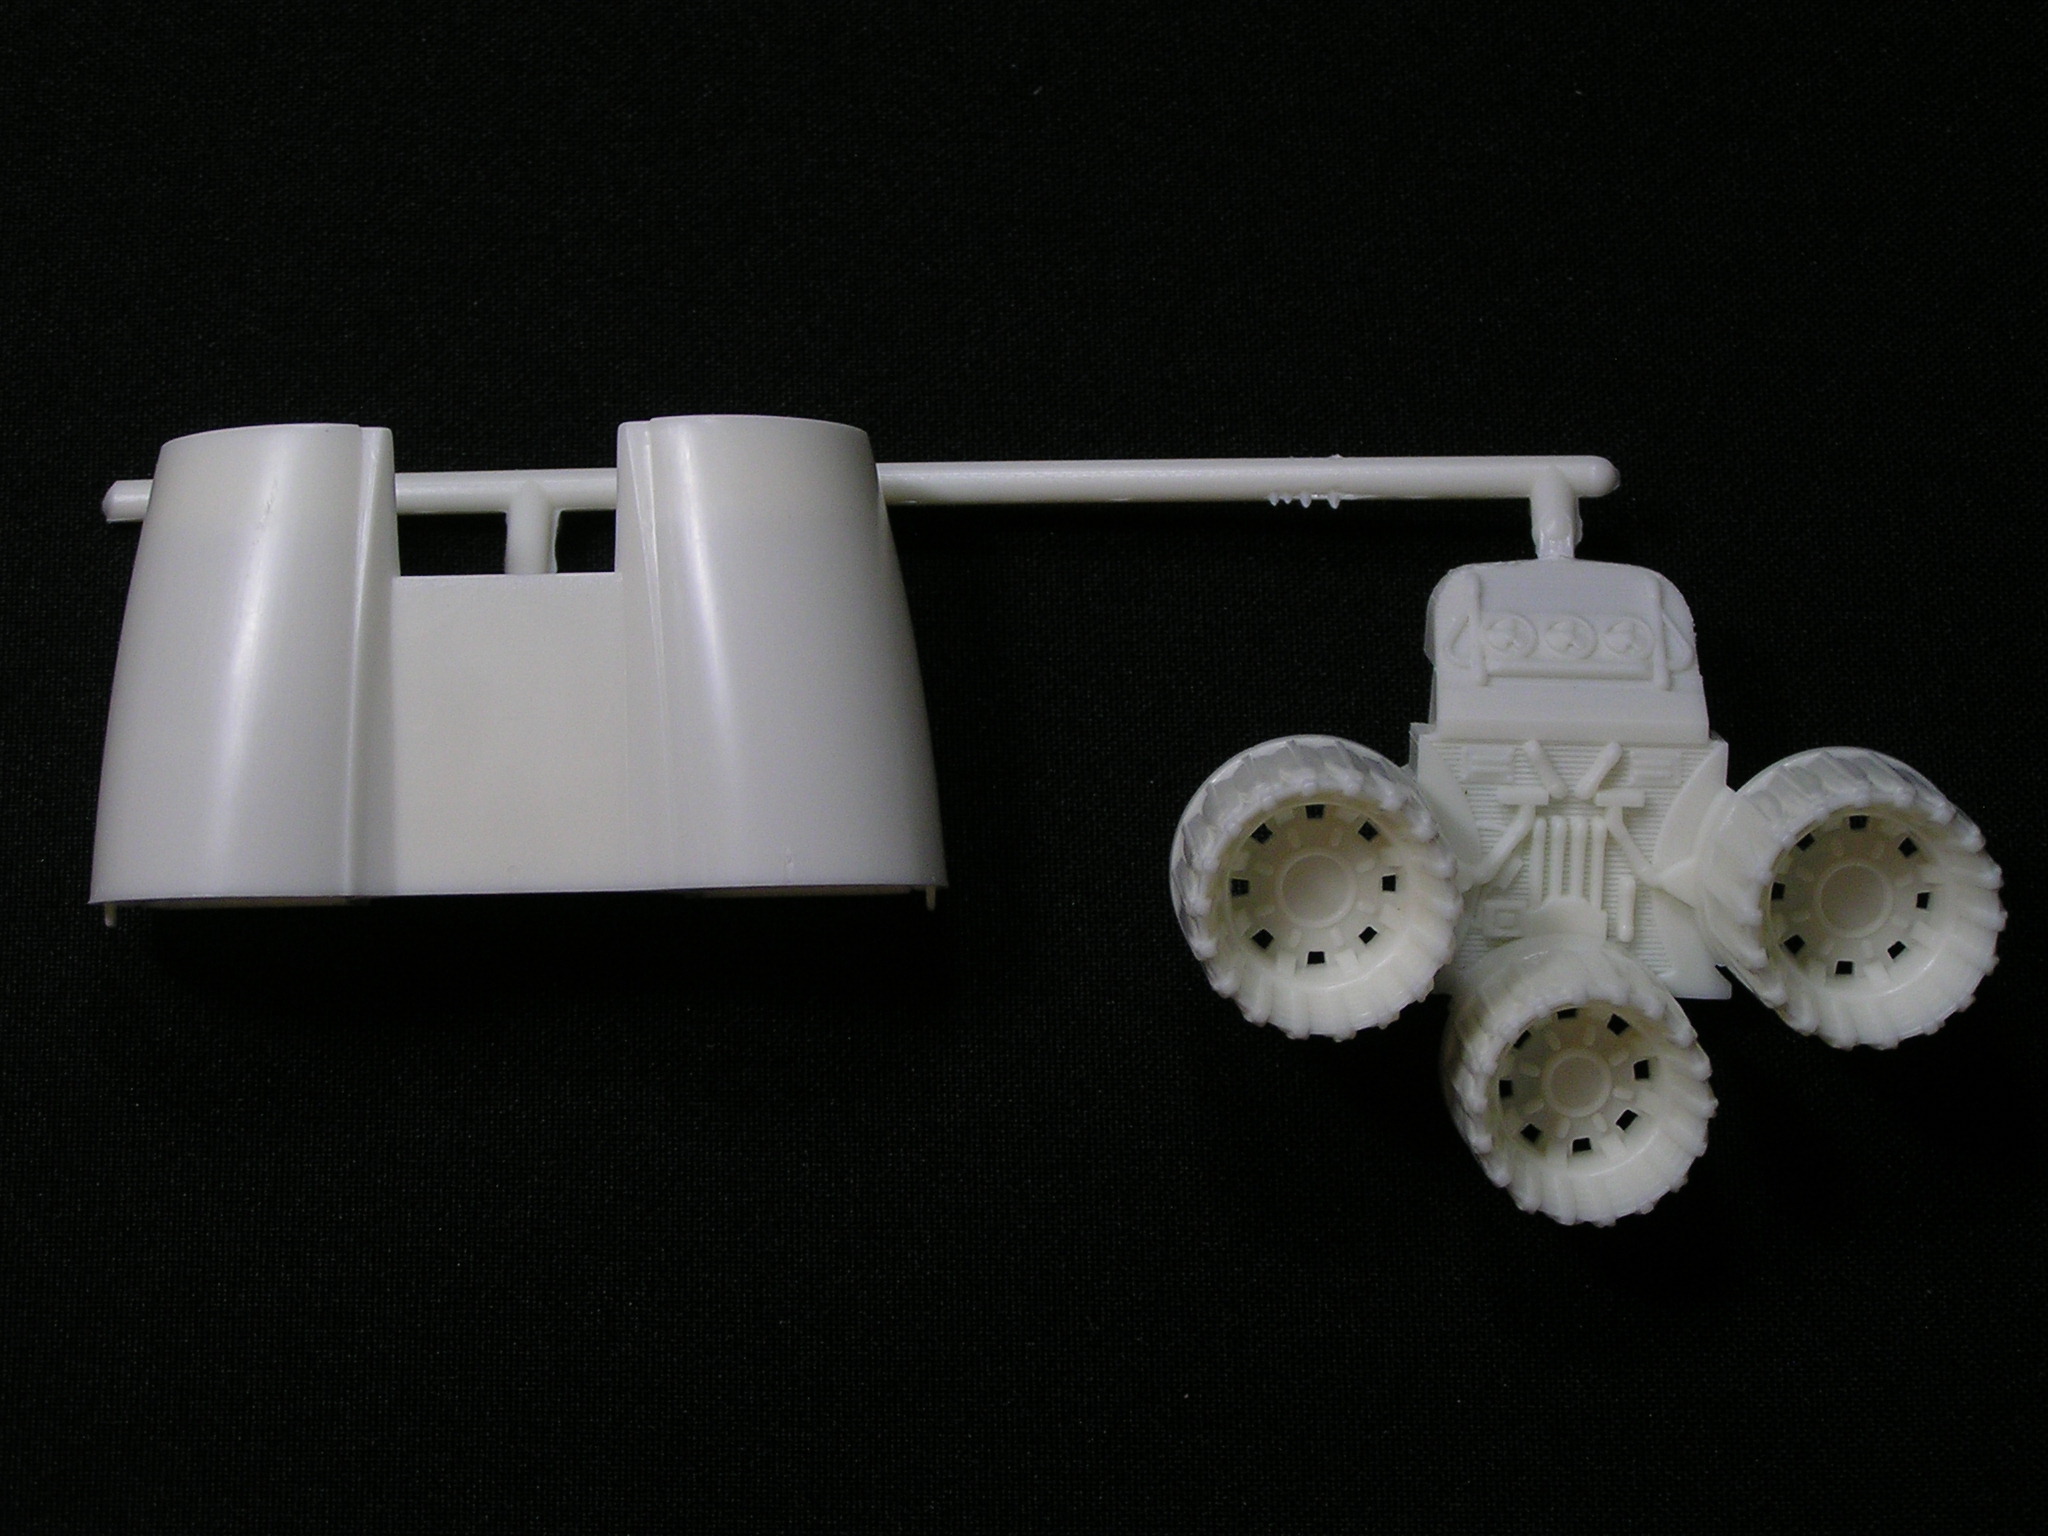
Battlestar Galactica


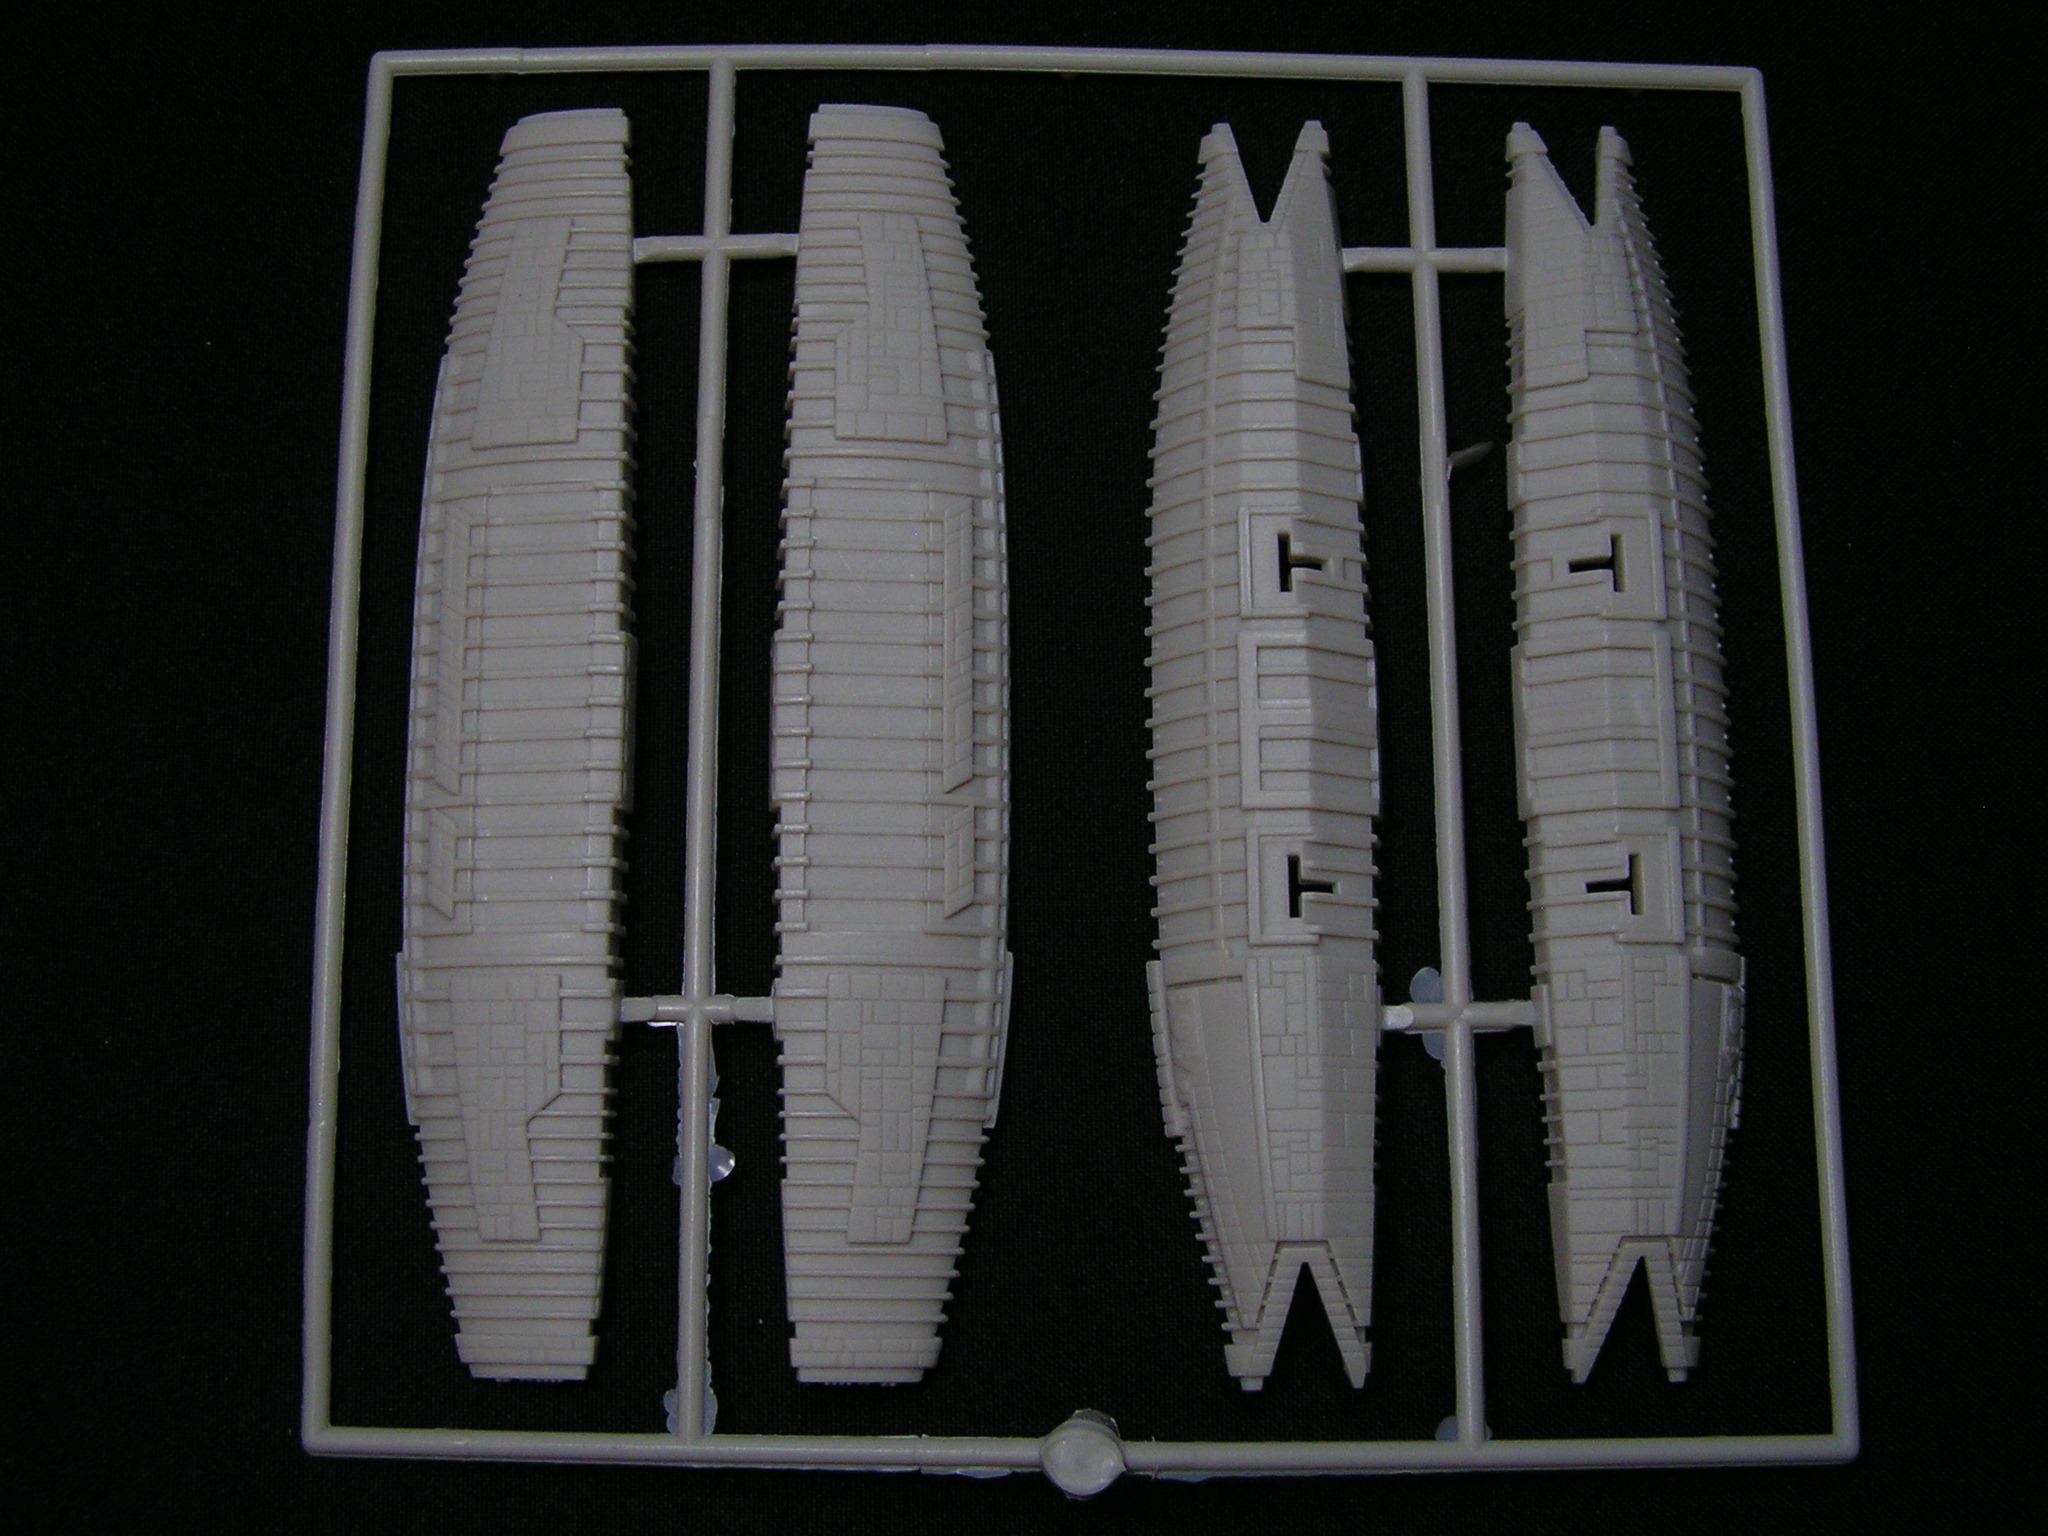

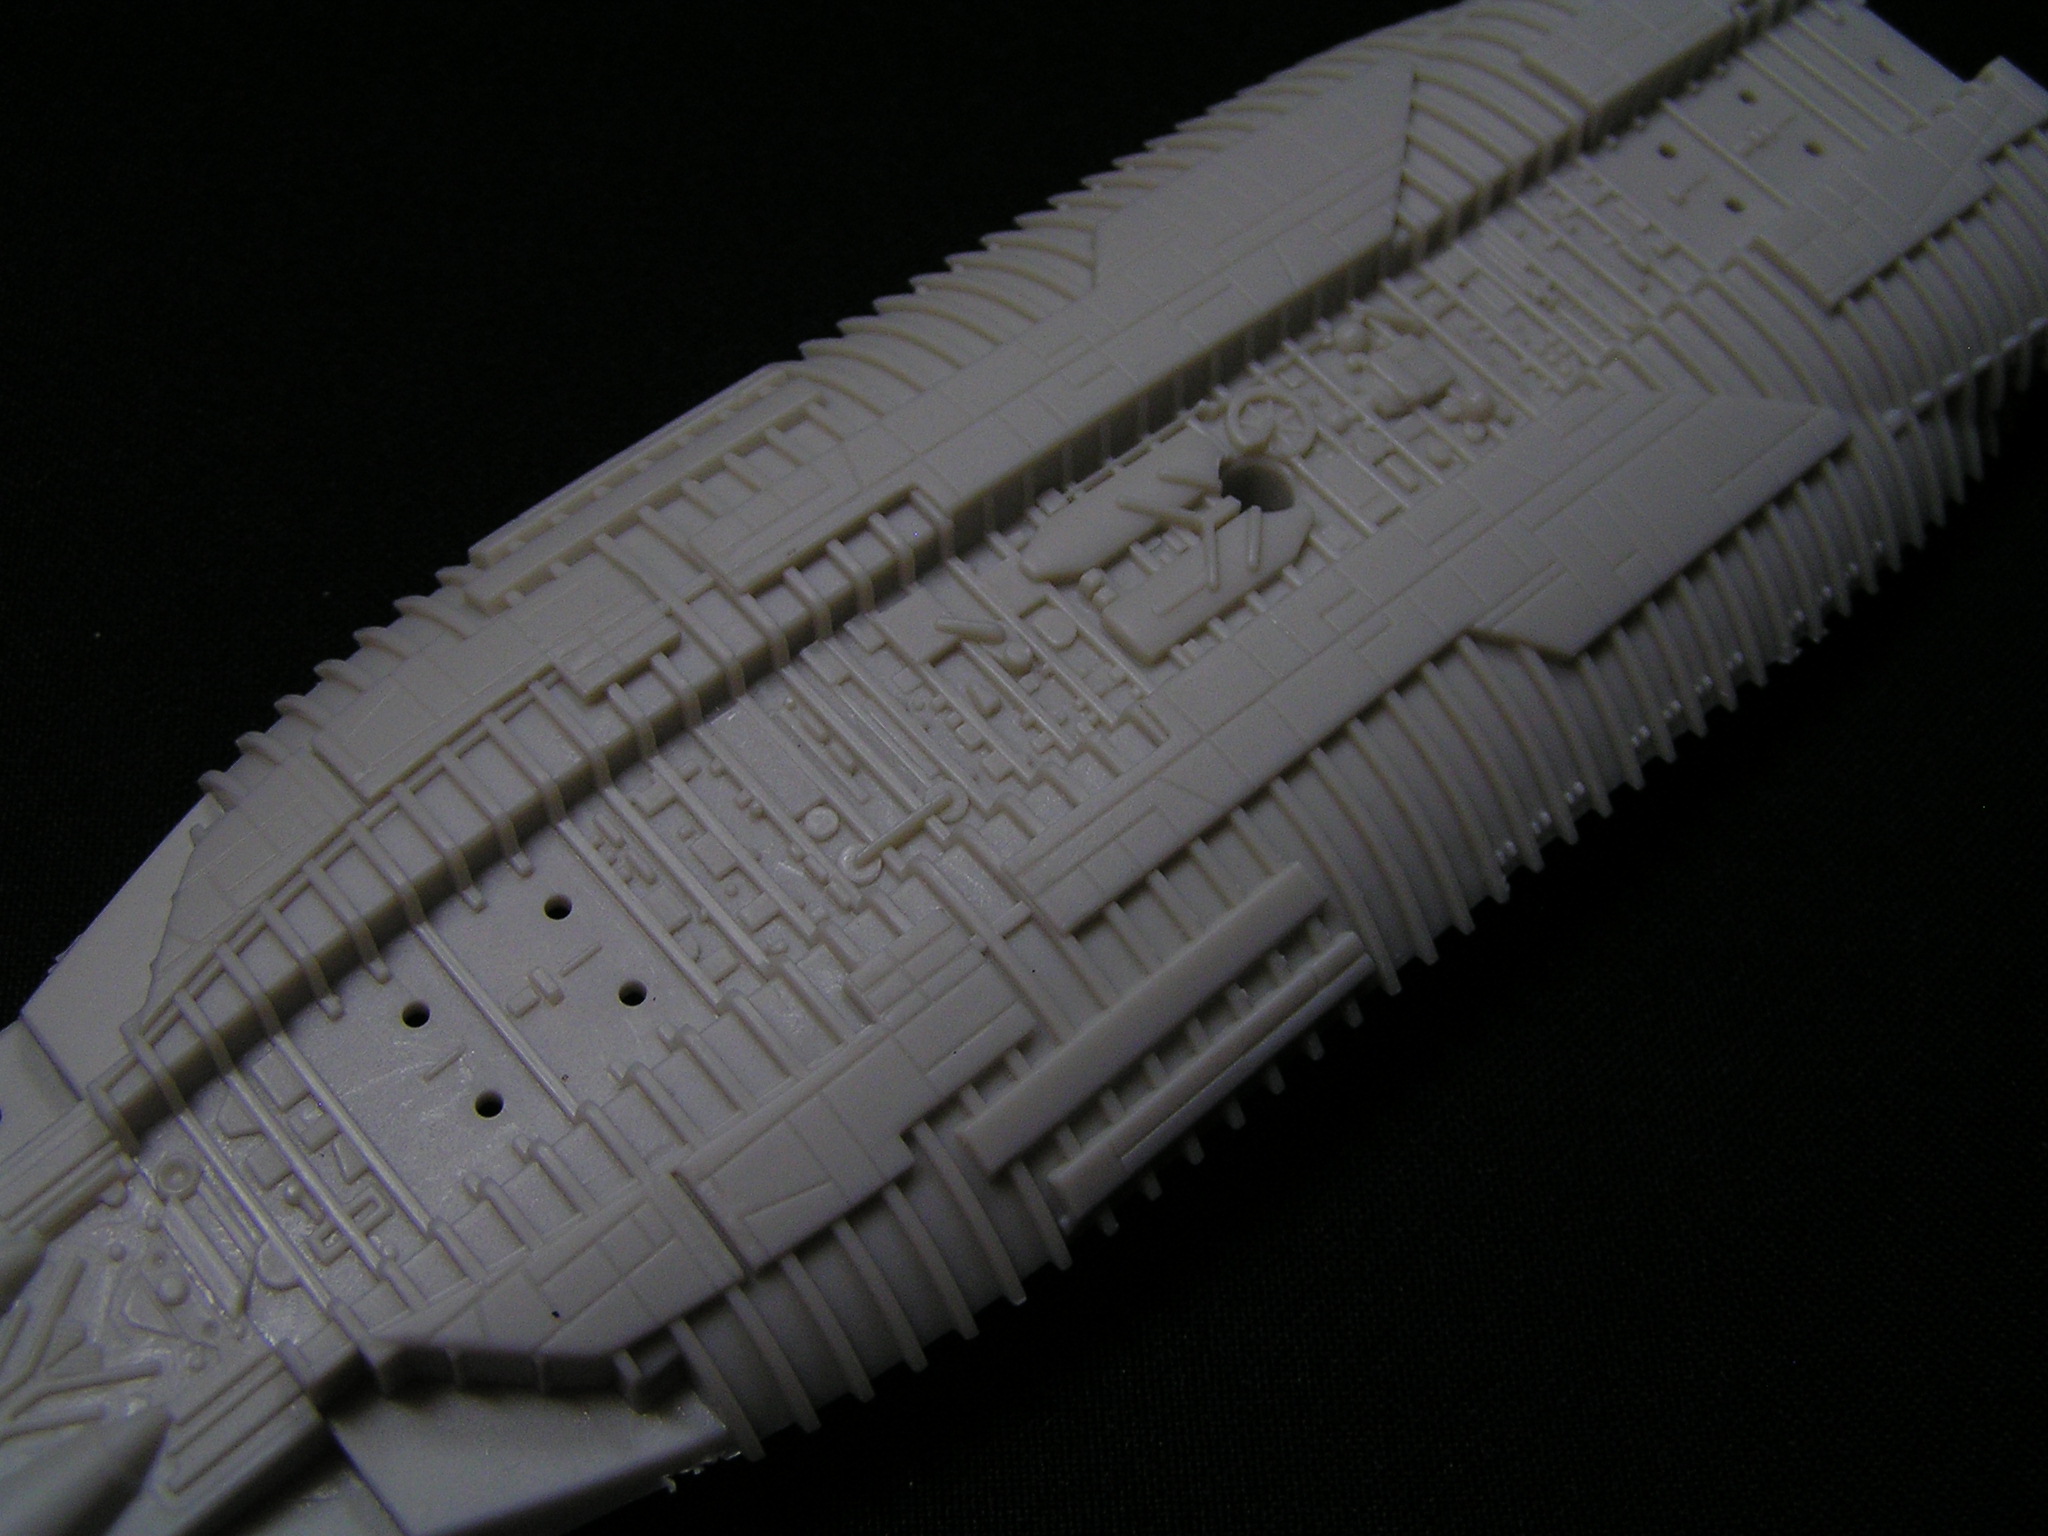

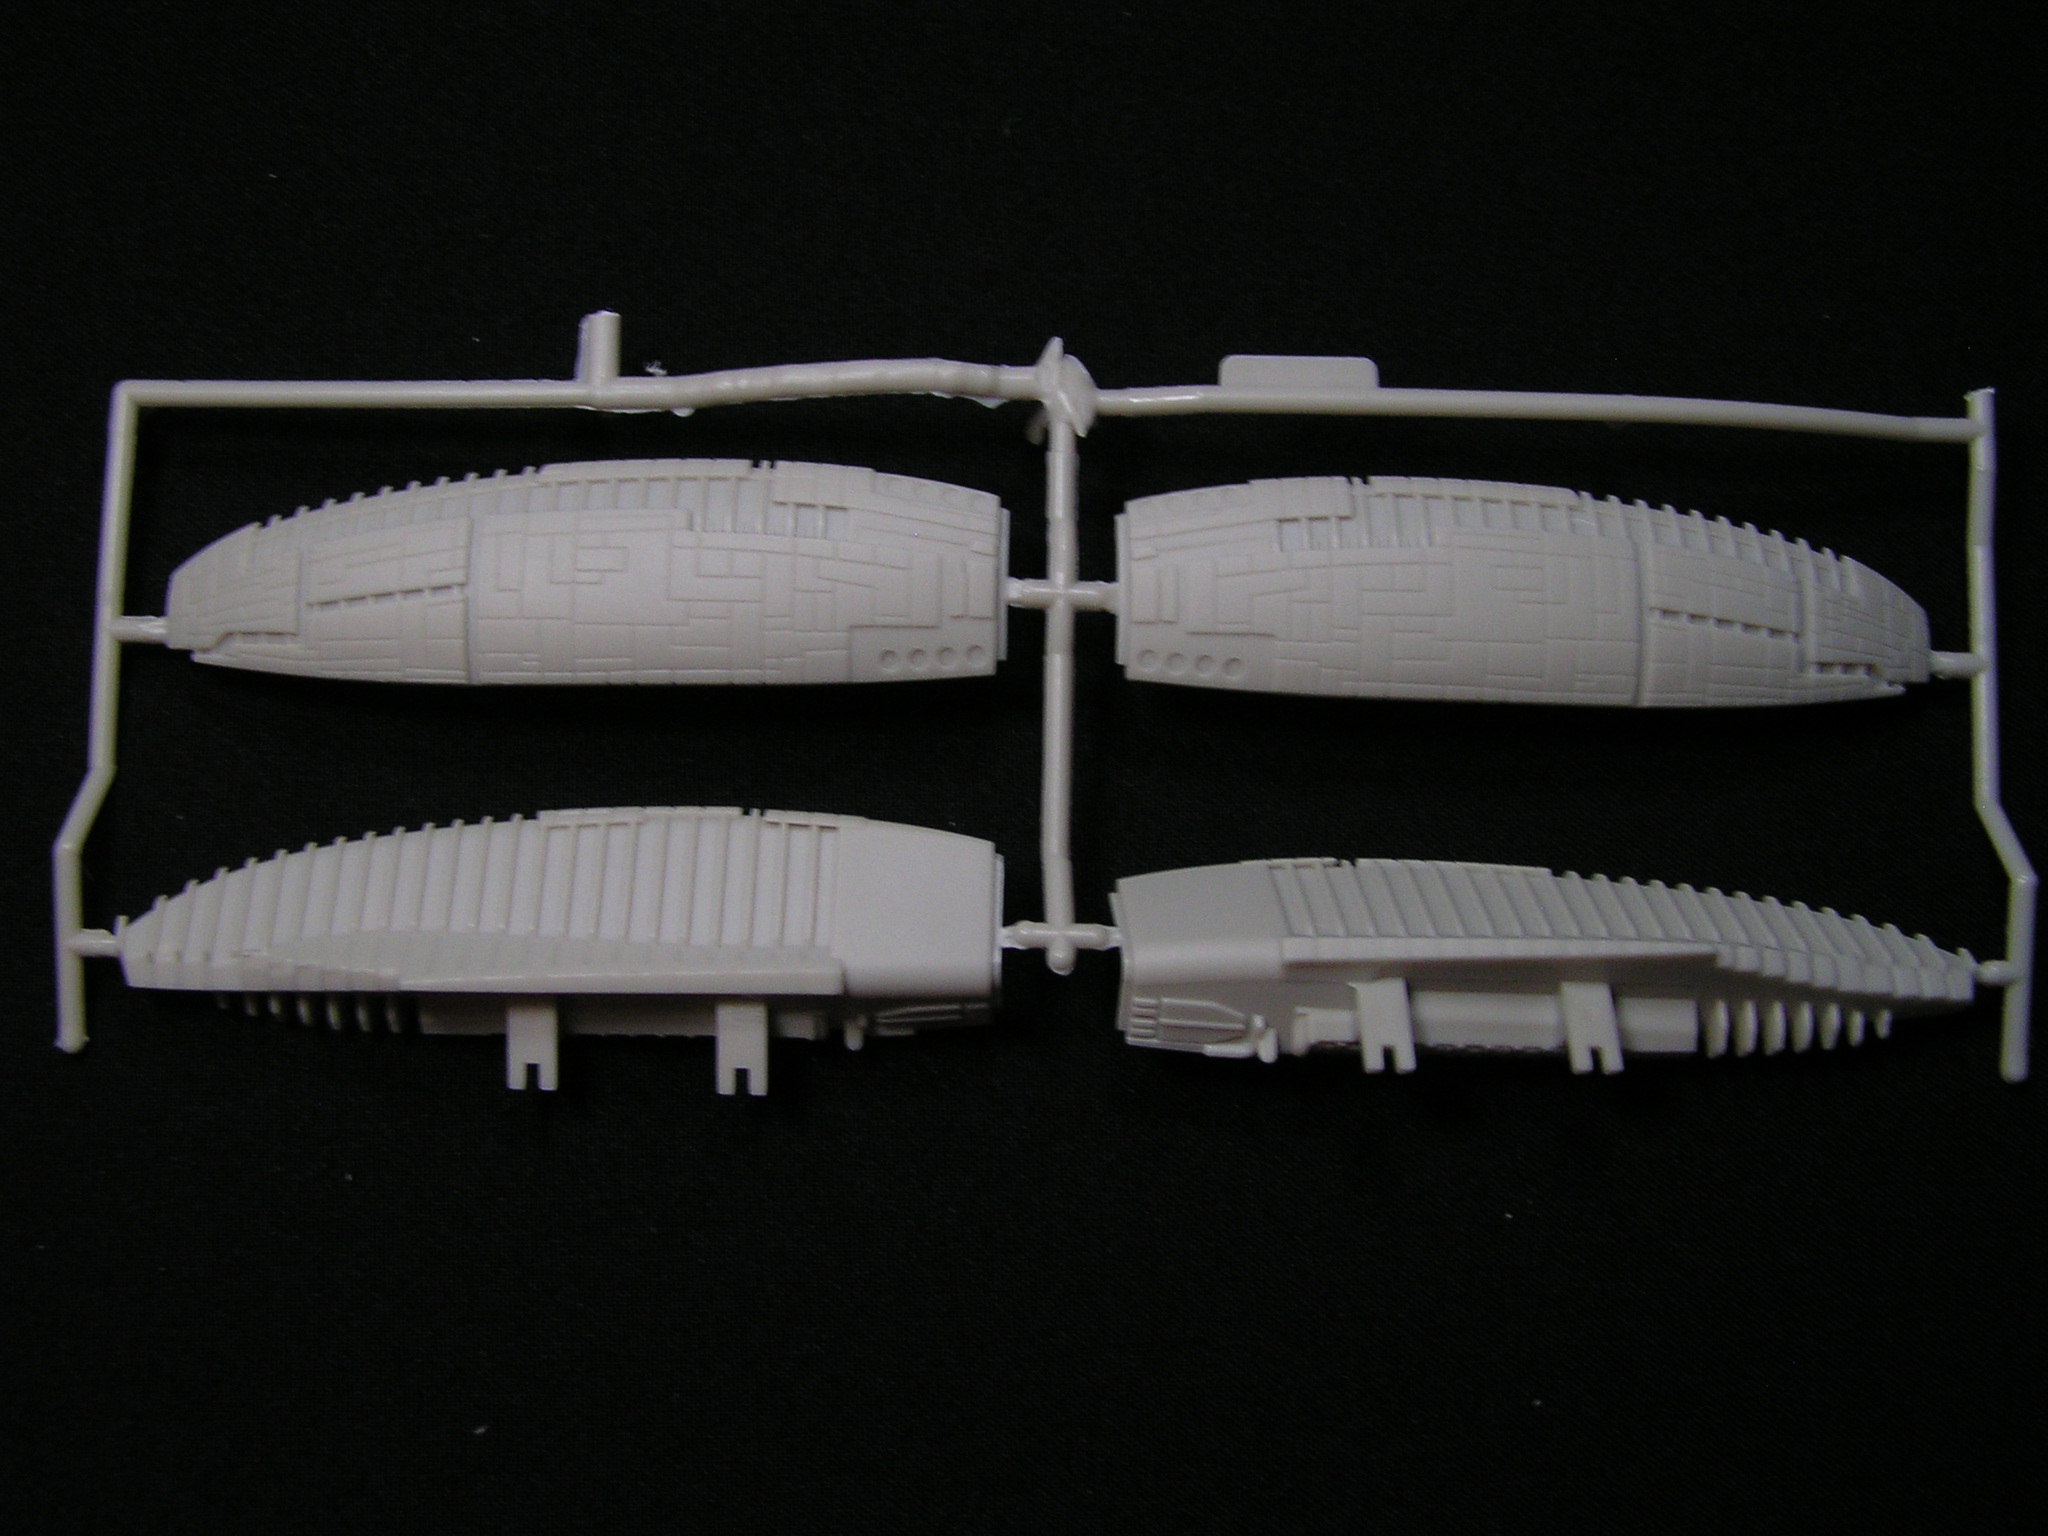

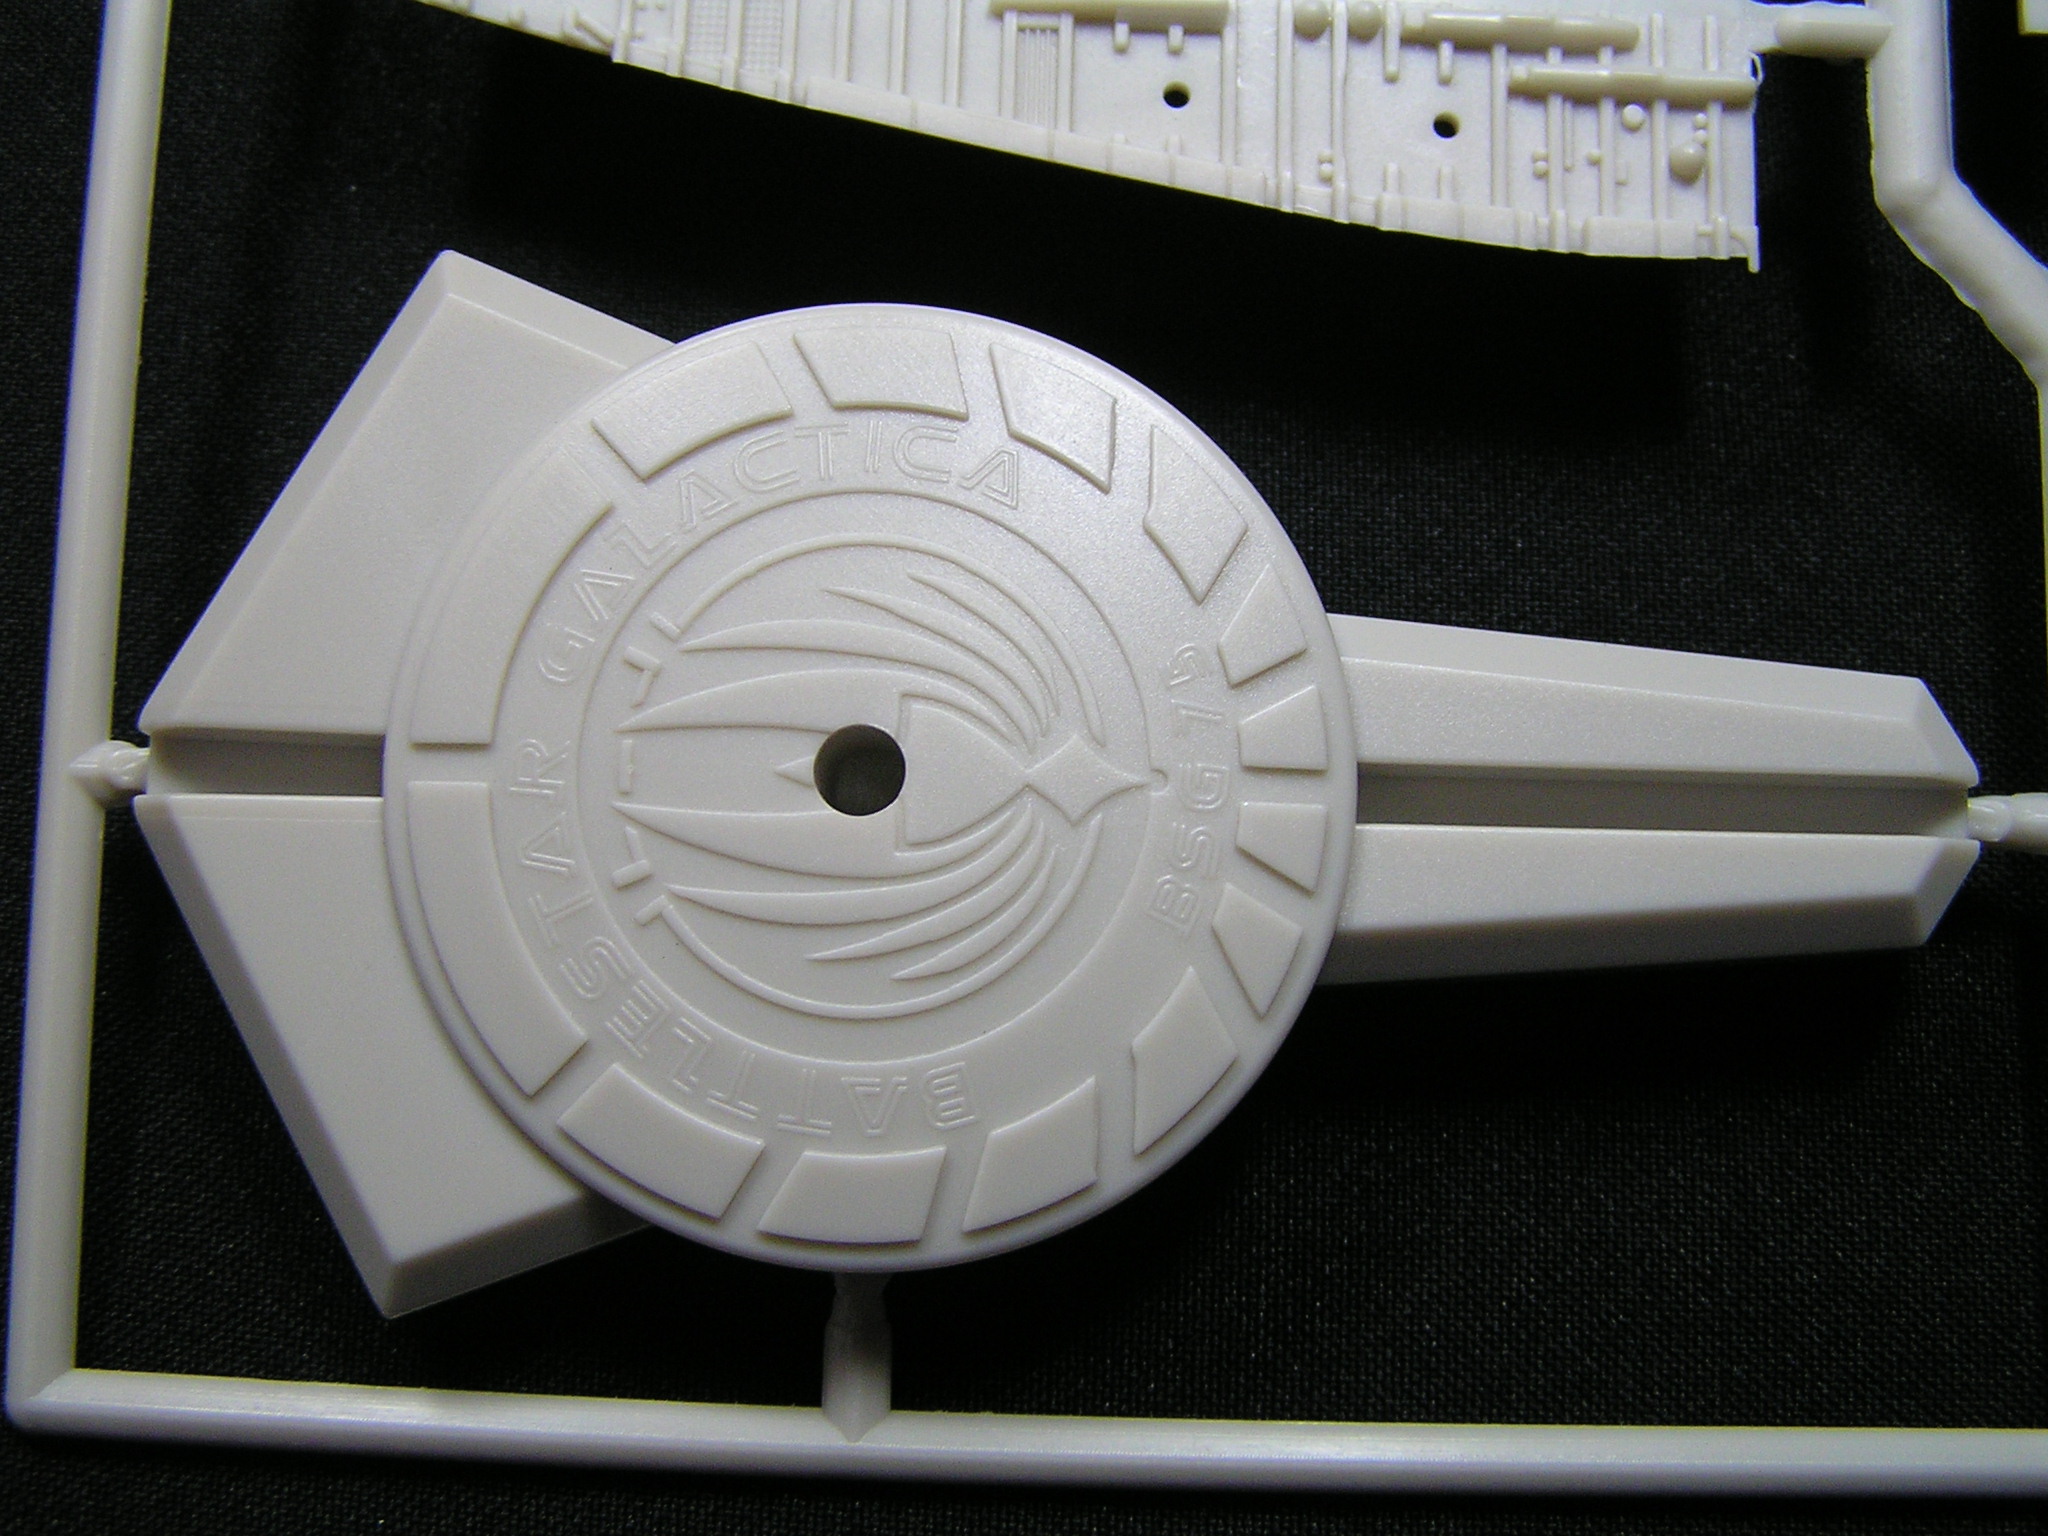

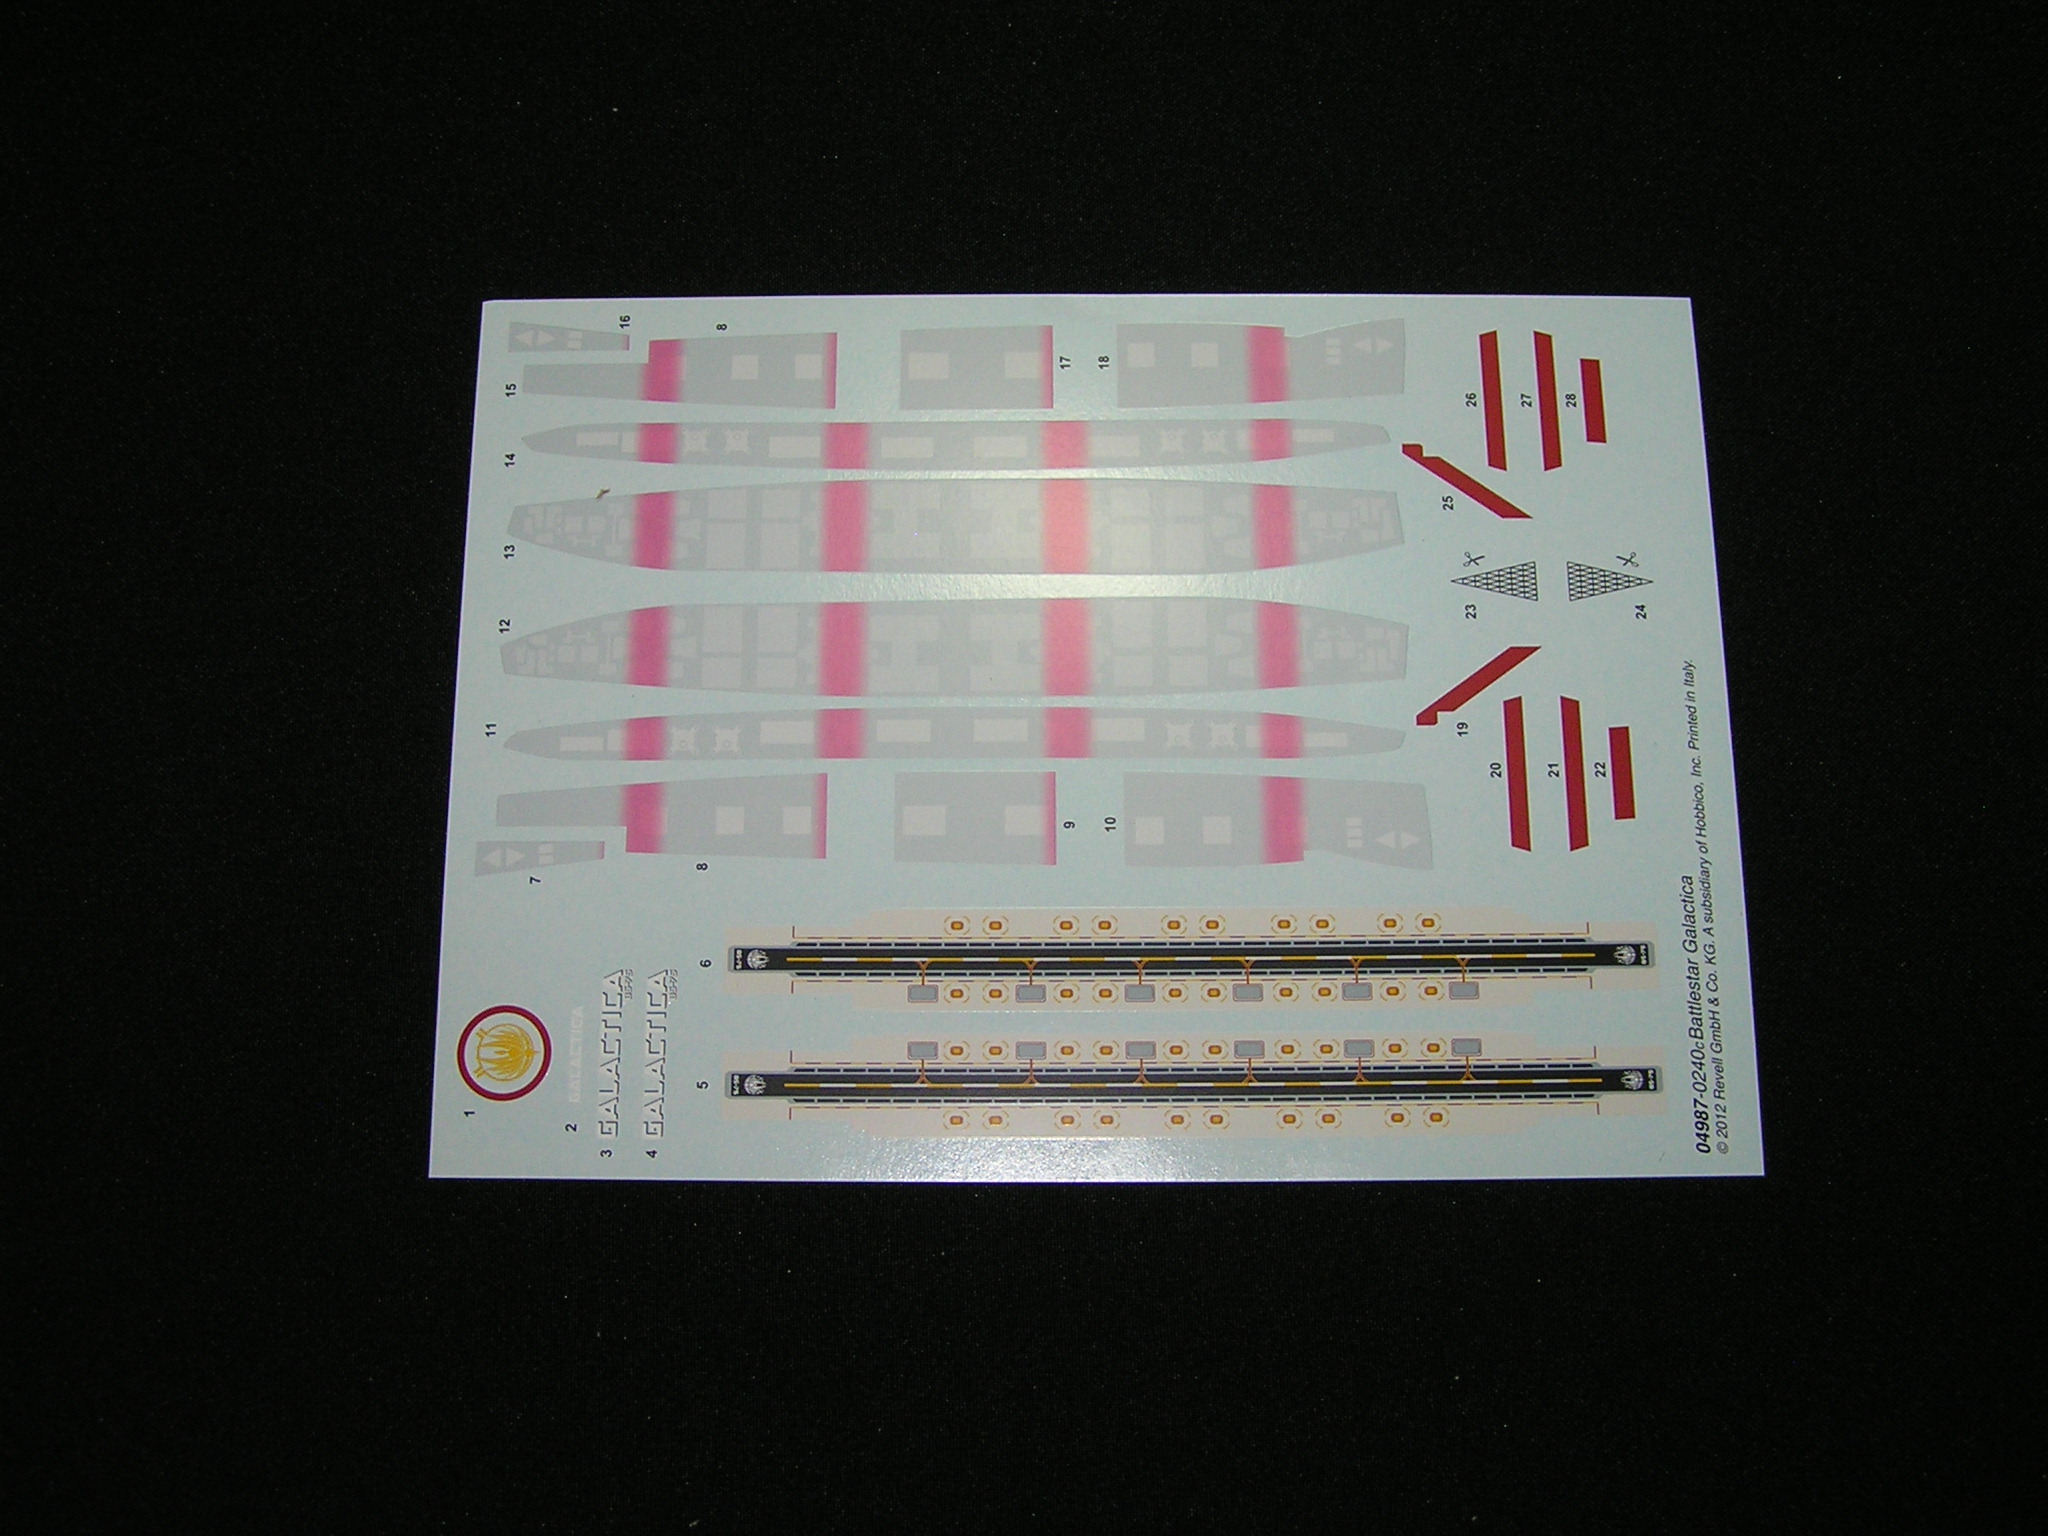
Probably the best of all three kits. The model contains a lot of details and a nice pedestal. Engines made from clear plastic parts encouraged to install LED lighting. Side hangars have decal markings for the landing deck.
Friday, 17th May 2012Masking fluid - graphigum

Difficulty: 
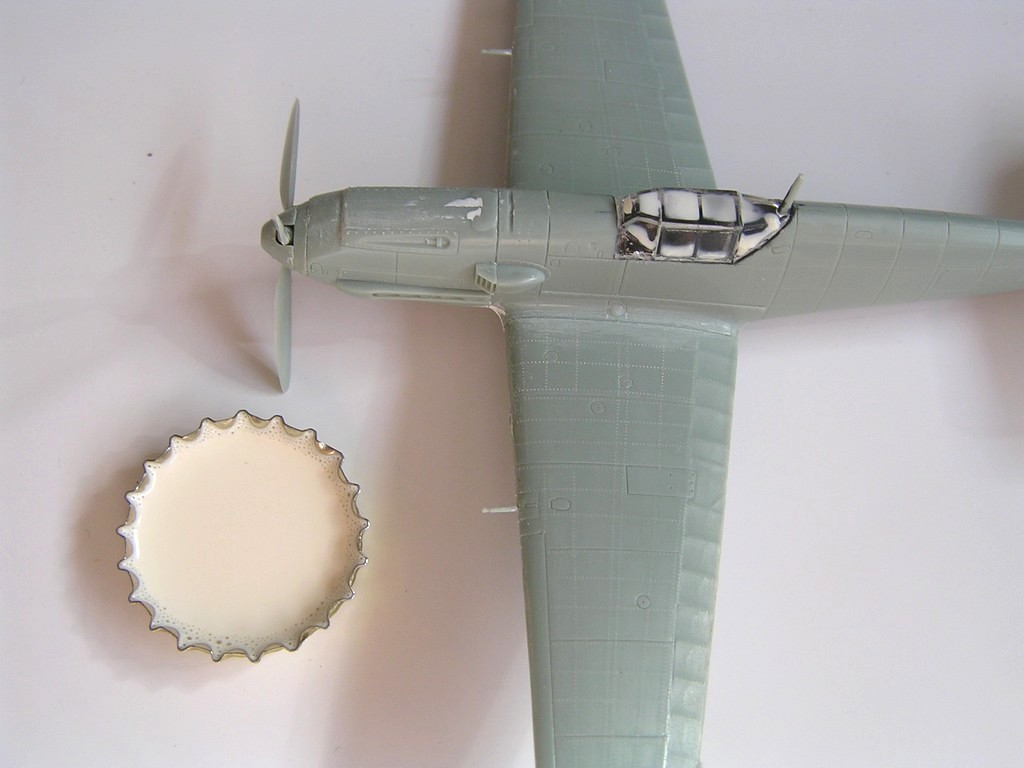
Graphigum is a water-soluble protective coating which is used to cover parts of a model that should not be painted. When it dries, it forms an elastic layer that can be removed after painting the model. Usually it is produced in a milky liquid consistency, which is applied to the model surface.
A few years ago I bought a masking fluid in a hobby shop. It is manufactured by Lefranc-Bourgeois focused on art tools. The price of one bottle is around 3€ - 4€. In this case, the price is very acceptable because volume of fluid is 75 ml. I use it already for five years and I have used only a half so far. Primarily, this product is intended for acrylic and watercolor paints, but I tried even synthetics paints without problems.
There is also a lot of other products from different manufacturers. For example Agama, Humbrol or Vallejo. Some hobbyists also like Art Masking Fluid manufactured by Winsor & Newton Arts, that ranks among the top producers of watercolor paints. Most products have similar characteristics, so it's up to you which you choose.
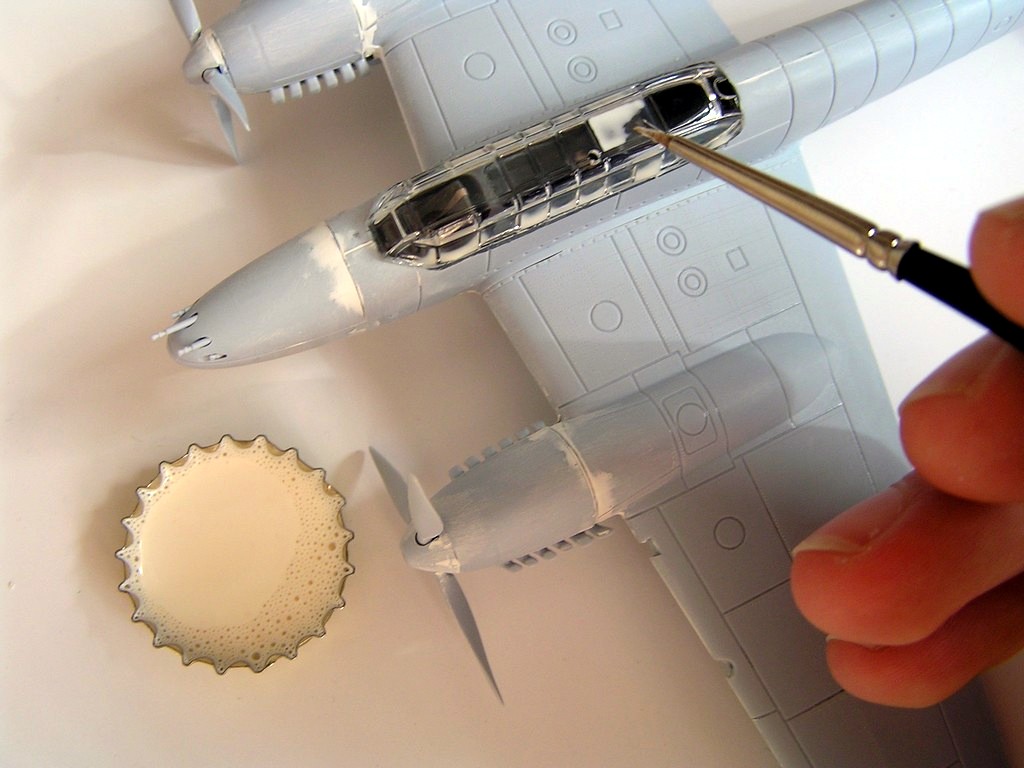
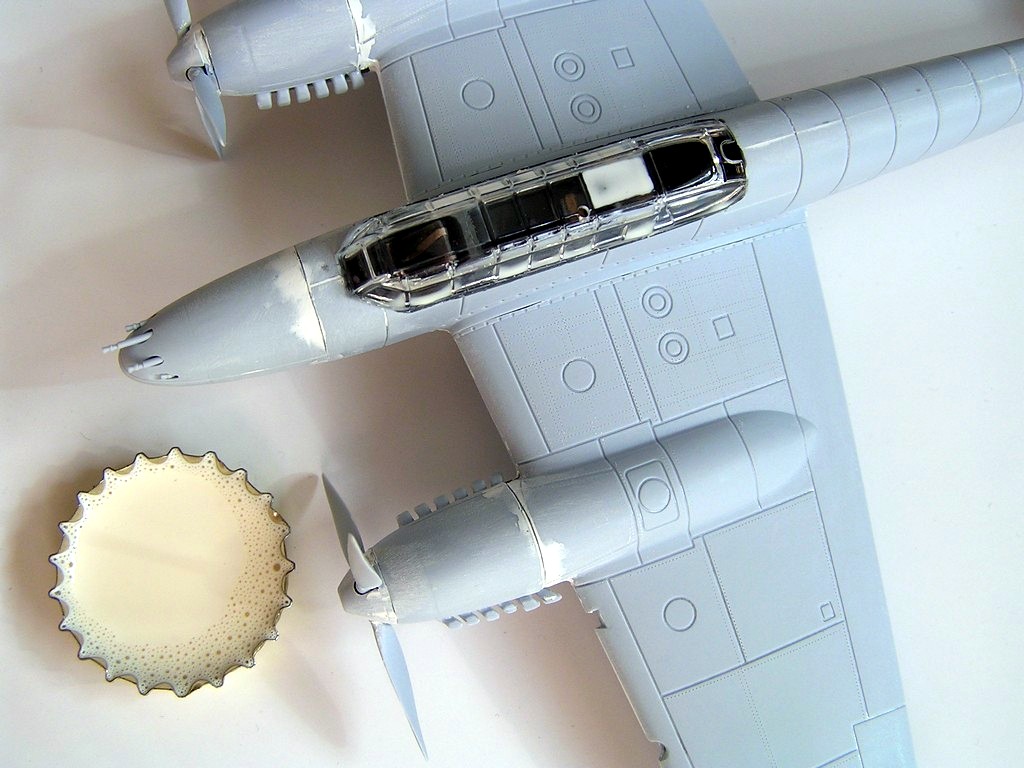
What we are going to need
- a cap from mineral water, soft drinks, beer, or just any other small bowl,
- a brush (preferably an older one or a low quality brush).
Procedure
Before opening the bottle I recommend to shake it to mix sediments properly. Pour a small amount of fluid into the container. The fluid quickly evaporates and dries. If we poured out a larger quantity then we would not be able to use it all within 5-10 minutes and the liquid would dry. Never leave the bottle open for a long time!

When we apply graphigum to a clean unpainted plastic part, we should first degrease it. If we didn't do it, then fluid would not adequately cover up all required places. When we apply the fluid to already painted surface, we should be really sure that the paint is sufficiently dried. Otherwise we could have difficulties with removing the dried graphigum layer.

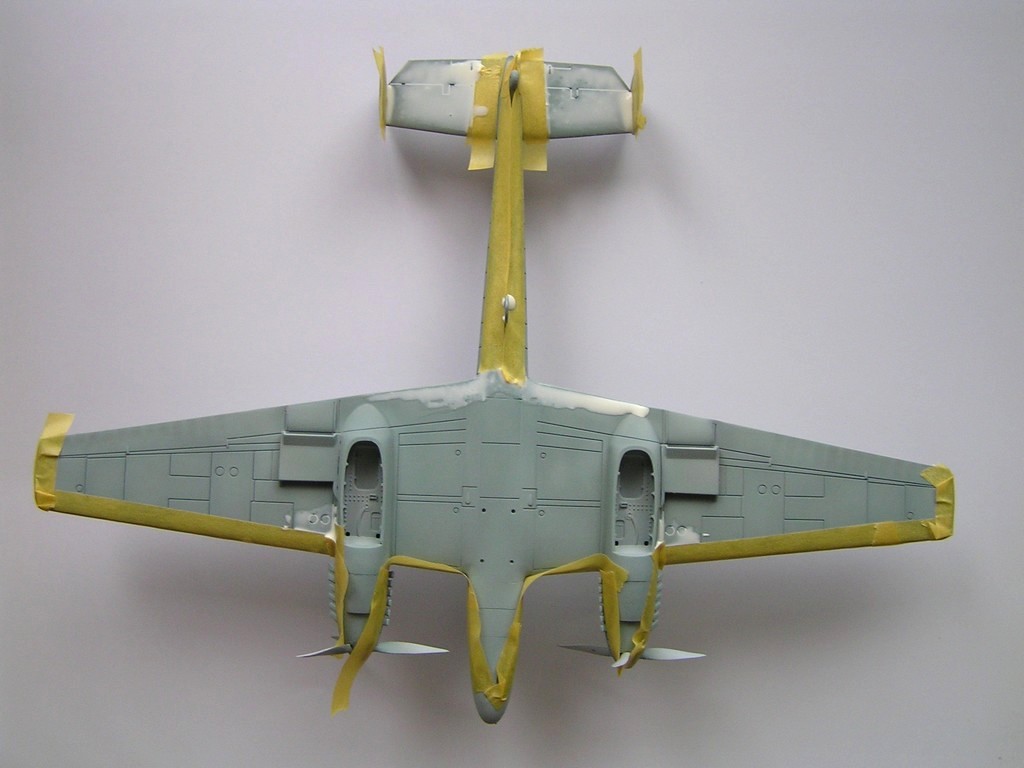
We pick up the graphigum with a brush and transfer it to the model surface. It can be spread very simply. If we want to be sure that we covered everything properly, then we can apply another layer. We have to clean the brush under running water with soap right after when we are finished. I once forgot to wash my brush and it was quite difficult to remove the dried graphigum.

Wait at least 30 minutes after you spray the model with paints, then you can very easily remove the graphigum layer. According to the manufacturer's instructions it is best to do it with a rubber, but in my experience cotton sticks and wooden skewers proved useful too.
Thursday, 17th May 2012The Nazi swastika on scale models

Difficulty:
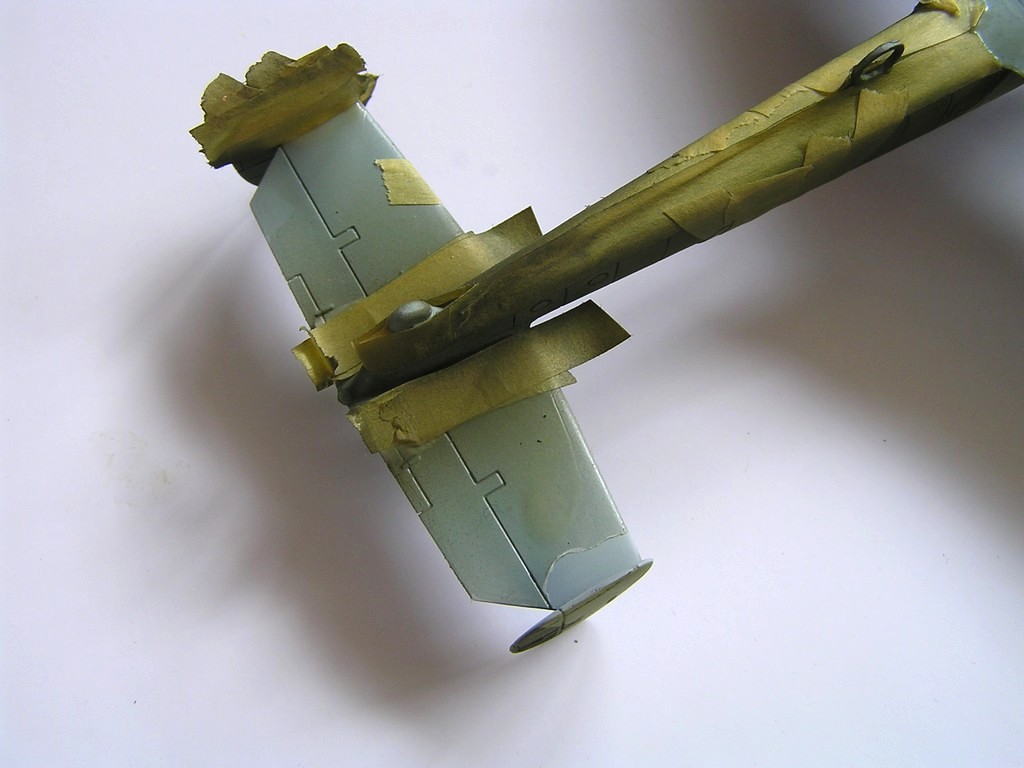
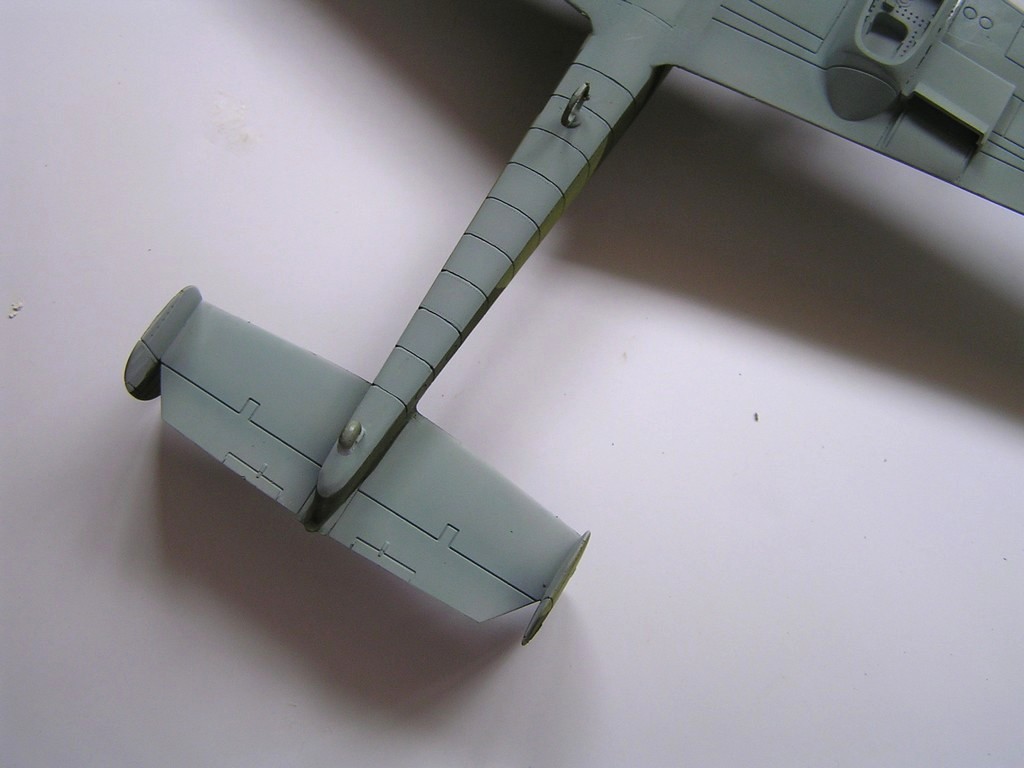
If you have ever built a World War II German aircraft model or military vehicle model, then you have probably already met with the fact that most manufacturers don't include German swastika on transfer sheets. They either provide only a black diamond or omit it altogether. The reason behind this is that in many countries displaying the swastika is restricted by law. For example, use of the swastika on scale models is completely prohibited in Germany.
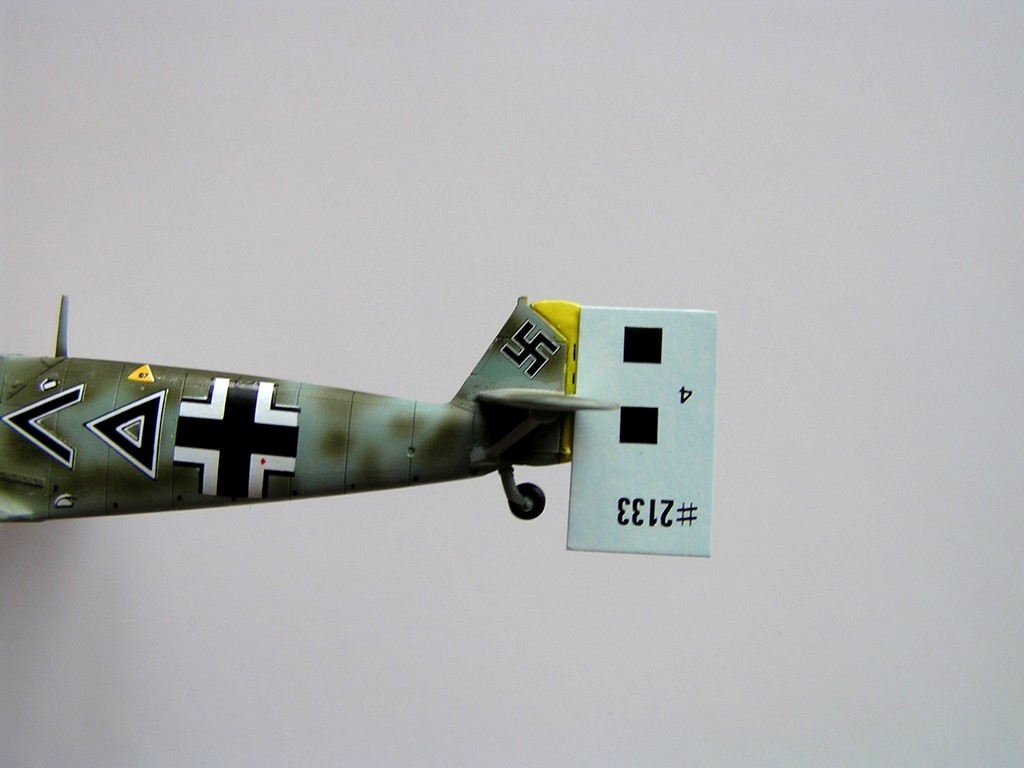
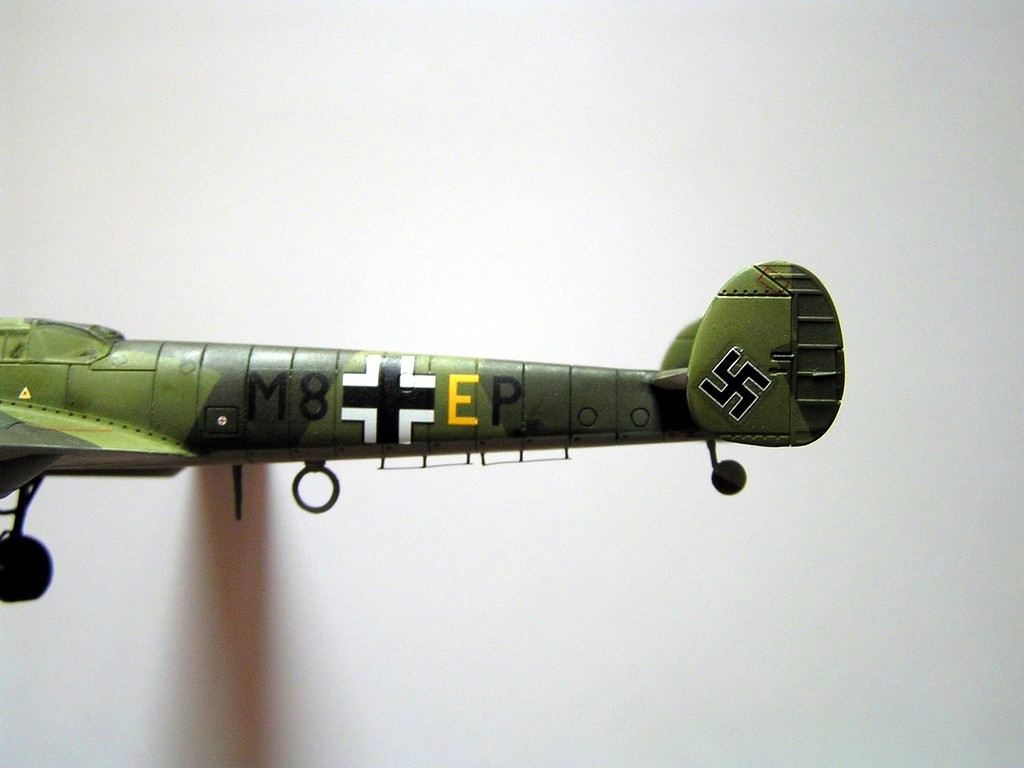
But if you want to have a realistic model with the exact appearance as it used to be used by the armies of the Third Reich, then it is necessary to display and position the swastika correctly. This problem can be solved by a few ways. One of them is to spray swastika over a template, but in scale 1/72 or smaller, it is quite challenging.
Another option, which is much easier, is to buy a special decal sheet
with swastikas. Very nice set with plenty of decals is produced by a
Polish company Techmod. We don't have to be restricted only with 1/72
scale, because they are produced also for 1/48, 1/32 and even 1/24 scale.
The exact name of the sheet that I bought is German Swastikas WW II
.
Decals are designed for 19 types of aircrafts from different periods of
war.
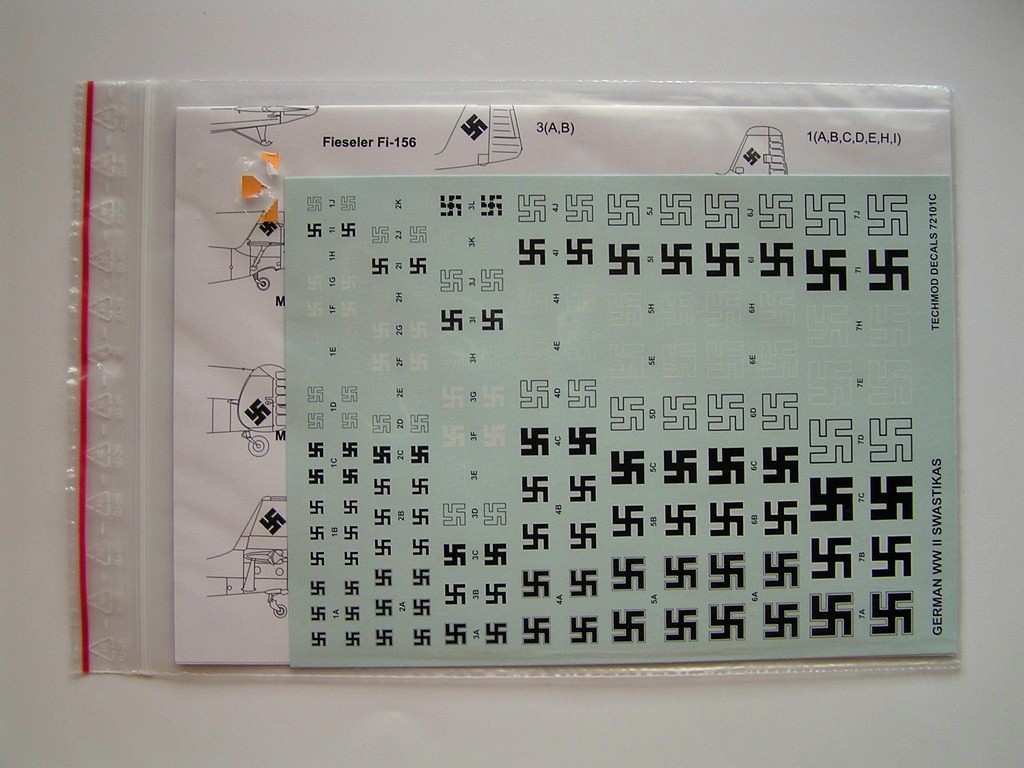
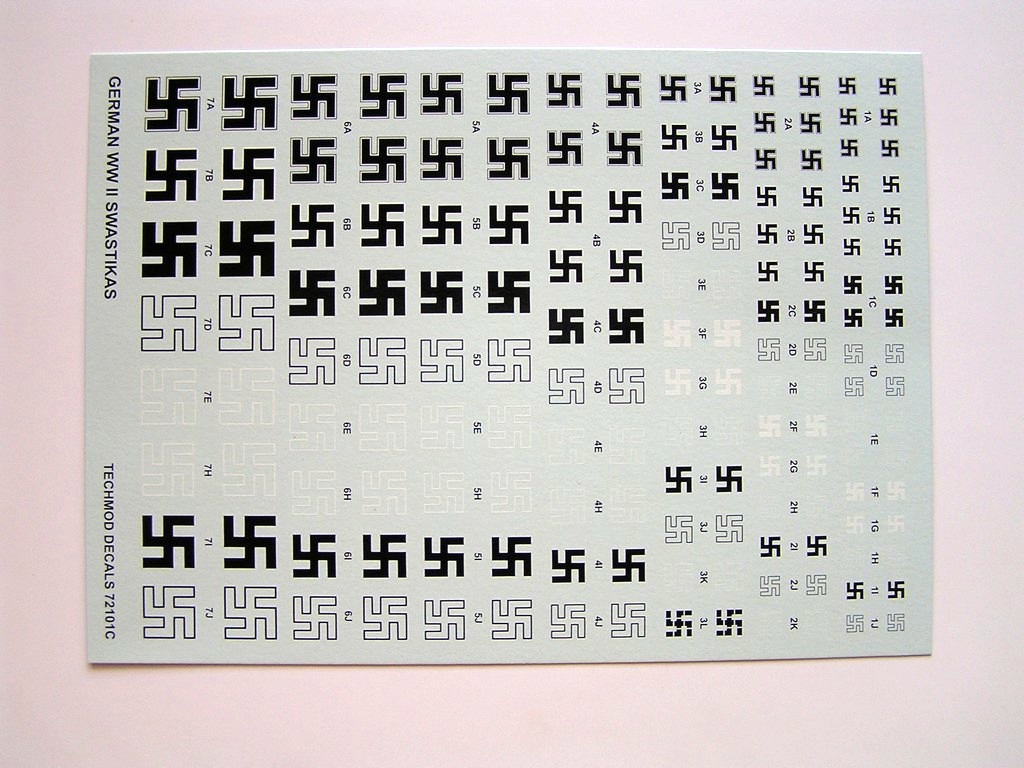
Regarding the decals themselves, they are thin and beautifully printed in high quality. Basecoat is very shiny, and it is therefore appropriate to overpaint models first with a gloss varnish. Price of transfer sheet is around 7€.
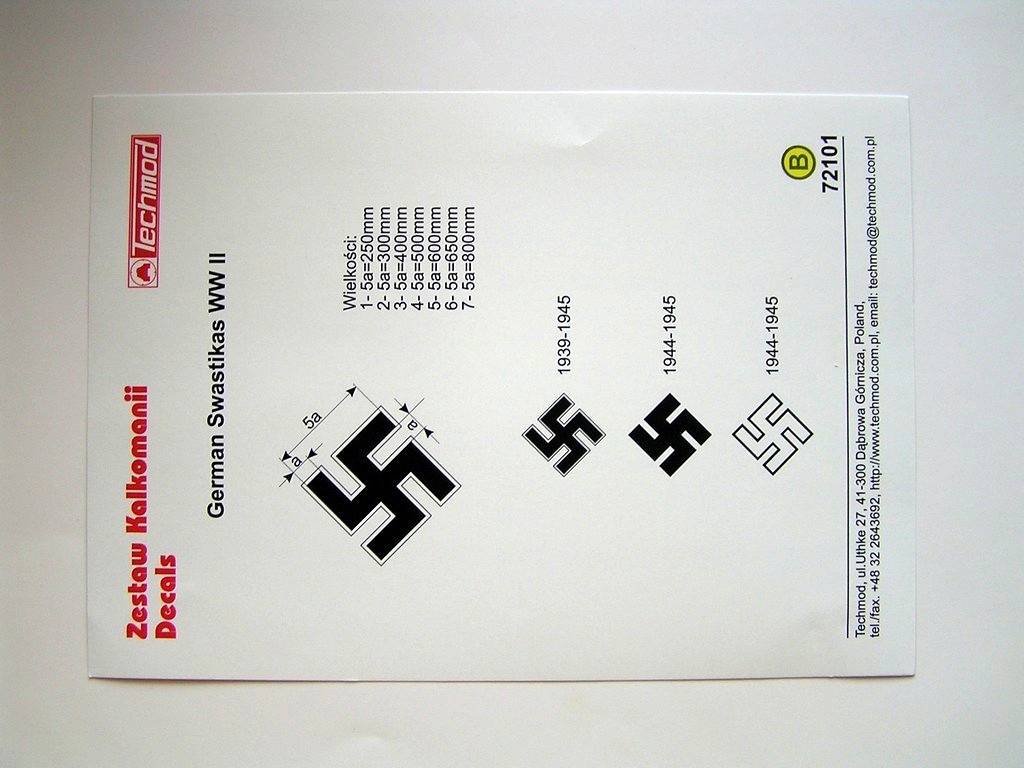
If you would like to make your own template, then manufacturer has also added an illustration of swastika with accurate sizes.

This article does not promote any ideology or movement leading to the suppression of human rights and freedoms. Displaying Nazi swastika is used here solely for the purposes of scale models hobby.
Newer articles | Older articles