How to create transparent cockpit canopy

Difficulty: 
Almost all models have quite thick transparent parts. In 1/35 scale it is acceptable, but in 1/72 or 1/48 scale, it can sometimes cause an unnatural appearance. The result would be such that the aircraft cockpit canopy would have to be thick over 15 inches (40 mm). In reality, it is definitely not.
Therefore, the question is how to replace them. There are two possibilities. The first option is to buy new ones if they are produced, and the second option is to make them ourselves. Of course, I prefer the second option. So how to do it?
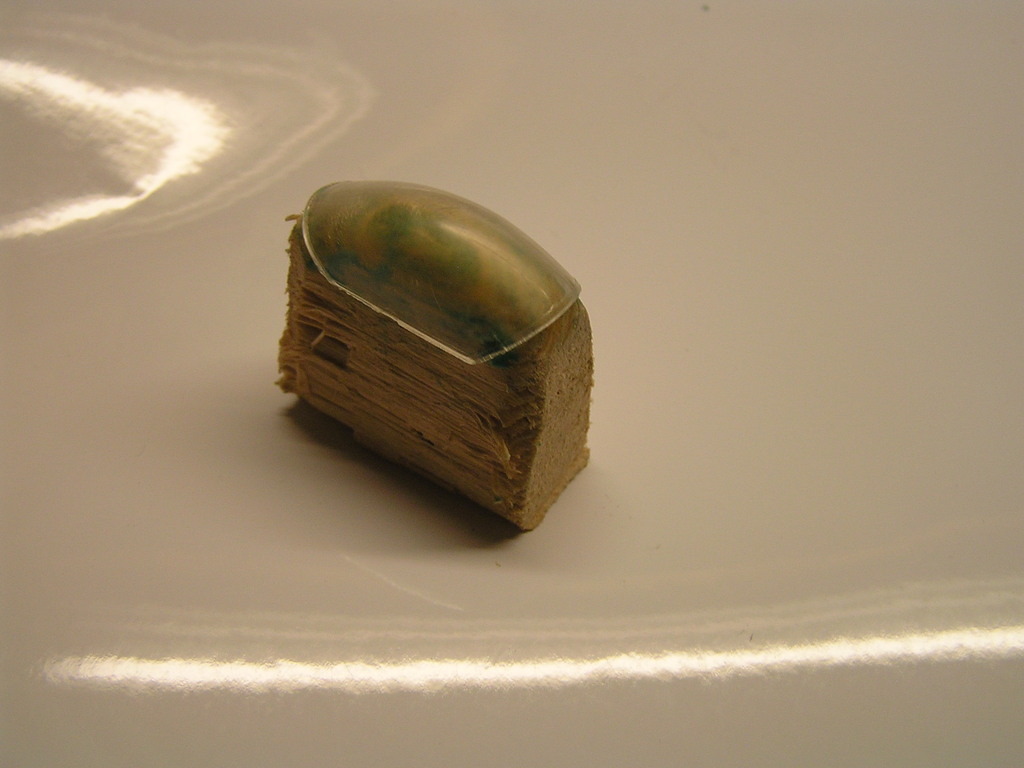
First of all, we will need a thin plastic sheet. I used one which served as a cover for documents. Usually, you can buy it in a stationary shop. Also, another option is to use plastic sheets for overhead projectors. Cockpit size is about 1 inch, but you will need to cut much larger rectangle, for example 6 inches x 6 inches (15 cm x 15 cm), or even larger. There's no point in trying to shape the canopy without using a last, because the result wouldn't be very good. Therefore, make your own wooden last. You can also make it from some other material, but wooden block proved useful, because you can shape it quite easily. It has a dual purpose, because it serves as a perfect base and also it absorbs heat, so there is no danger of deforming.
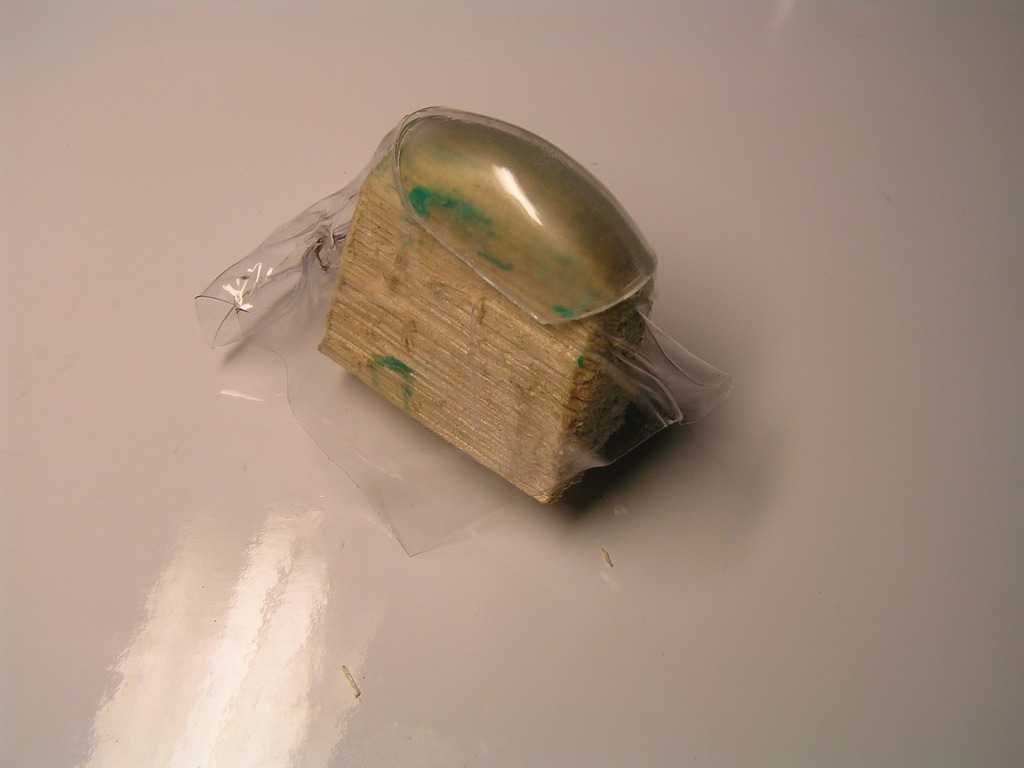
Heat the square of plastic sheet over the gas burner. You have to heat it just a little to make it softened. Do not heat it too long, because the bubbles would appear, it would start to melt down, or it could even start to burn. You prefer to avoid all of these cases. Therefore, try it several times in rough. It is rarely successful at the first attempt. When you heat the plastic sheet enough, place it on the wooden last. Beware! The form must be perfectly clean and free of all dust particles. In any case, do not touch the heated sheet with your fingers where the canopy is. You would left fingerprints on the surface.
Work in haste, because the plastic sheet cools down quickly. If there will appear wrinkles, you can gently warm the sheet again and make it smooth, still placed on the wooden last. When the plastic sheet will be cool, you can remove it and cut off the edges.
To produce the cockpit canopy, we will need:
- original cockpit canopy from the model kit
- transparent thin plastic sheet (0.1 mm)
- wooden block (it serves as wooden last)
- a gas burner
Procedure:
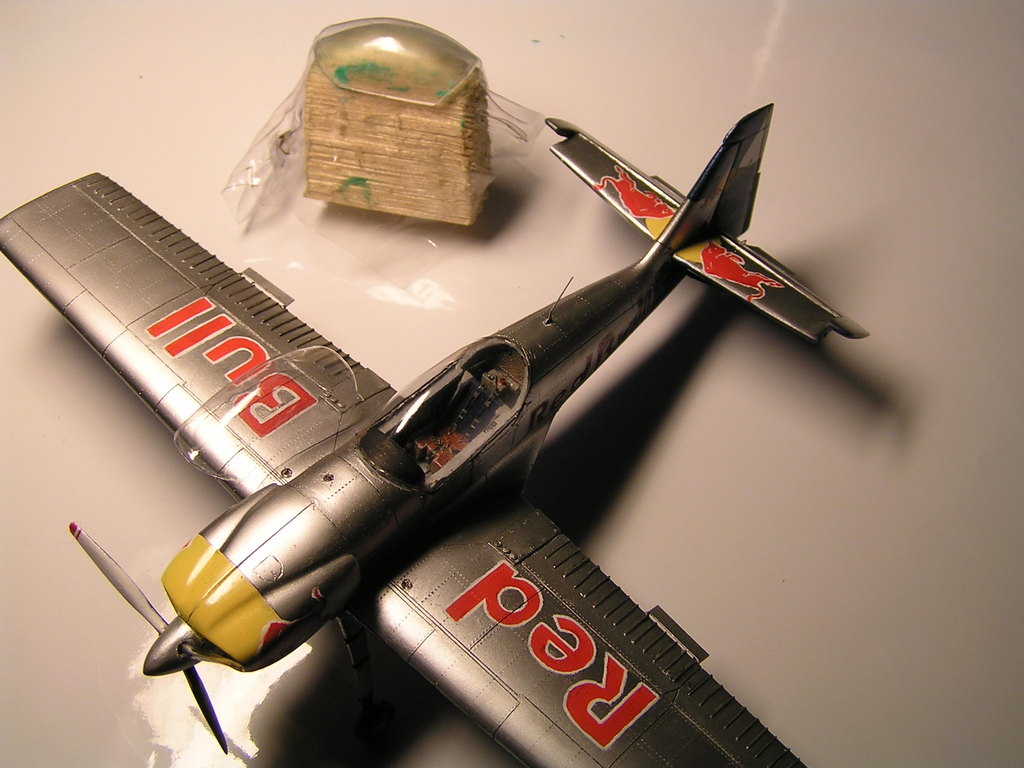
- Shape wooden last and put on the original cockpit canopy from the model kit.
- Cut out a square from the plastic sheet.
- Heat the plastic sheet carefully over a flame and shape it.
- Trim the edges.
Warning: Proceed very carefully with heating the plastic sheet. Molten plastic can cause severe burn injuries. Not suitable for children.


Comments
 Vždycky jsem použil jen tu ze stavebnice. Ale tohle je fakt zajímavé.
Můj postup je:
vytvaruji si kopyto kabiny pomocí originálu, který otisknu do palstelíny, nebo jiné plastické hmoty, odleju z epoxy nebo uretanu tvar, vyvrtám zdola do polotovaru dvě díry 1,5 mm, vyřežu závit M2, zašroubuji dva nyplíky a odlitek ve svěráku opracuji. Poté vyříznu z letecké překližky 1 mm silné dva čverečky, (obdélníčky) větší o 2 cm než je velikost polotovaru kabiny, ten na překližku překreslím a vyříznu větší o sílu materiálu, ze kterého se kabina bude lisovat. Na straně, kterou se bude "tlačit " na nahřátou folii srazím hranu na 45 stupňů. Vystřihnu folii mírně větší, než je překližka, vložím ji mezi destičky, "scvaknu" kolíčky na prádlo. Polotovar kabiny na čepech drží ve svěráku, folii nahřeju na sálavým zdrojem tepla až se začíná prohýbat, pak přenesu nad razní, protlačím mírným tlakem a je hotovo. Výhody: šetřím folii, nepopálím si prsty, jde to rychle a hlabně je folie přesně okopíruje šablonu. Dají se takto "vytáhnout" až kabiny na RC modely, karoserie na auta, chce to zkrátka cvičit.